
DIY $60 Corner Bookcase | One Room Challenge – Week 3
I hope everyone is still well and in good health. Or as best health as can be expected given the current circumstances. Eric has returned to his normal work shift, so we’re slowly adjusting to our ‘new’ schedule again. We’re missing friends and family and have been trying to occupy ourselves with some projects around the house while still working on making over the girls’ shared bedroom as part of the Spring 2020 One Room Challenge.

Here’s a quick recap of our projects and progress during the Spring 2020 One Room Challenge.
WEEK 1: A Shared Girls’ Bedroom Makeover — The Plan
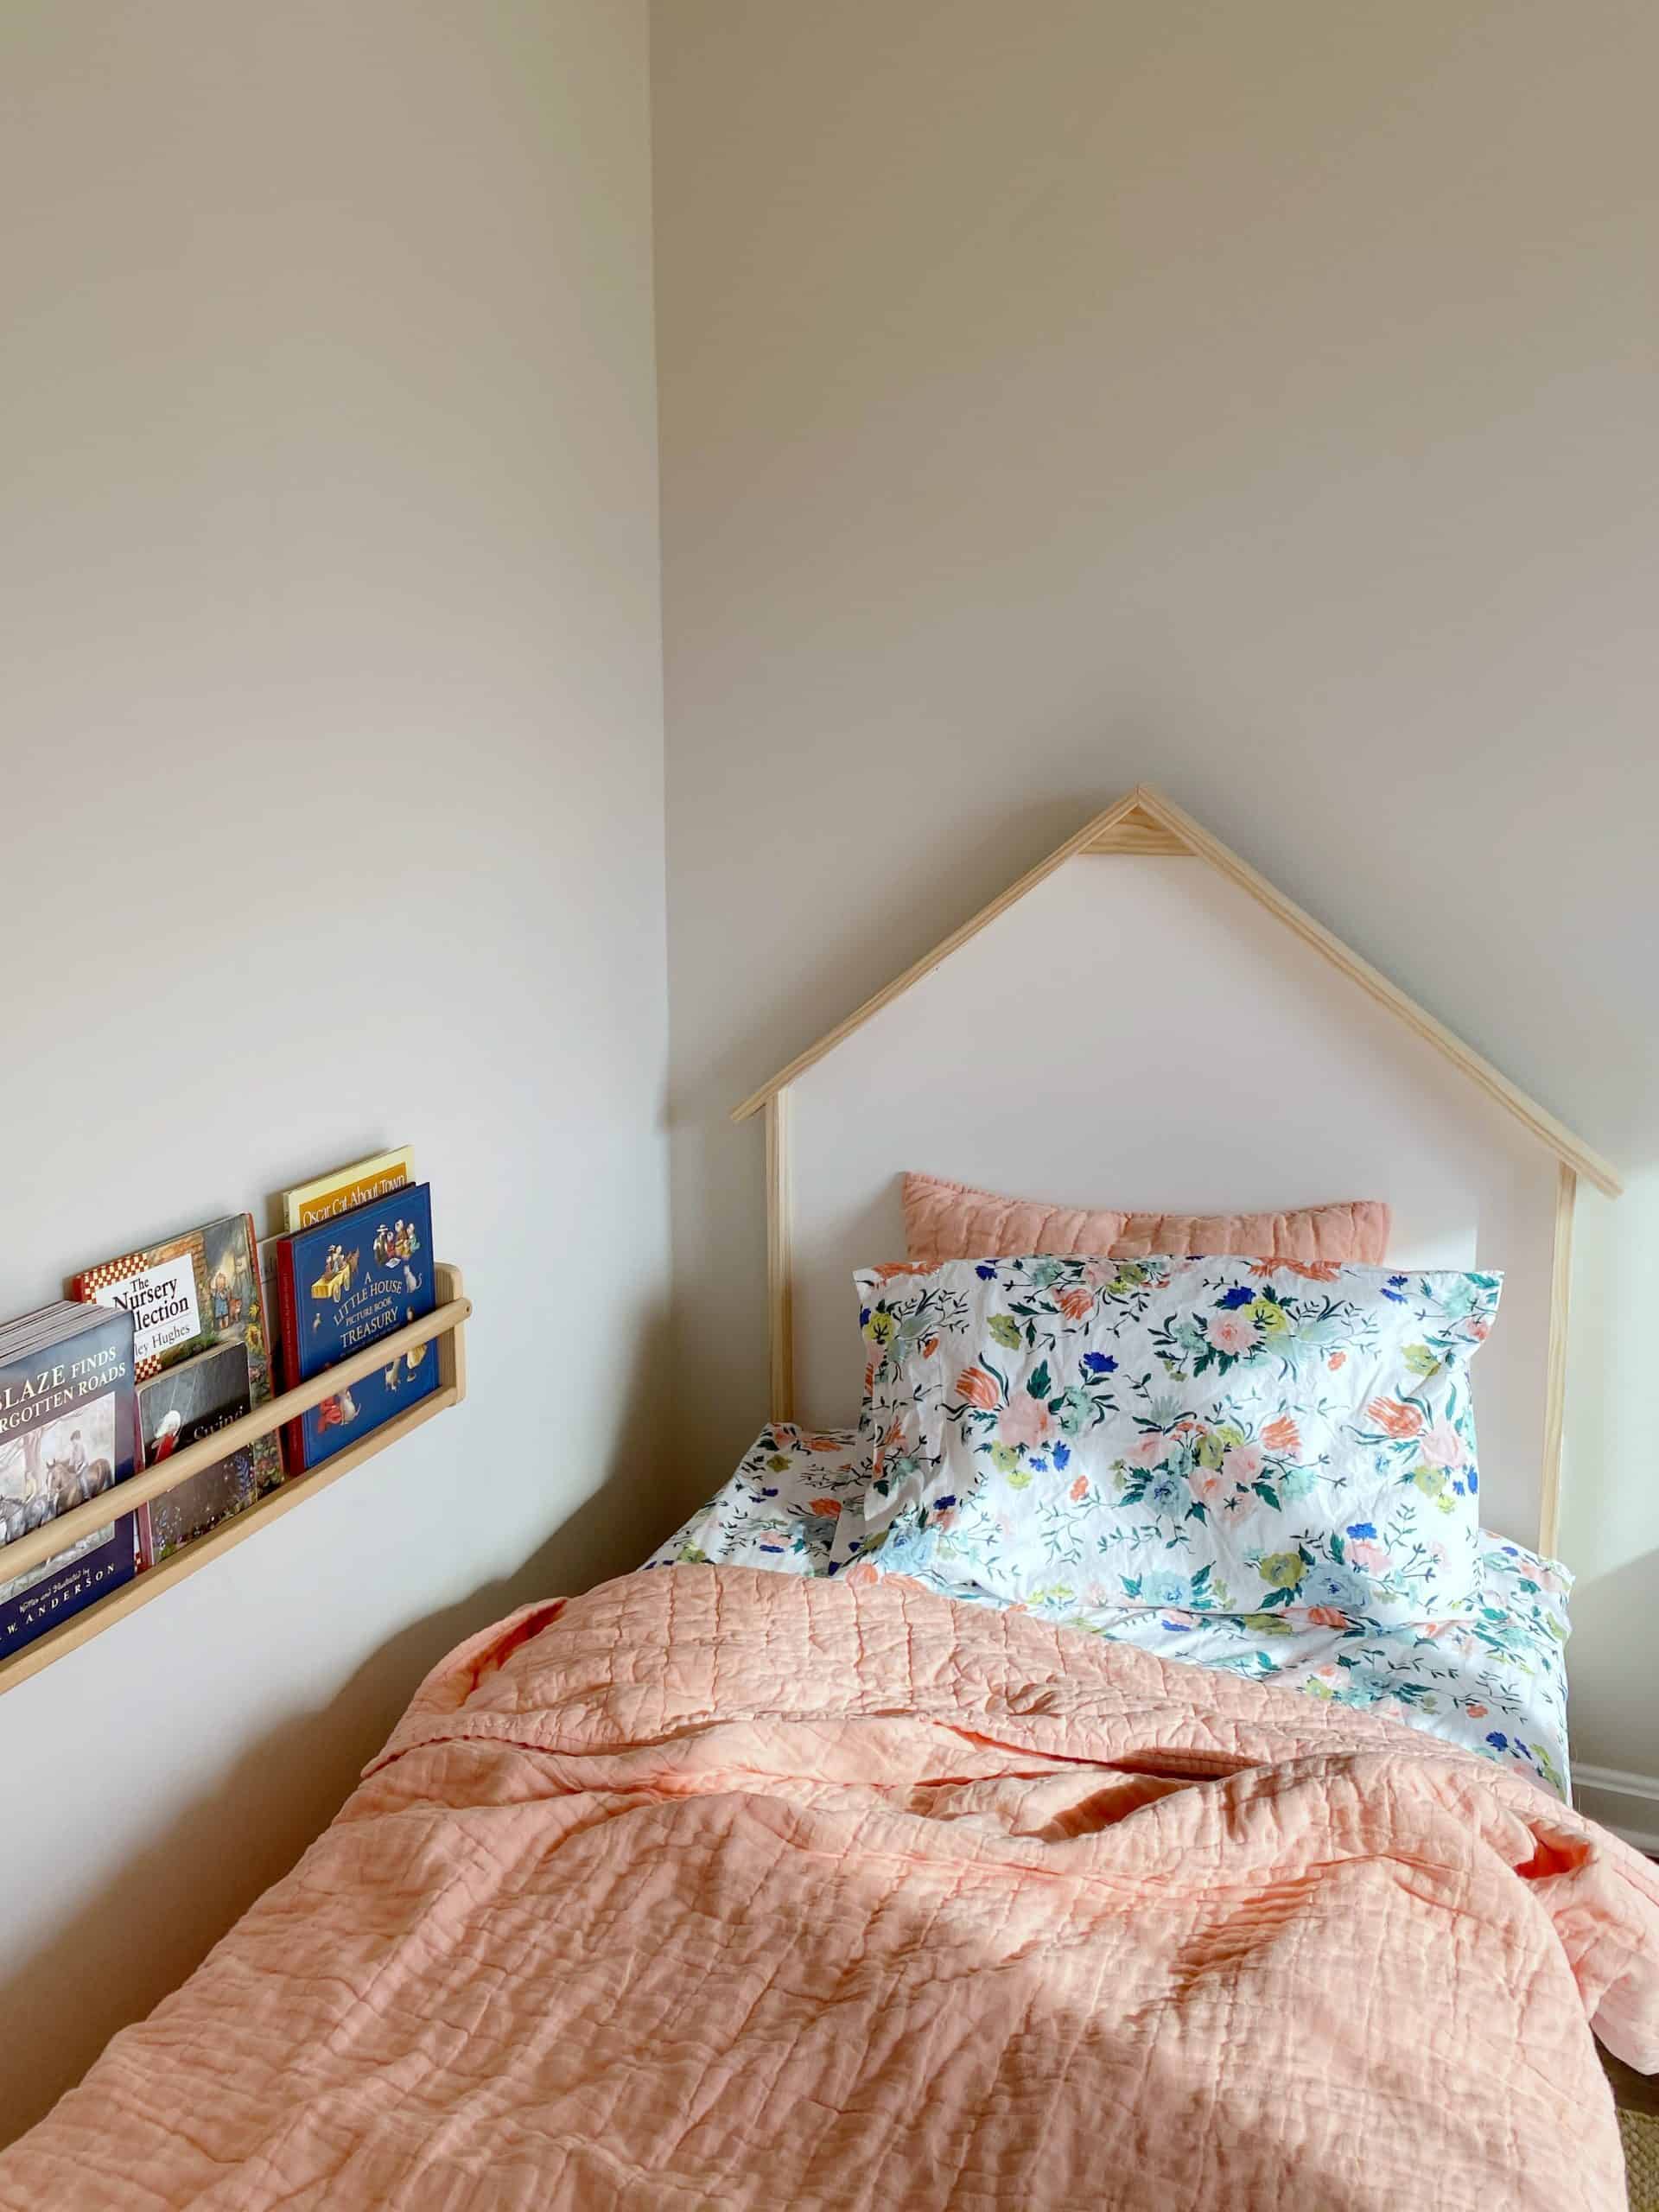
WEEK 2: DIY Twin House Headboards
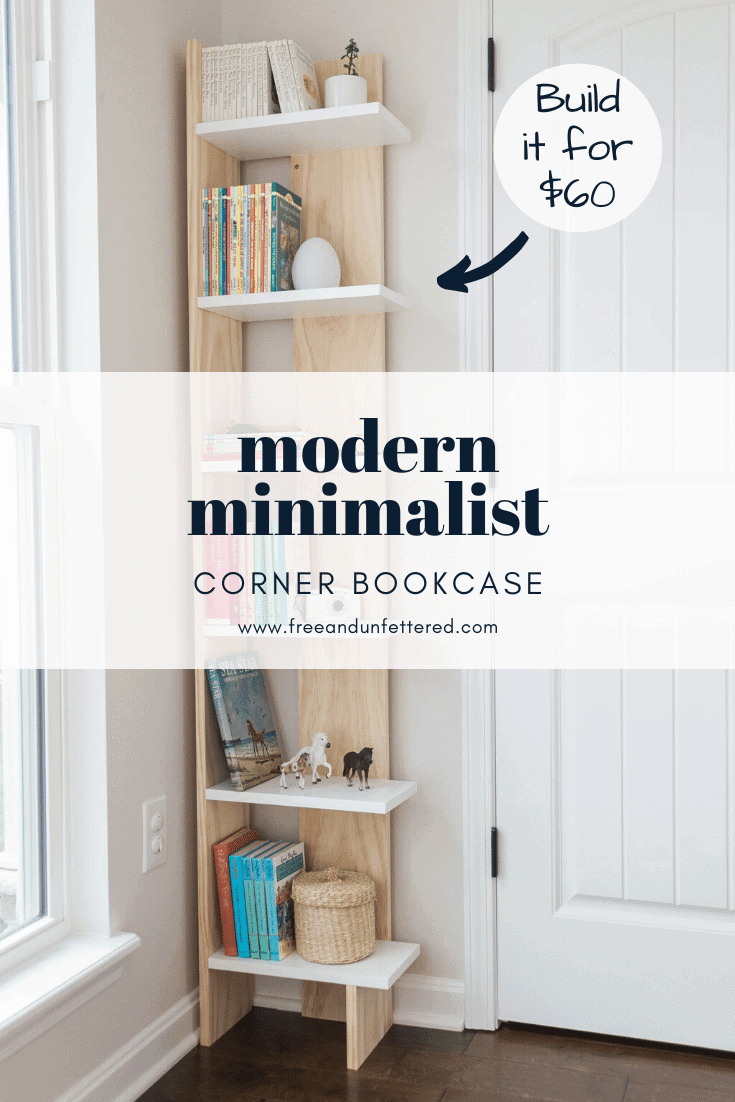
WEEK 3: DIY $60 Corner Bookcase
WEEK 4: Easy DIY Built-In Closet Shelving
WEEK 5/6: A Simple IKEA Rast Nightstand Makeover
WEEK 7: A Children’s Rolltop Desk Makeover
WEEK 8: The Final Reveal — See the Complete Transformation of Our Shared Kids’ Bedroom!
With the weather finally turning nice Eric’s itching to get started on our outdoor space, but we still have several more DIY projects to wrap up in the girls’ bedroom first.
We did, however, manage to finish their new bookcase this past week!
We’re really happy with how it turned out, especially since it was a completely last-minute addition during the planning phase leading up to this design challenge.
As I mentioned in Week 1’s One Room Challenge post, the biggest design challenge we face when it comes to our daughters’ shared bedroom is the limited amount of wall space. There are only two walls that are useable, and their twin beds occupy the majority of both of them.
Prior to this, we had a little book nook set up beside one of the beds. However, since both our daughters really enjoy writing and drawing, I wanted to make sure to include a desk in their room as part of the makeover.
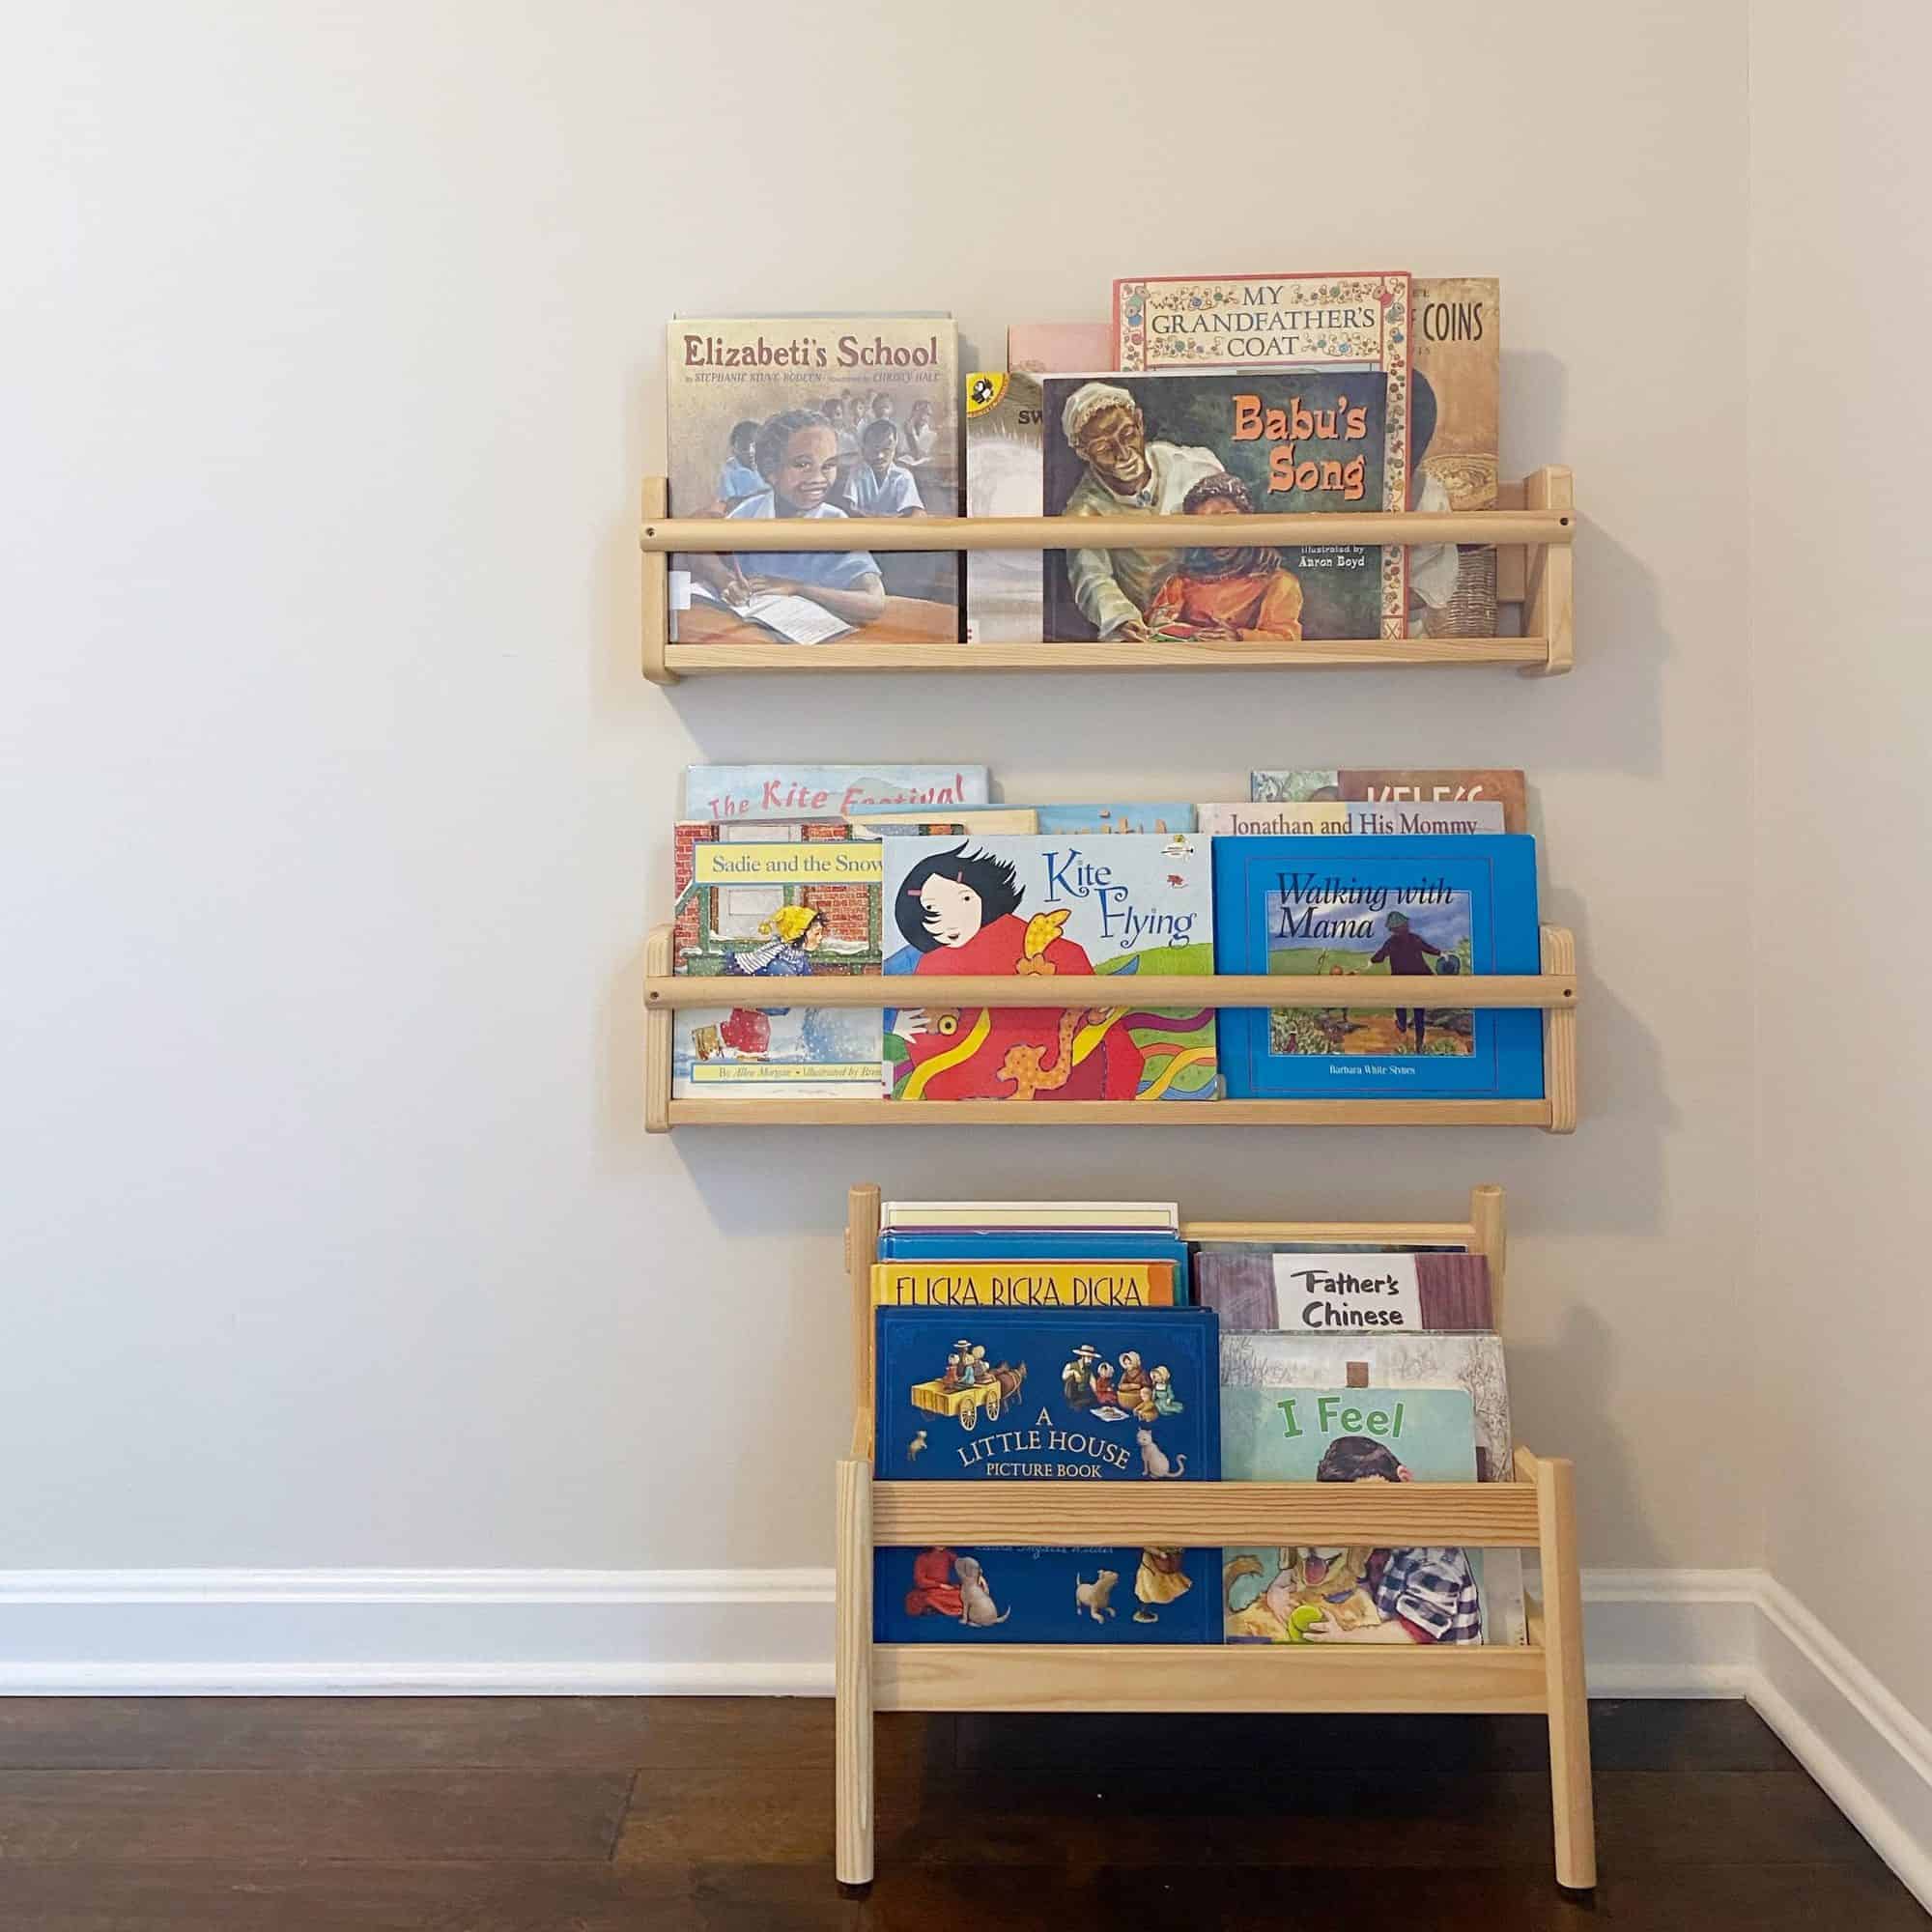
We managed to relocate one of the wall-mounted book racks and the book bin to other locations in the room, but as our oldest is now 6 years old and beginning to read I really wanted to install a special bookcase to house their burgeoning chapter book collection.
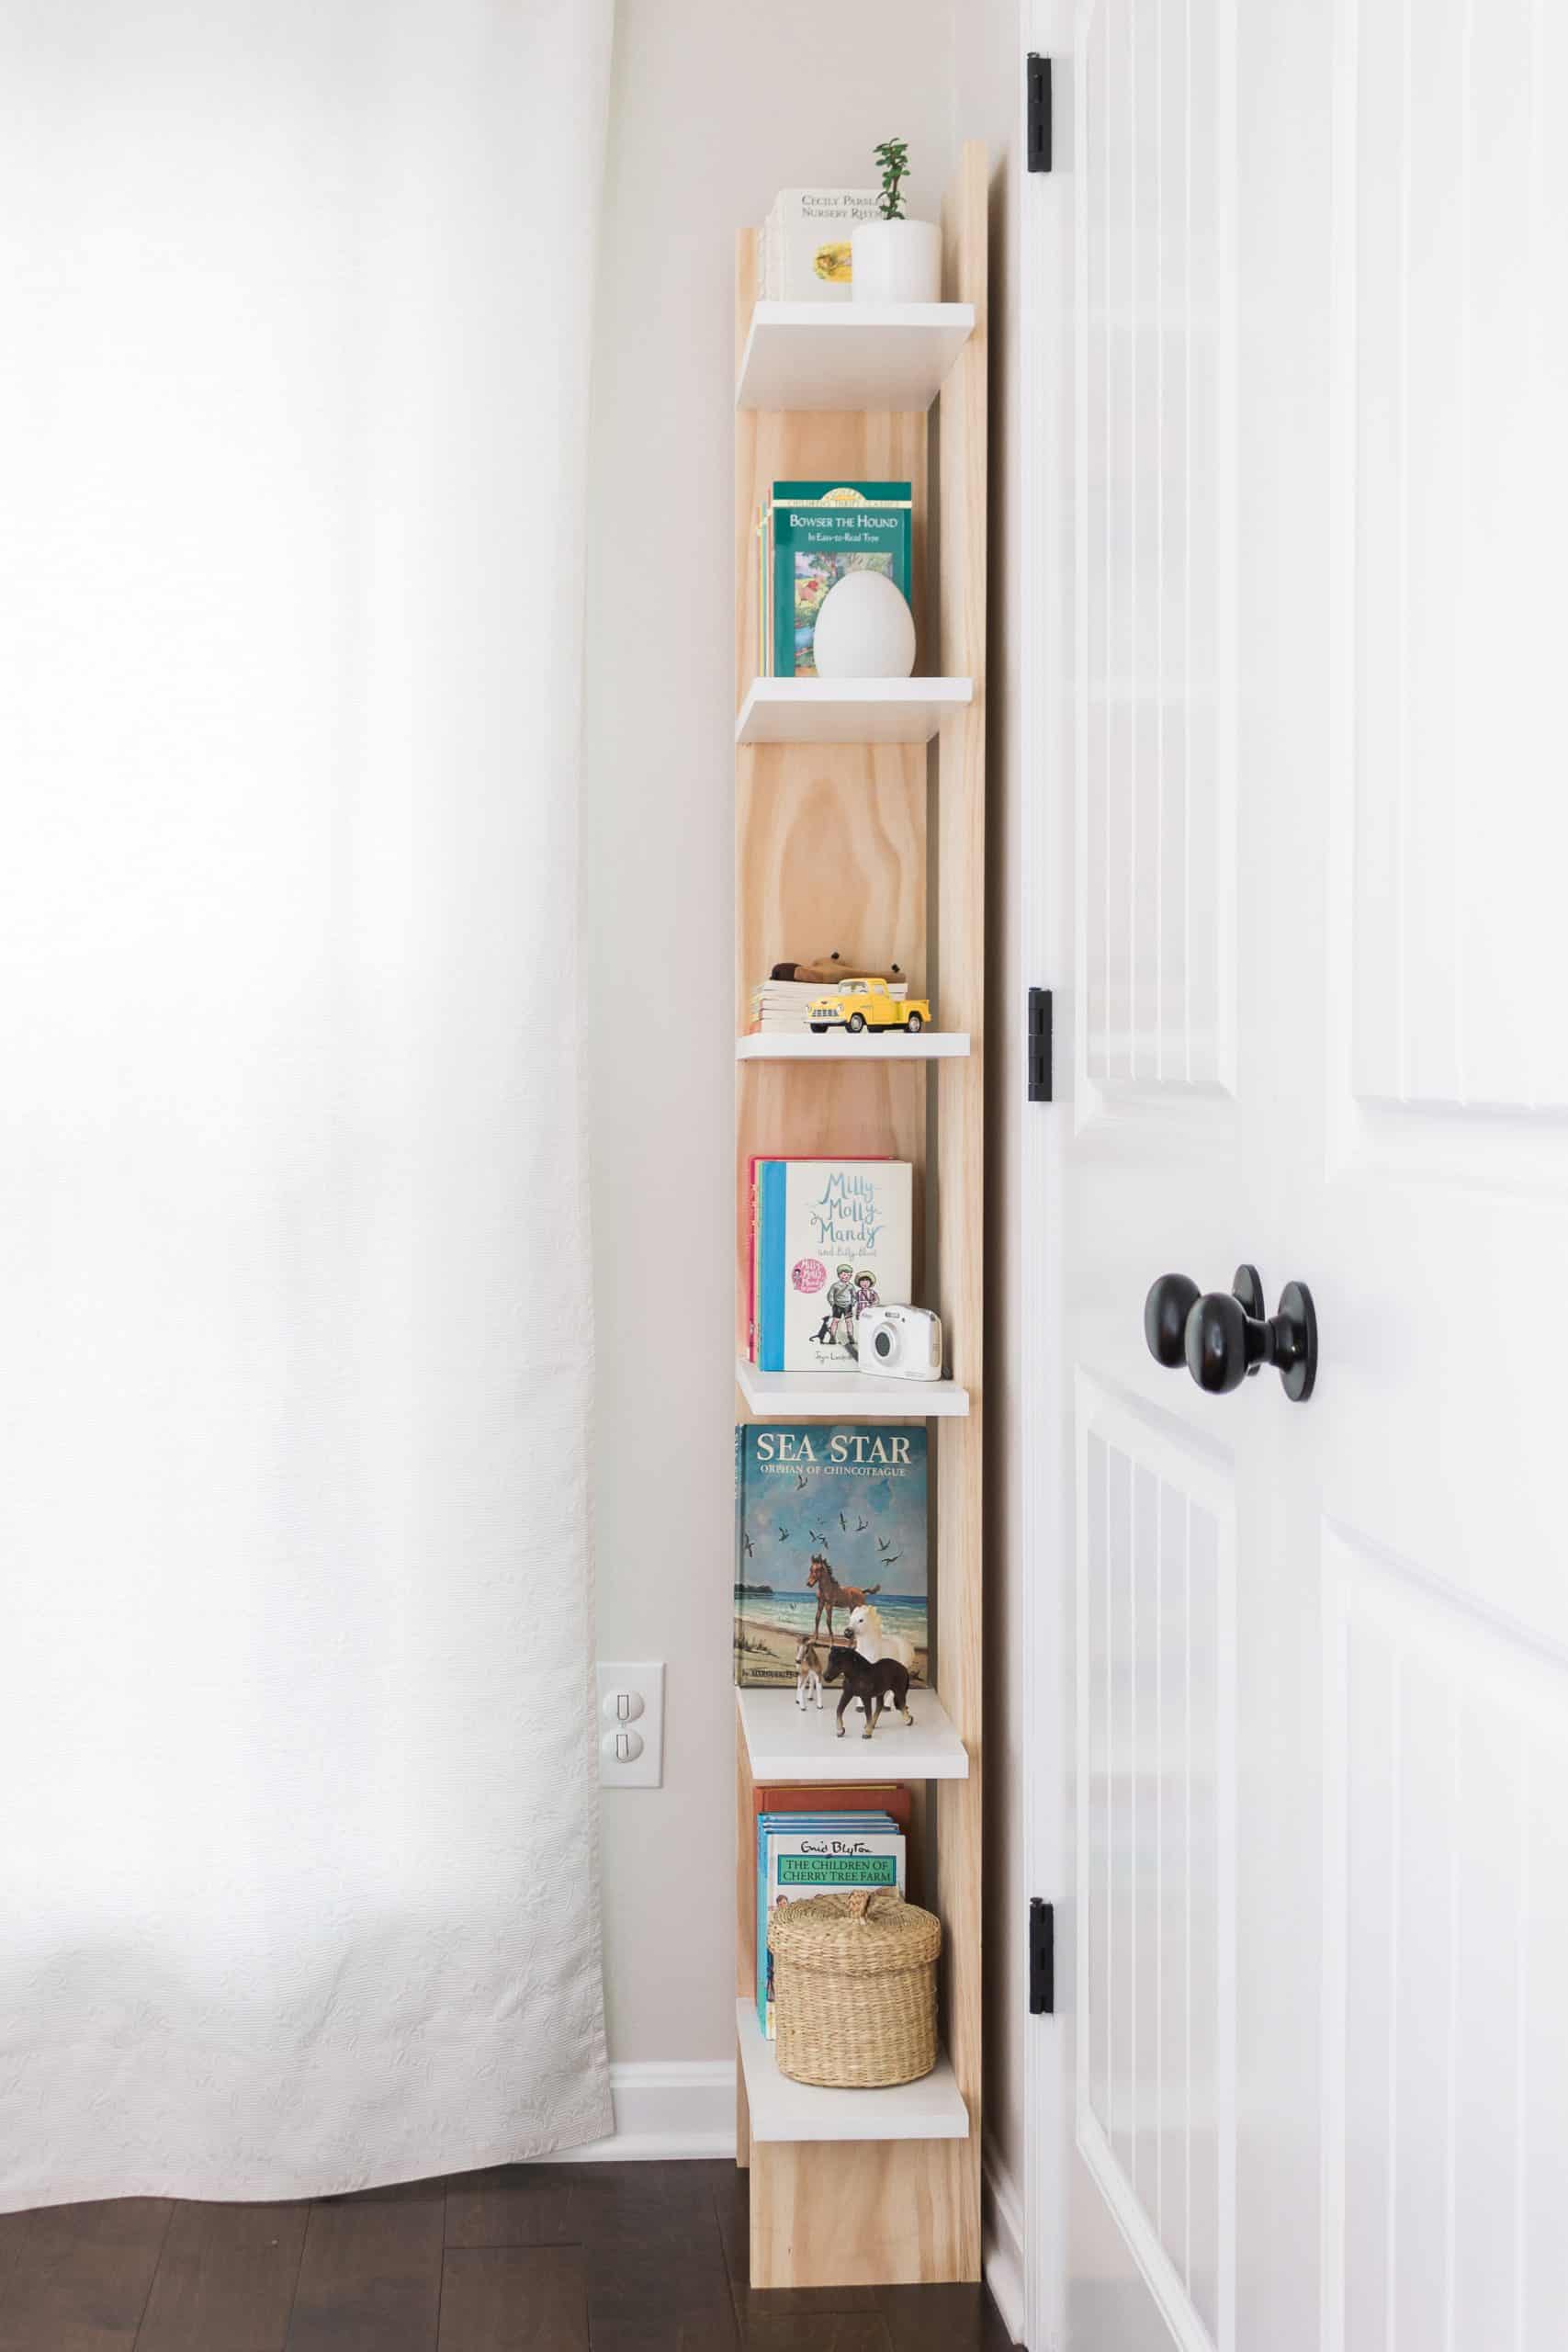
So one night as I was sitting in their bedroom mulling over what to do with all their books, I noticed the corner beside their closet doors. It ended up being just the right size to allow for a narrow bookcase. I actually did a quick search on IKEA to see if there was a bookcase that would fit into the space and discovered the narrower BILLY bookcase actually would. But because this corner is visible from every inch of the room — including the entryway — I really wanted a more open design than a traditional closed-sided bookcase.
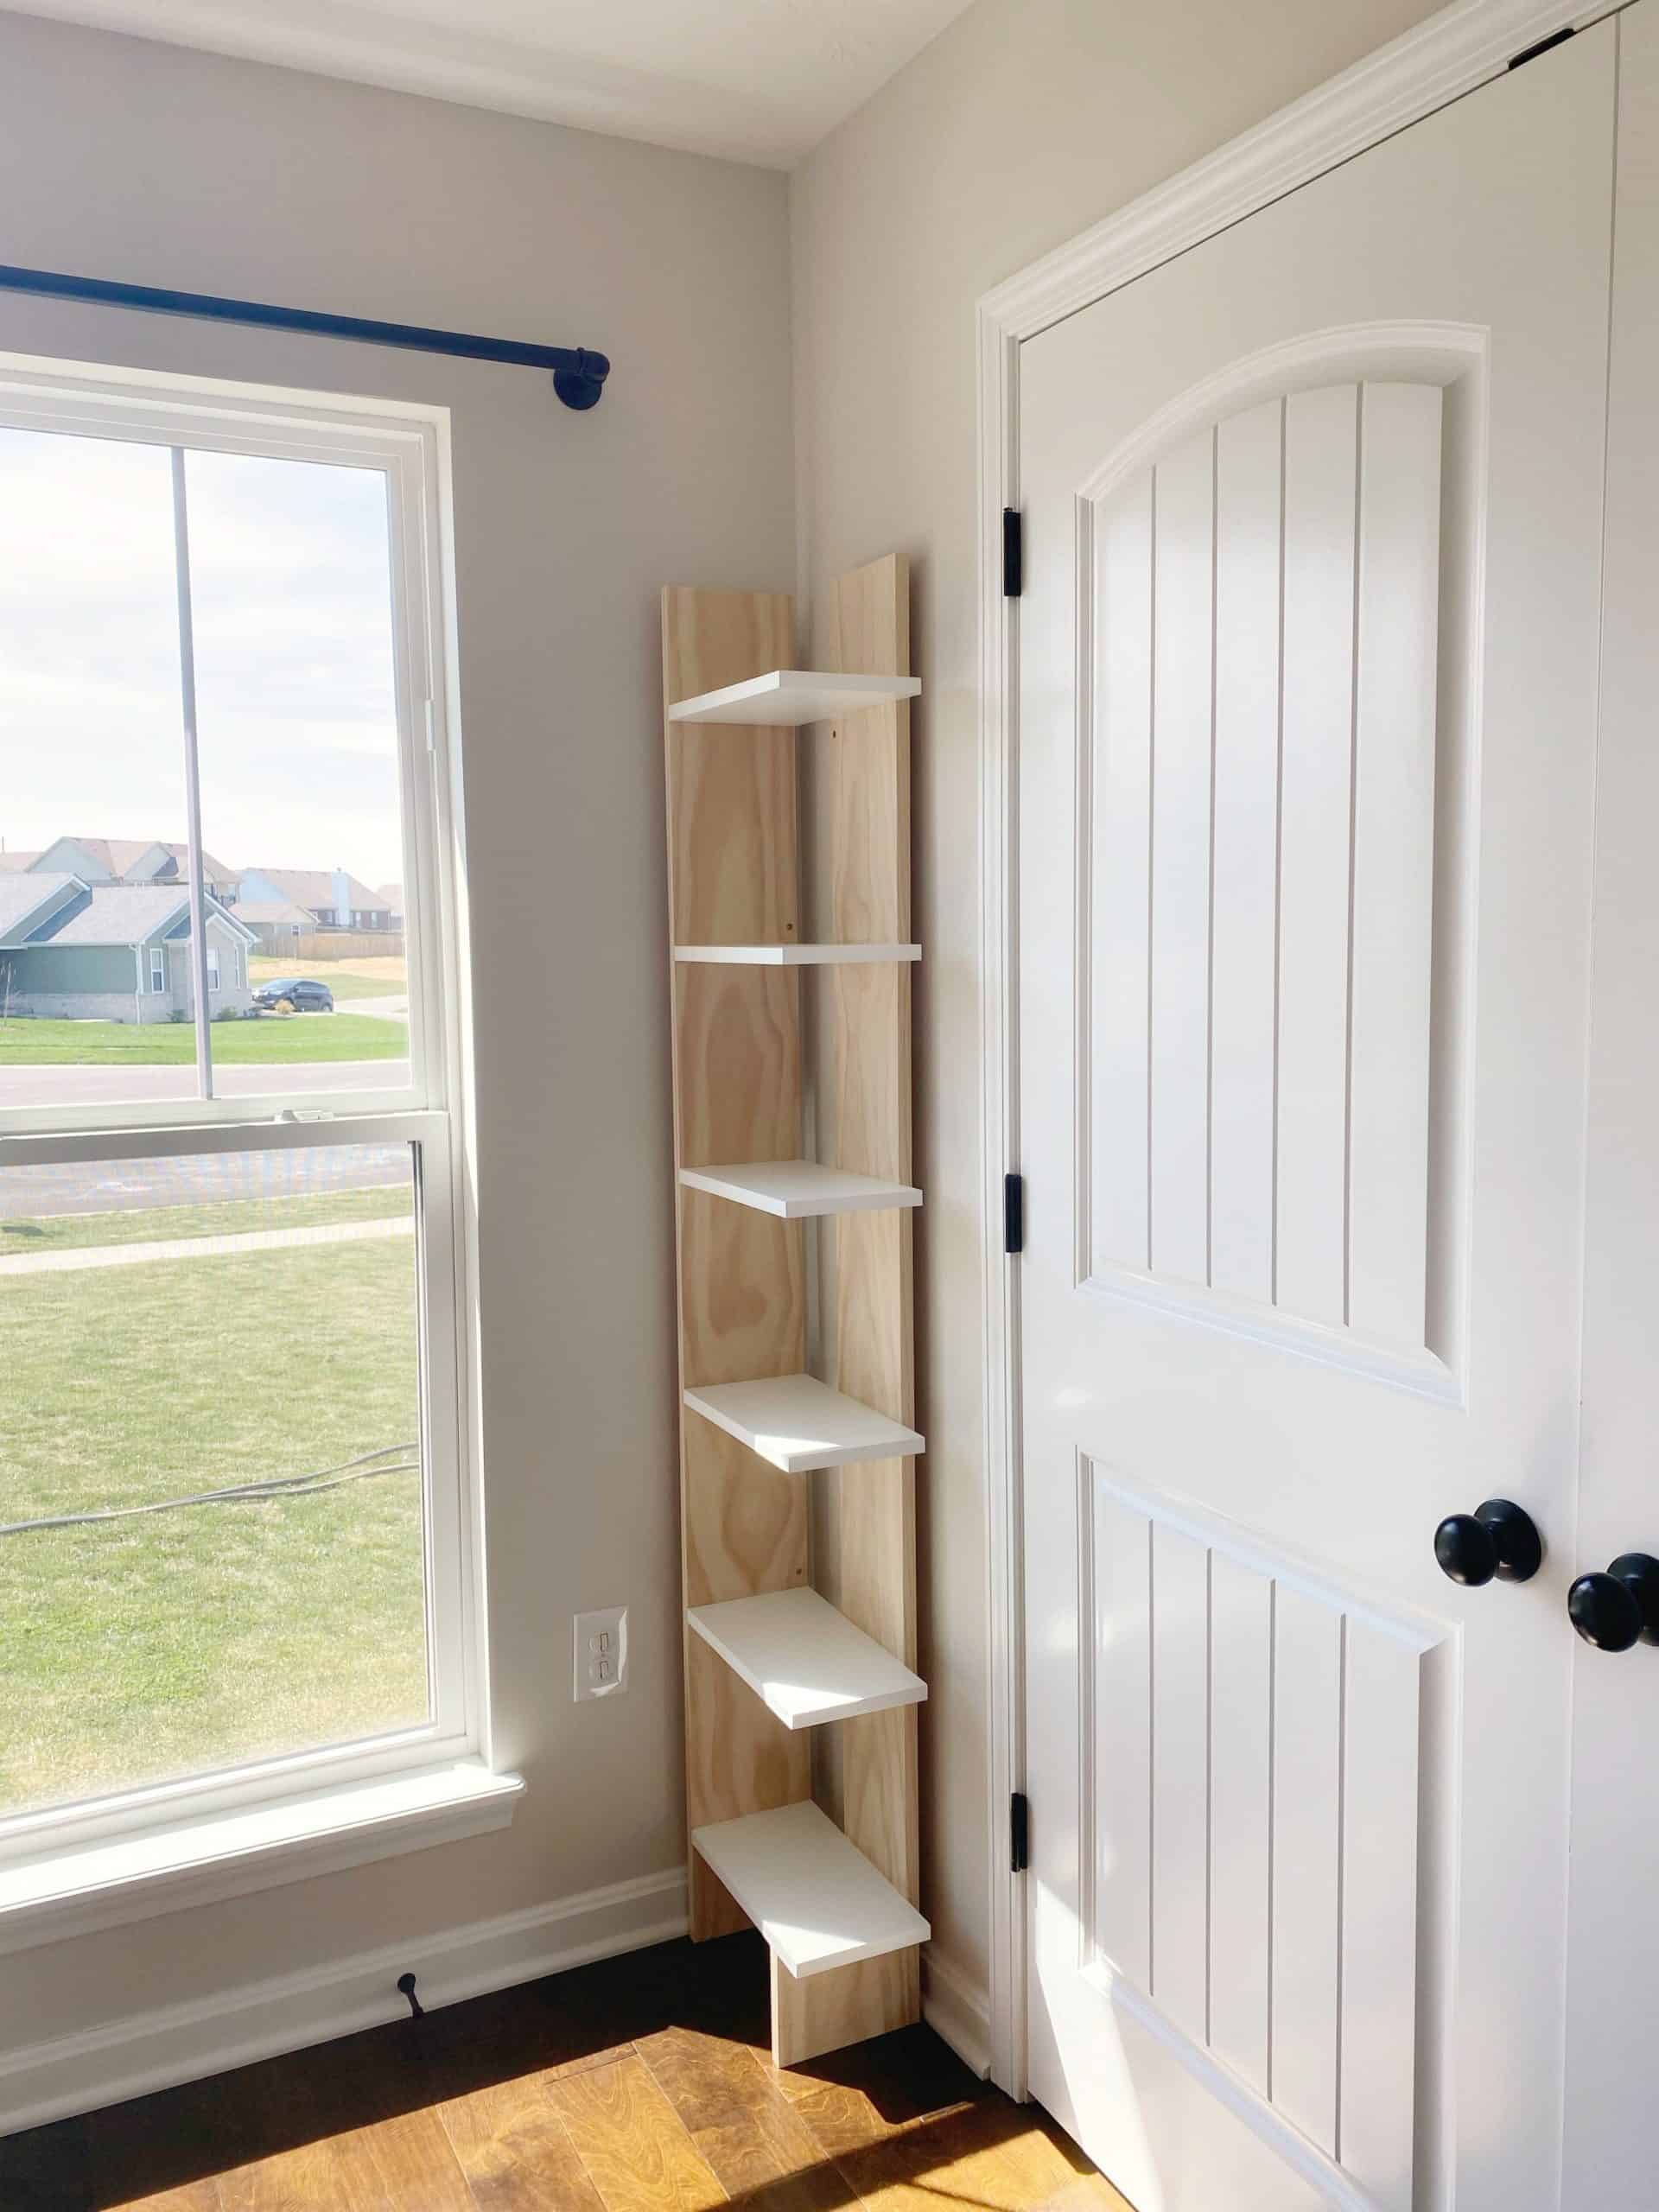
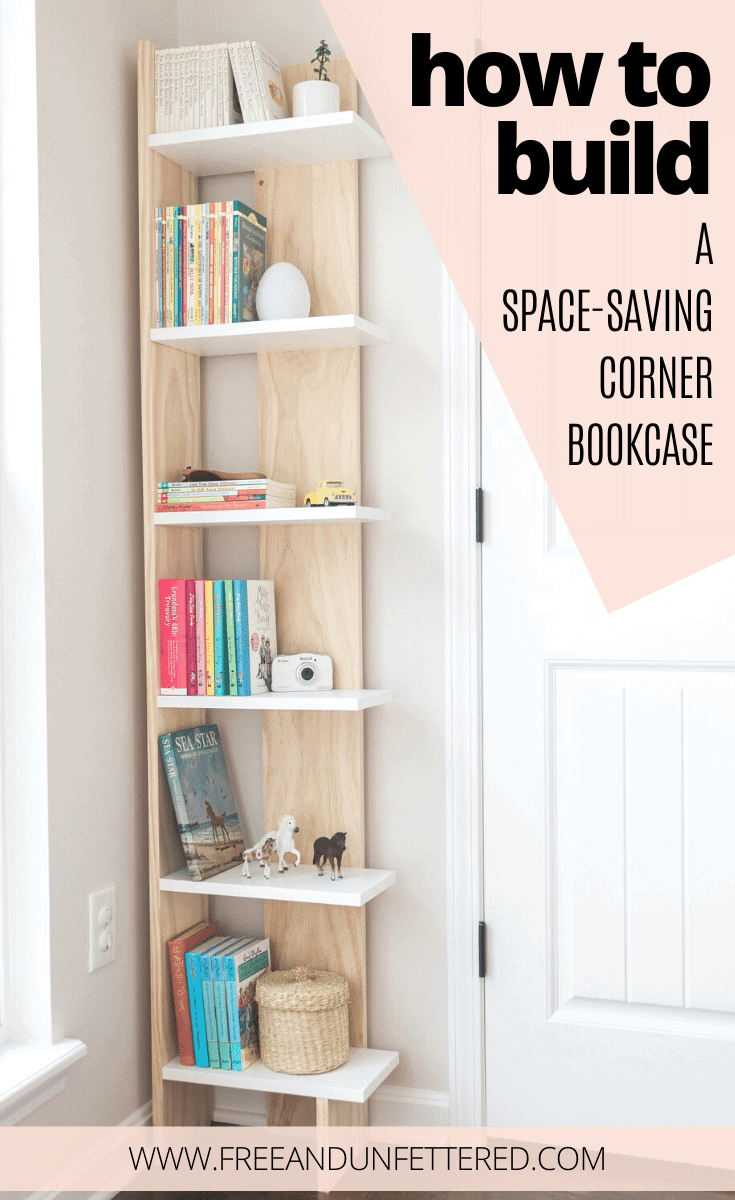
It ended up being a pretty simple build and came together in a day. Painting took a bit longer, simply because we had already assembled the bookcase and then decided to paint which meant having to use a lot of blue tape to achieve the finish we decided upon. The two-tone white and natural wood finish matches the girls’ new headboards that we built in Week 2. Both the headboards and the bookcase give off a pretty modern vibe, too.
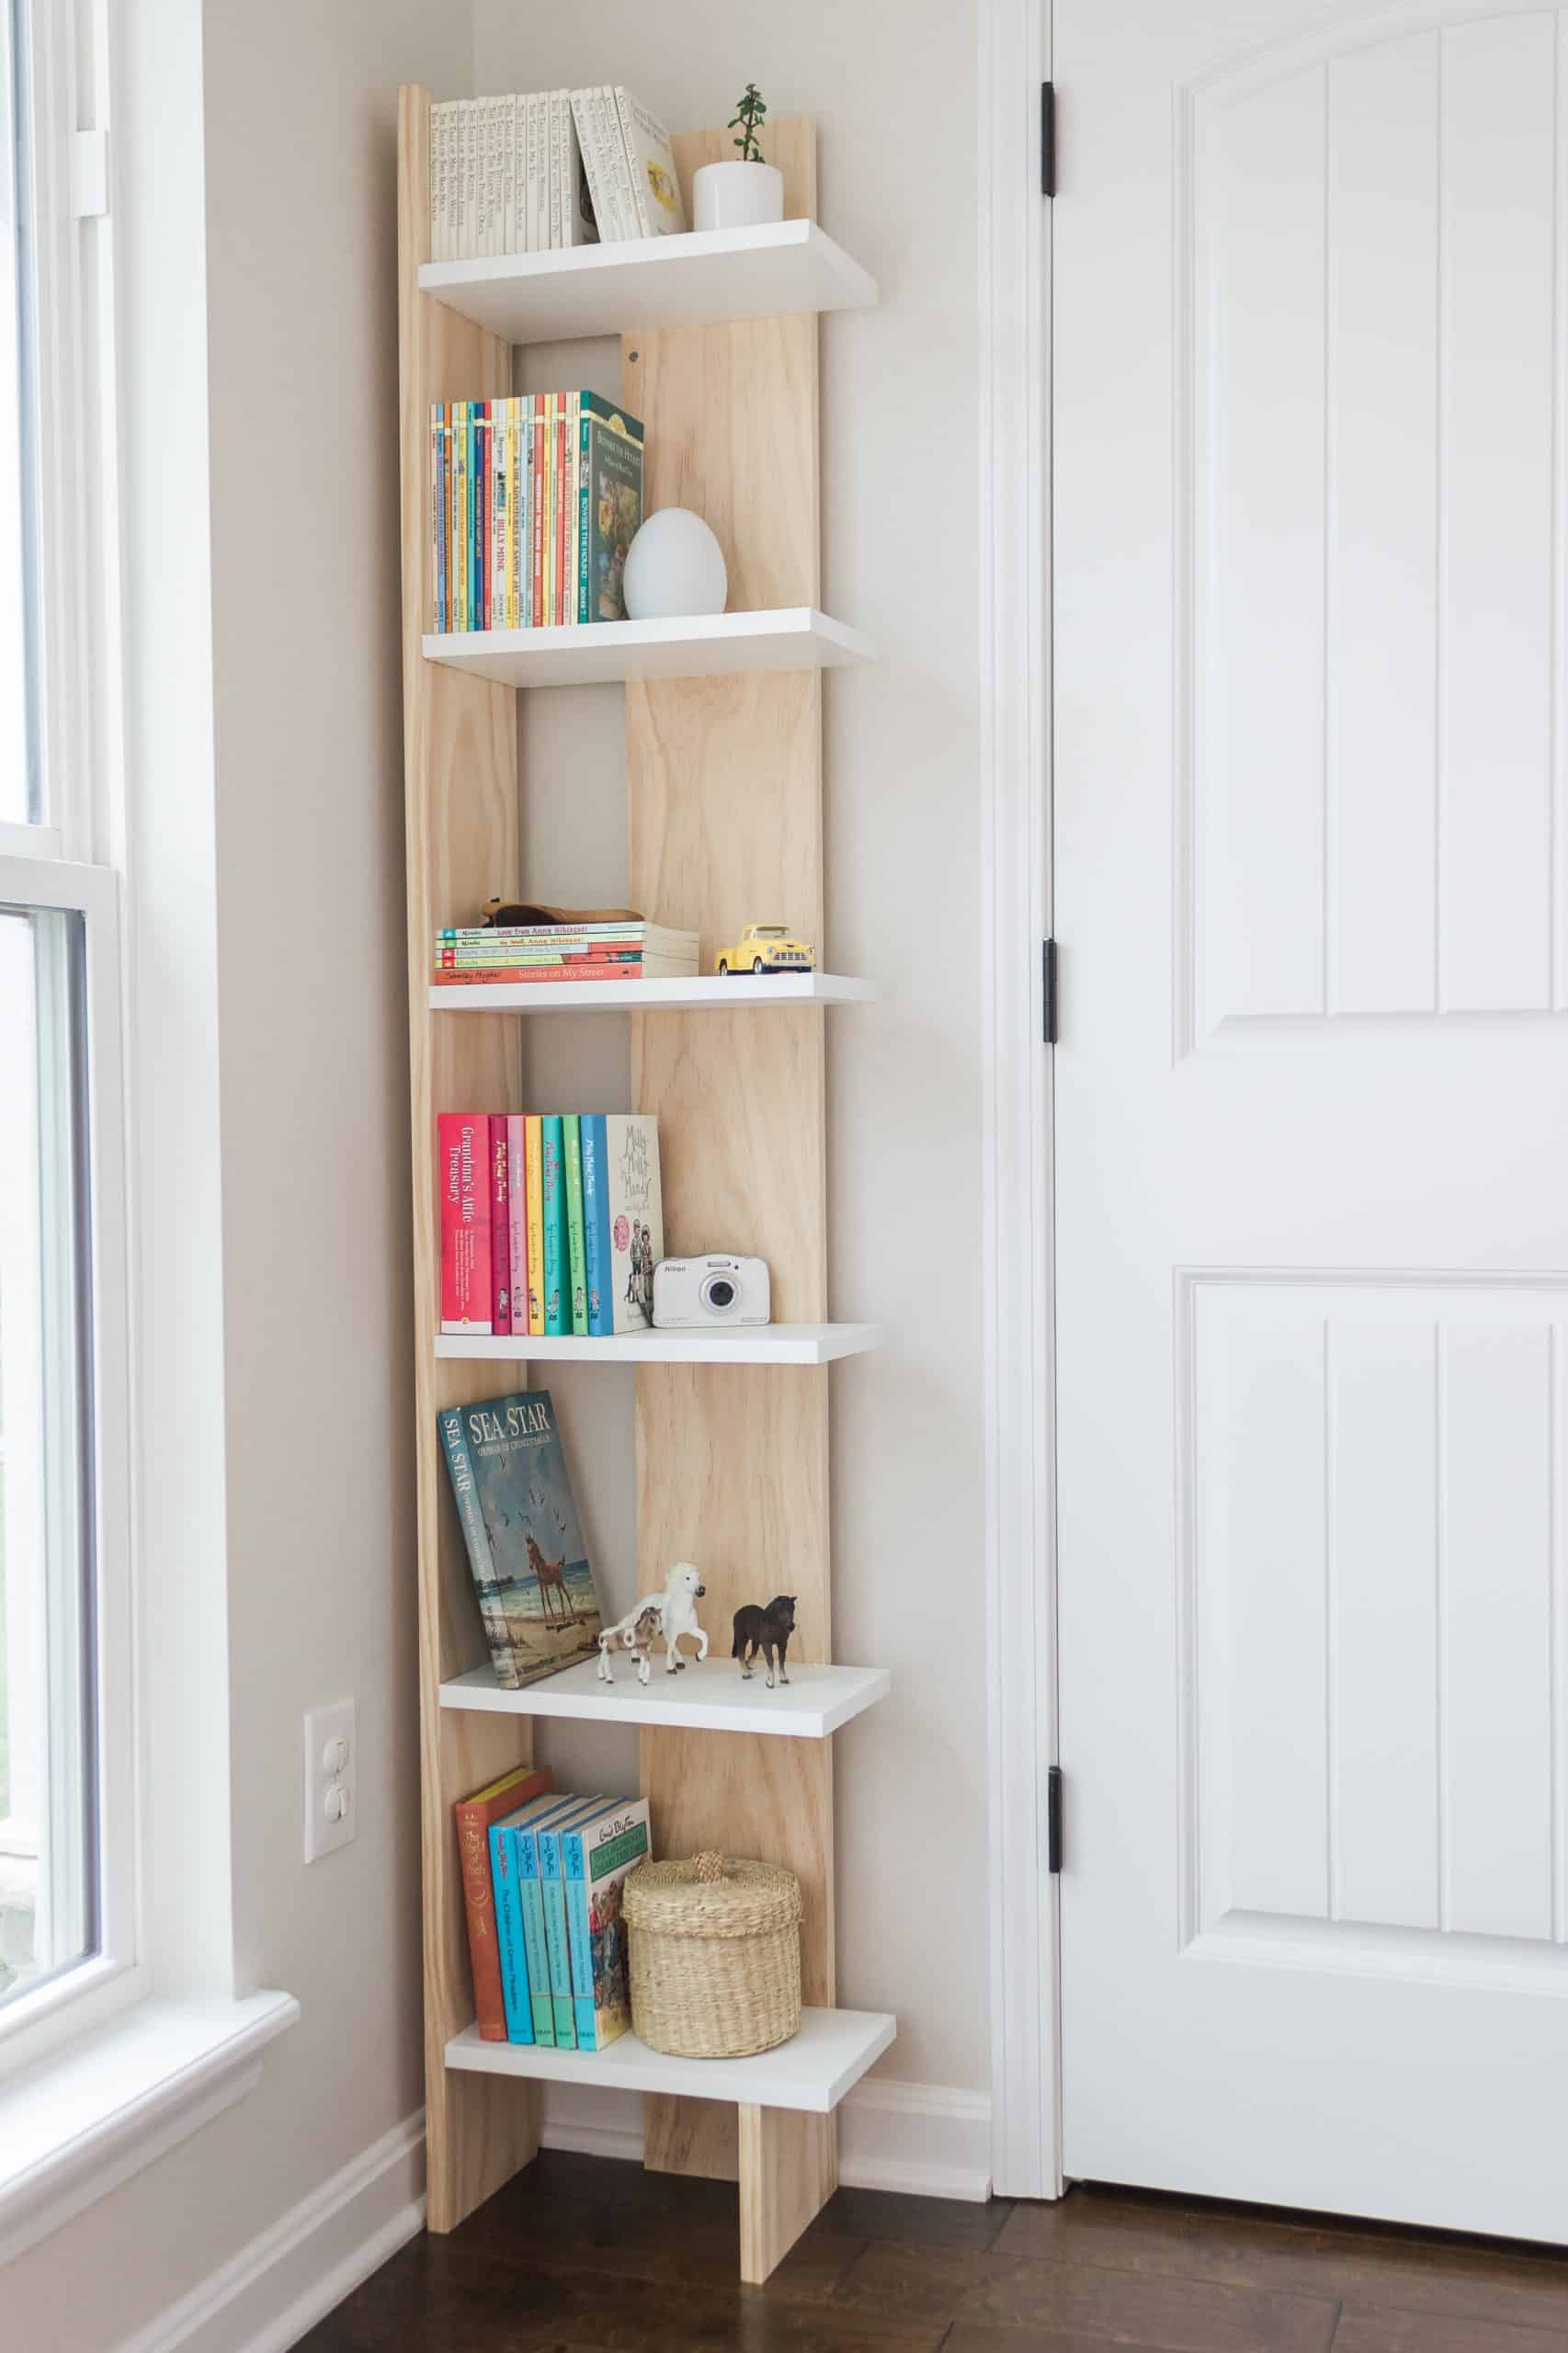
So, if you’re looking to add some additional book storage in your home and have a narrow corner or two, this tutorial is for you! The bookcase cost us $60 dollars total. Not bad considering it’s real wood, right? I think the narrow BILLY bookcase I found at IKEA was going to be $50 dollars plus shipping, so I’m happy! Best of all, the girls will enjoy having a bit of open shelving to display their treasures alongside their books.
Our bookcase measures 73″ inches high x 15″ wide x 8” deep. In this tutorial I’ll list the specific measurements we used to build our bookcase. If you would like to alter the dimensions for your specific space, feel free to adjust the measurements accordingly.
SUPPLIES + MATERIALS
(3) 1” x 8” x 8’ Select Pine Boards
Compound Miter Saw
Brad Nail Gun
Speed Square
Kreg Jig
Pocket Screws
CUT LIST
(2) 1” x 8” x 8’ @ 73″ inches
(6) 1” x 8” x 8’ @ 14″ inches
(1) 1” x 8” x 8’ @ 5.5″ inches
(2) 1 x 6″ strips (back mounting)
(1) 1 x 20″ strip (back mounting)
TUTORIAL
Cut (2) 1” x 8” x 8’ boards @ 73″ inches. These will be Side (A) and Back (B). Then cut (6) 1” x 8” x 8’ boards @ 14″ inches. These will be the shelves.
Using a triangle, mark 5.5″ inches up from the bottom of Back (B) and then measure and mark an additional 0.75″ inches up. Here, you’re simply making an outline to help guide the placement of the shelves.
We ended up spacing our shelves 11.5″ inches apart. So, still using Back (B) you’ll measure up an additional 11.5″ inches from the previous line you’ve drawn. Mark the outline for the next shelf and continue repeating until all (6) outlines have been drawn. When finished, you should have 5.5″ inches space remaining at the top which matches the space at the bottom.
Once everything is lined up and all your measurements are correct, place Side (A) right beside Back (B), making sure they are perfectly even with each other, and then copy the lines exactly over from Back (B) to Side (A).
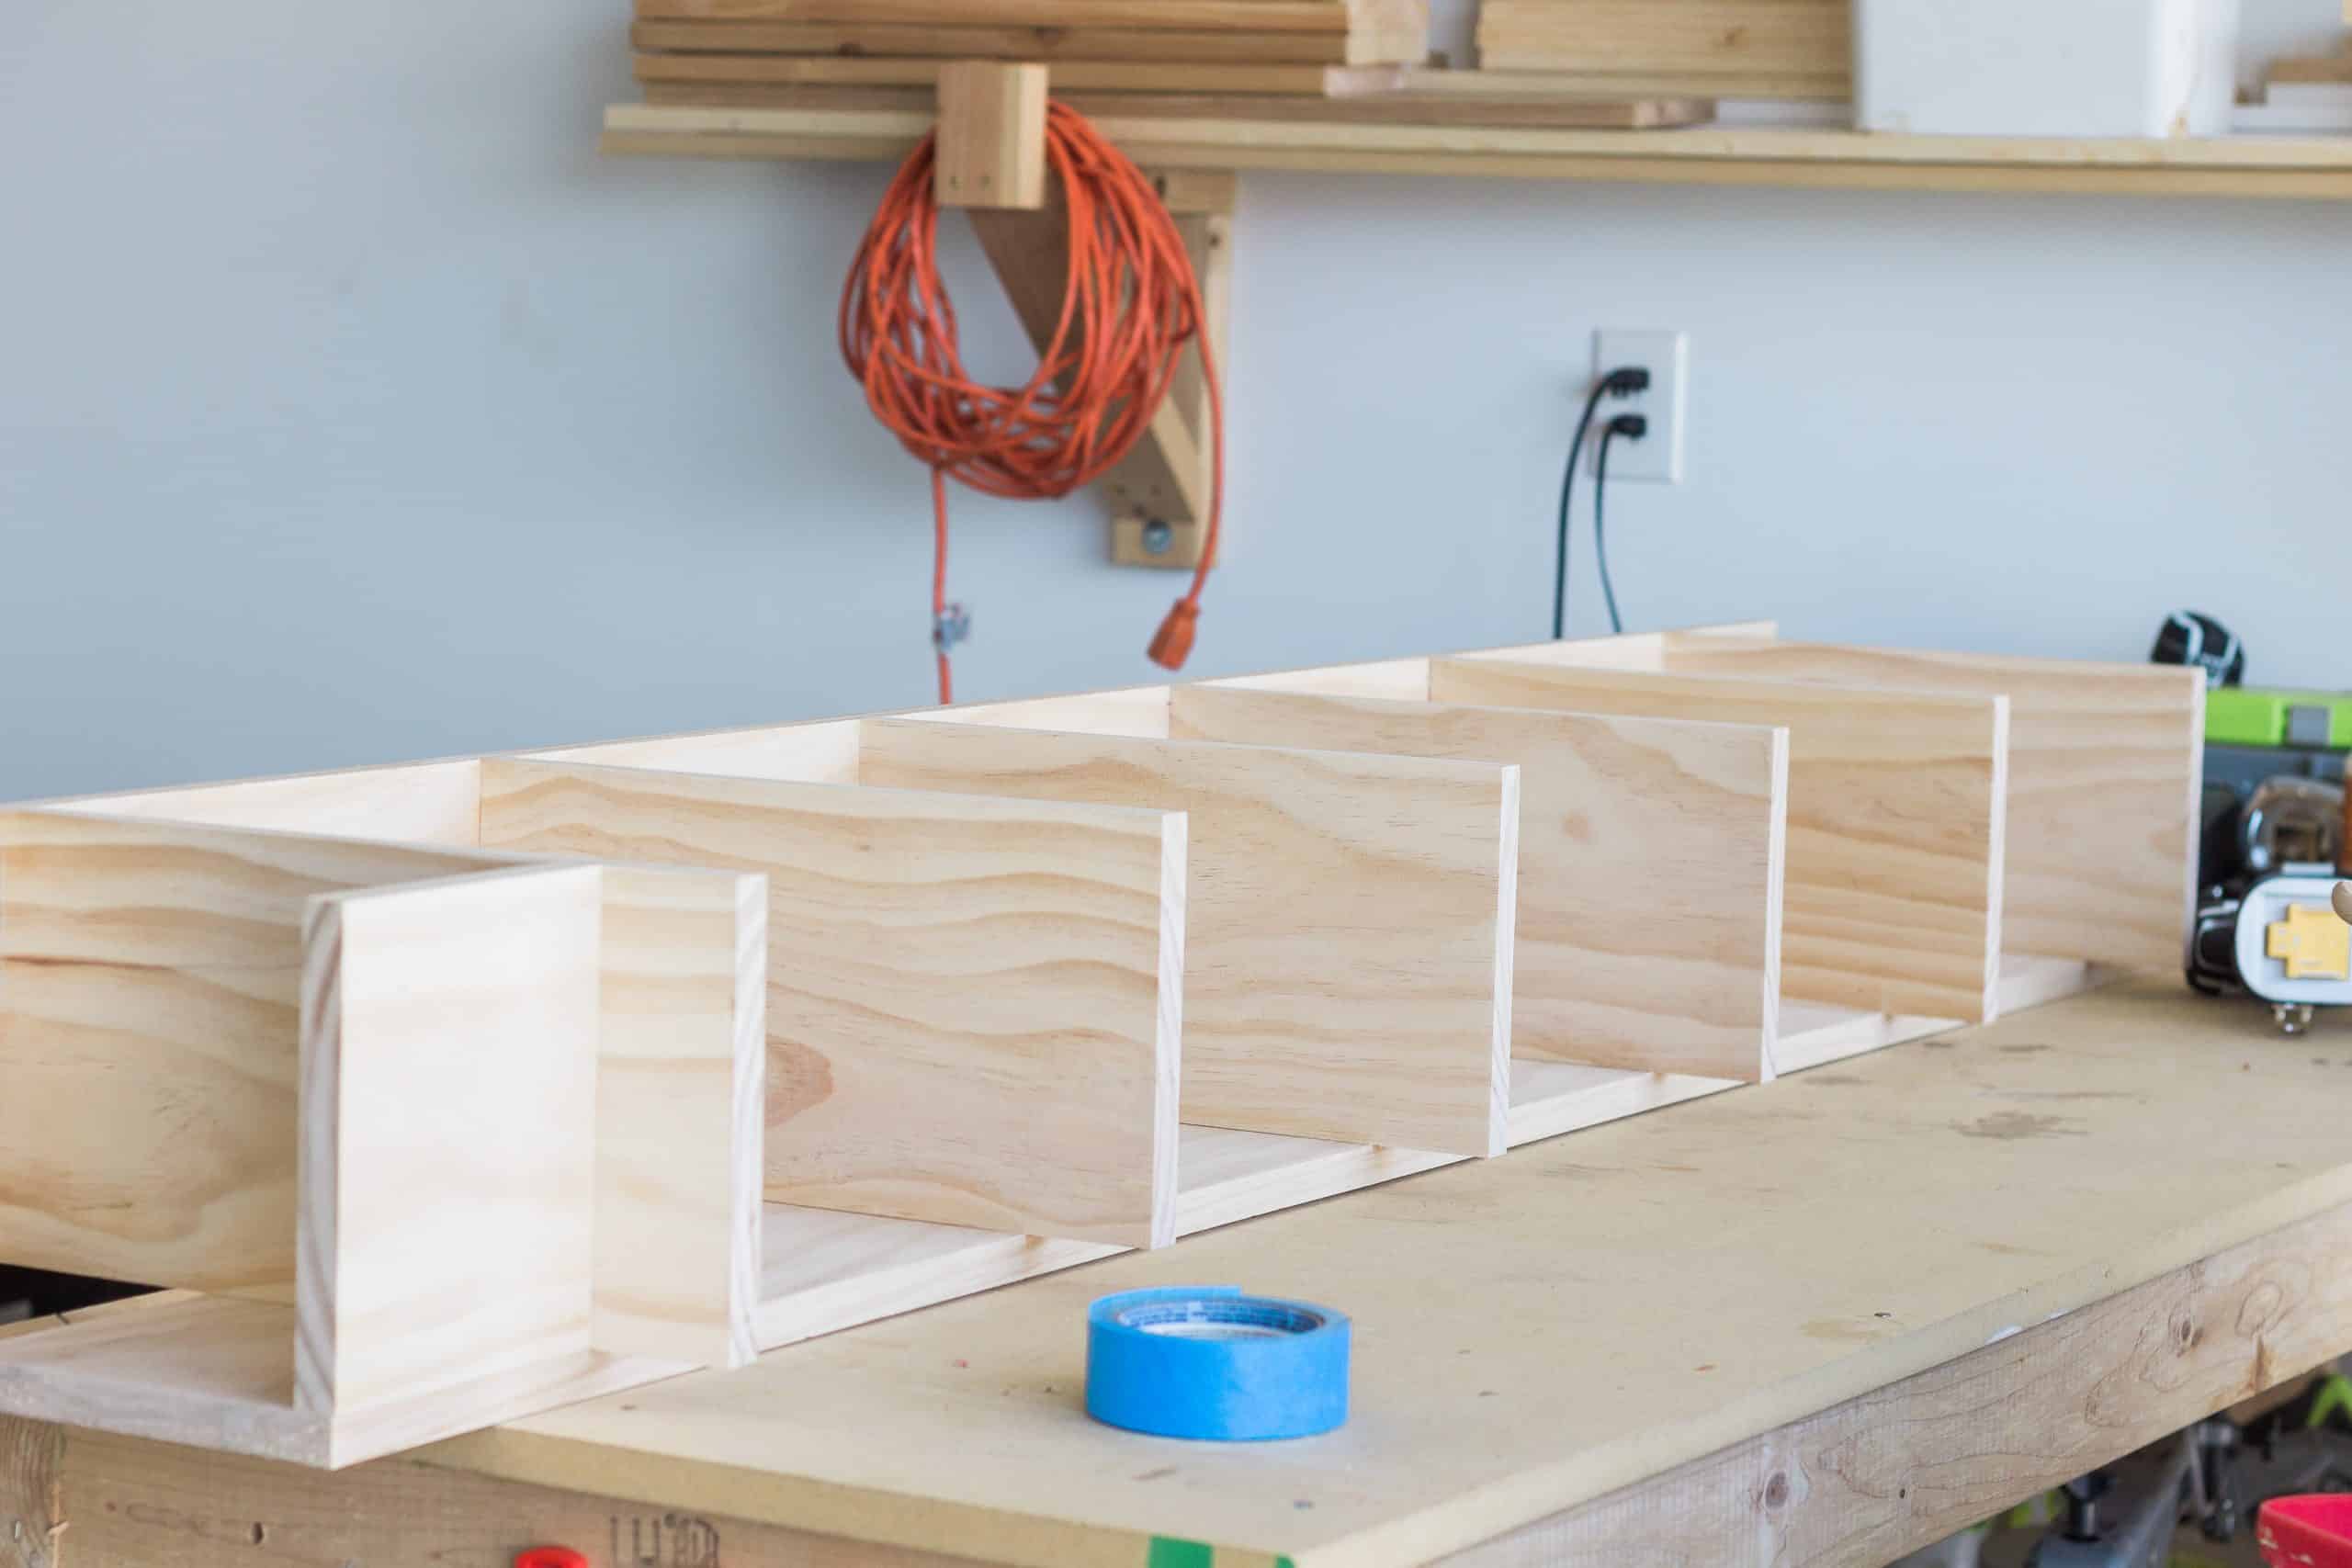
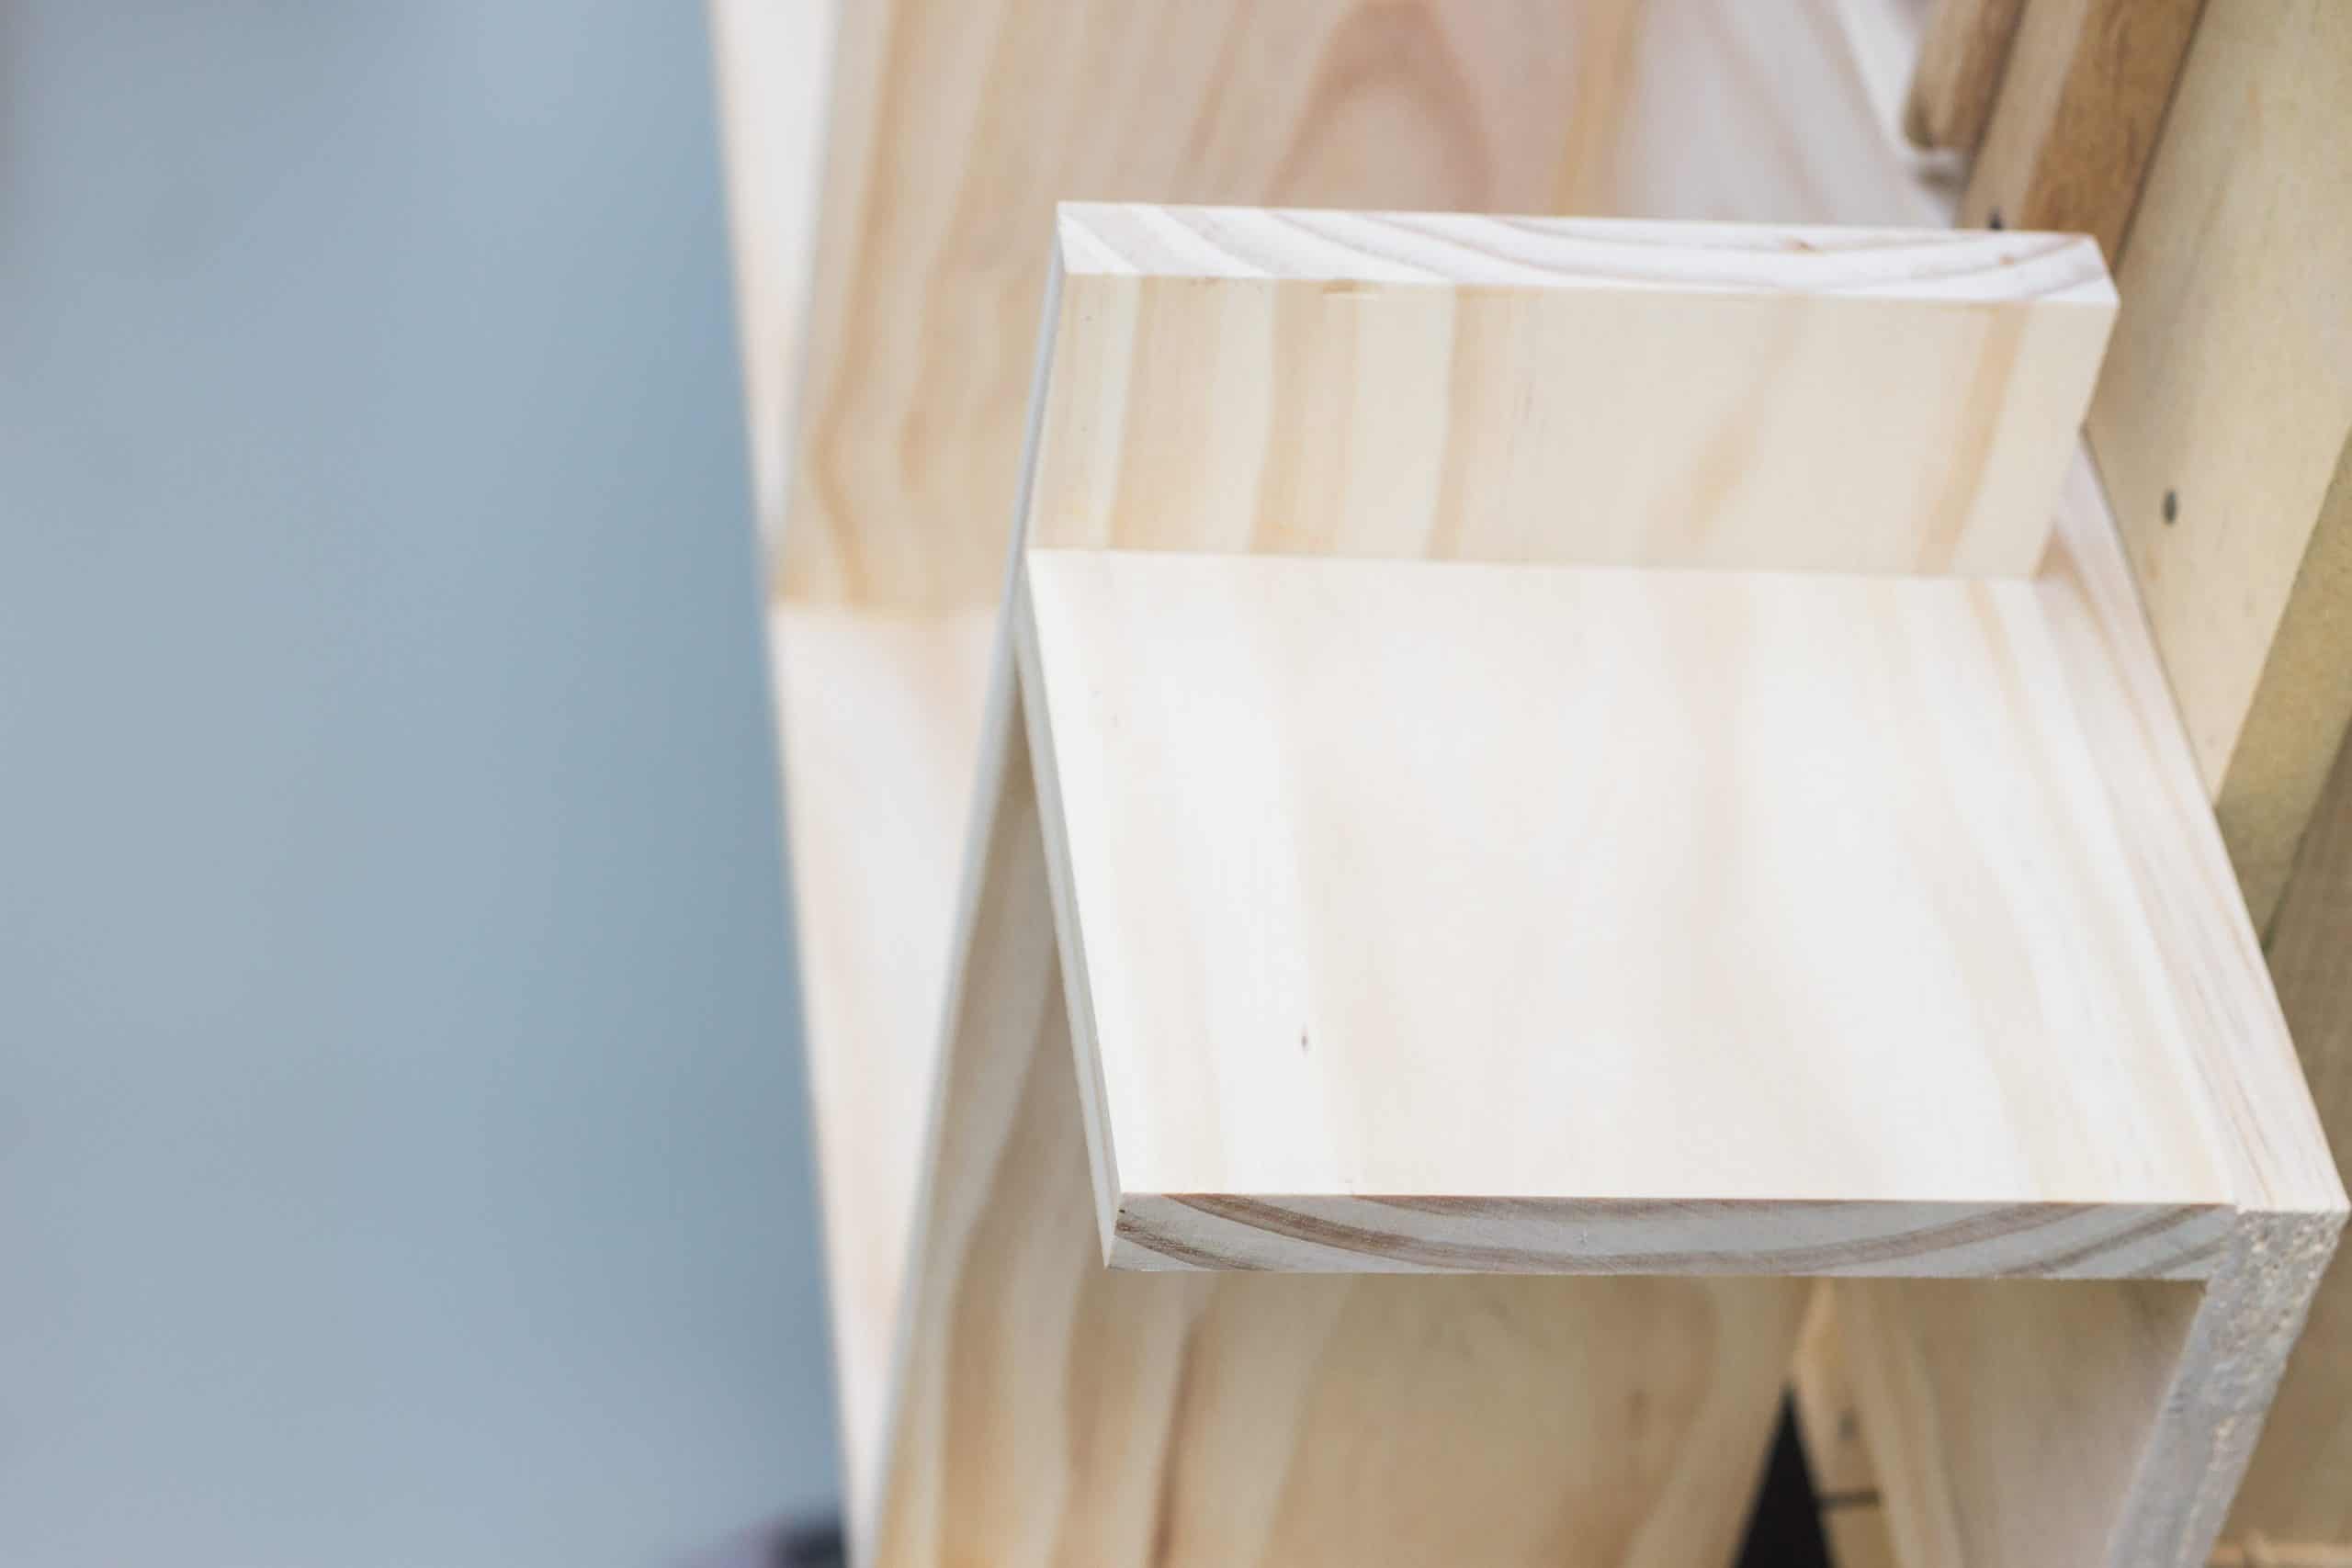
Next, take Side (A) and stand it up on its side. Use clamps so you won’t have to hold it. Then take one of your 14-inch shelves and add some glue to one of the shorter ends. Then line it up in the guide lines you drew earlier. Use a speed square to ensure both sides are square and then attach. We used a brad nail gun using 1.25″ inch nails.
Repeat for the top shelf so the unit can stand freely. Allow glue to dry.
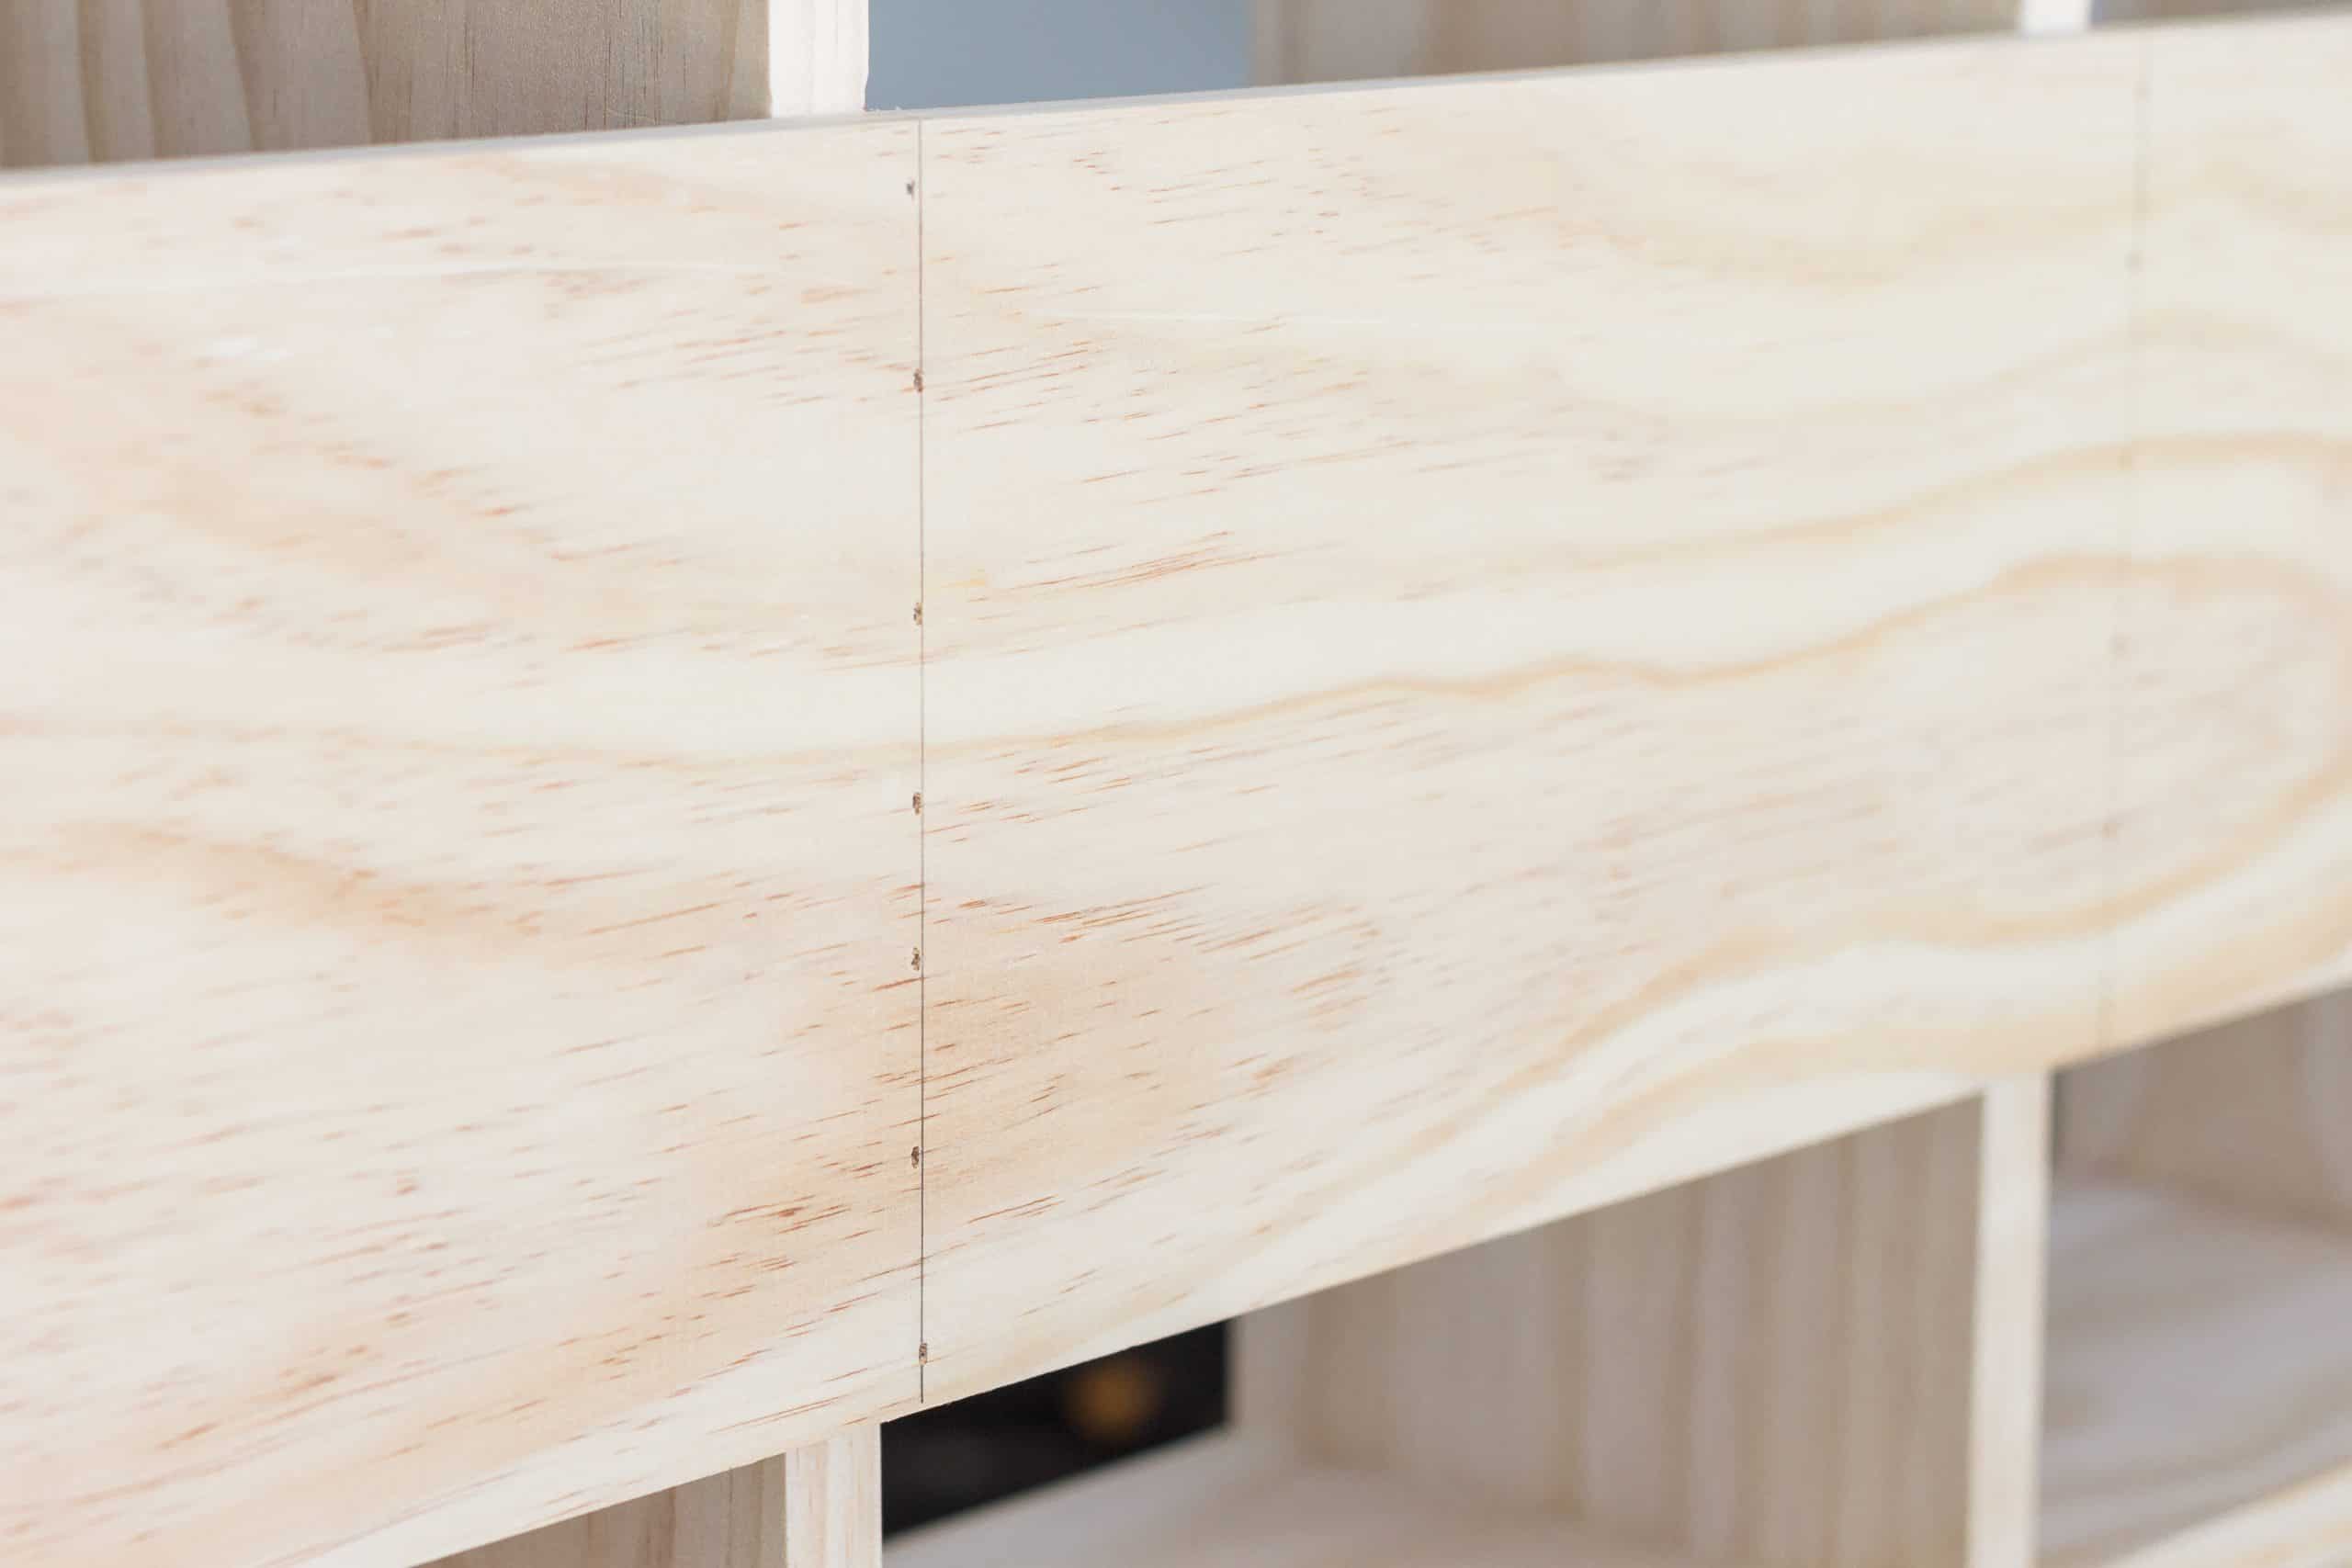
Once dry, flip Side (A) over to where you have access to the back side of the shelves you just attached to (Side) A. We opted to place Back (B) 4.5″ inches away from Side (A).
Once you figure out where you’d like to place Back (B), put some glue on the back side of the shelves you just attached to Side (A). Place Back (B) on the shelves, making sure it lines up perfectly in the lines you drew earlier. Clamp both in place, making sure to check for square. Then attach using brad nails. Let dry for an hour or two.
Now that the frame is built, flip it over to where Back (B) is on the bottom and you can attach your remaining (4) shelves.
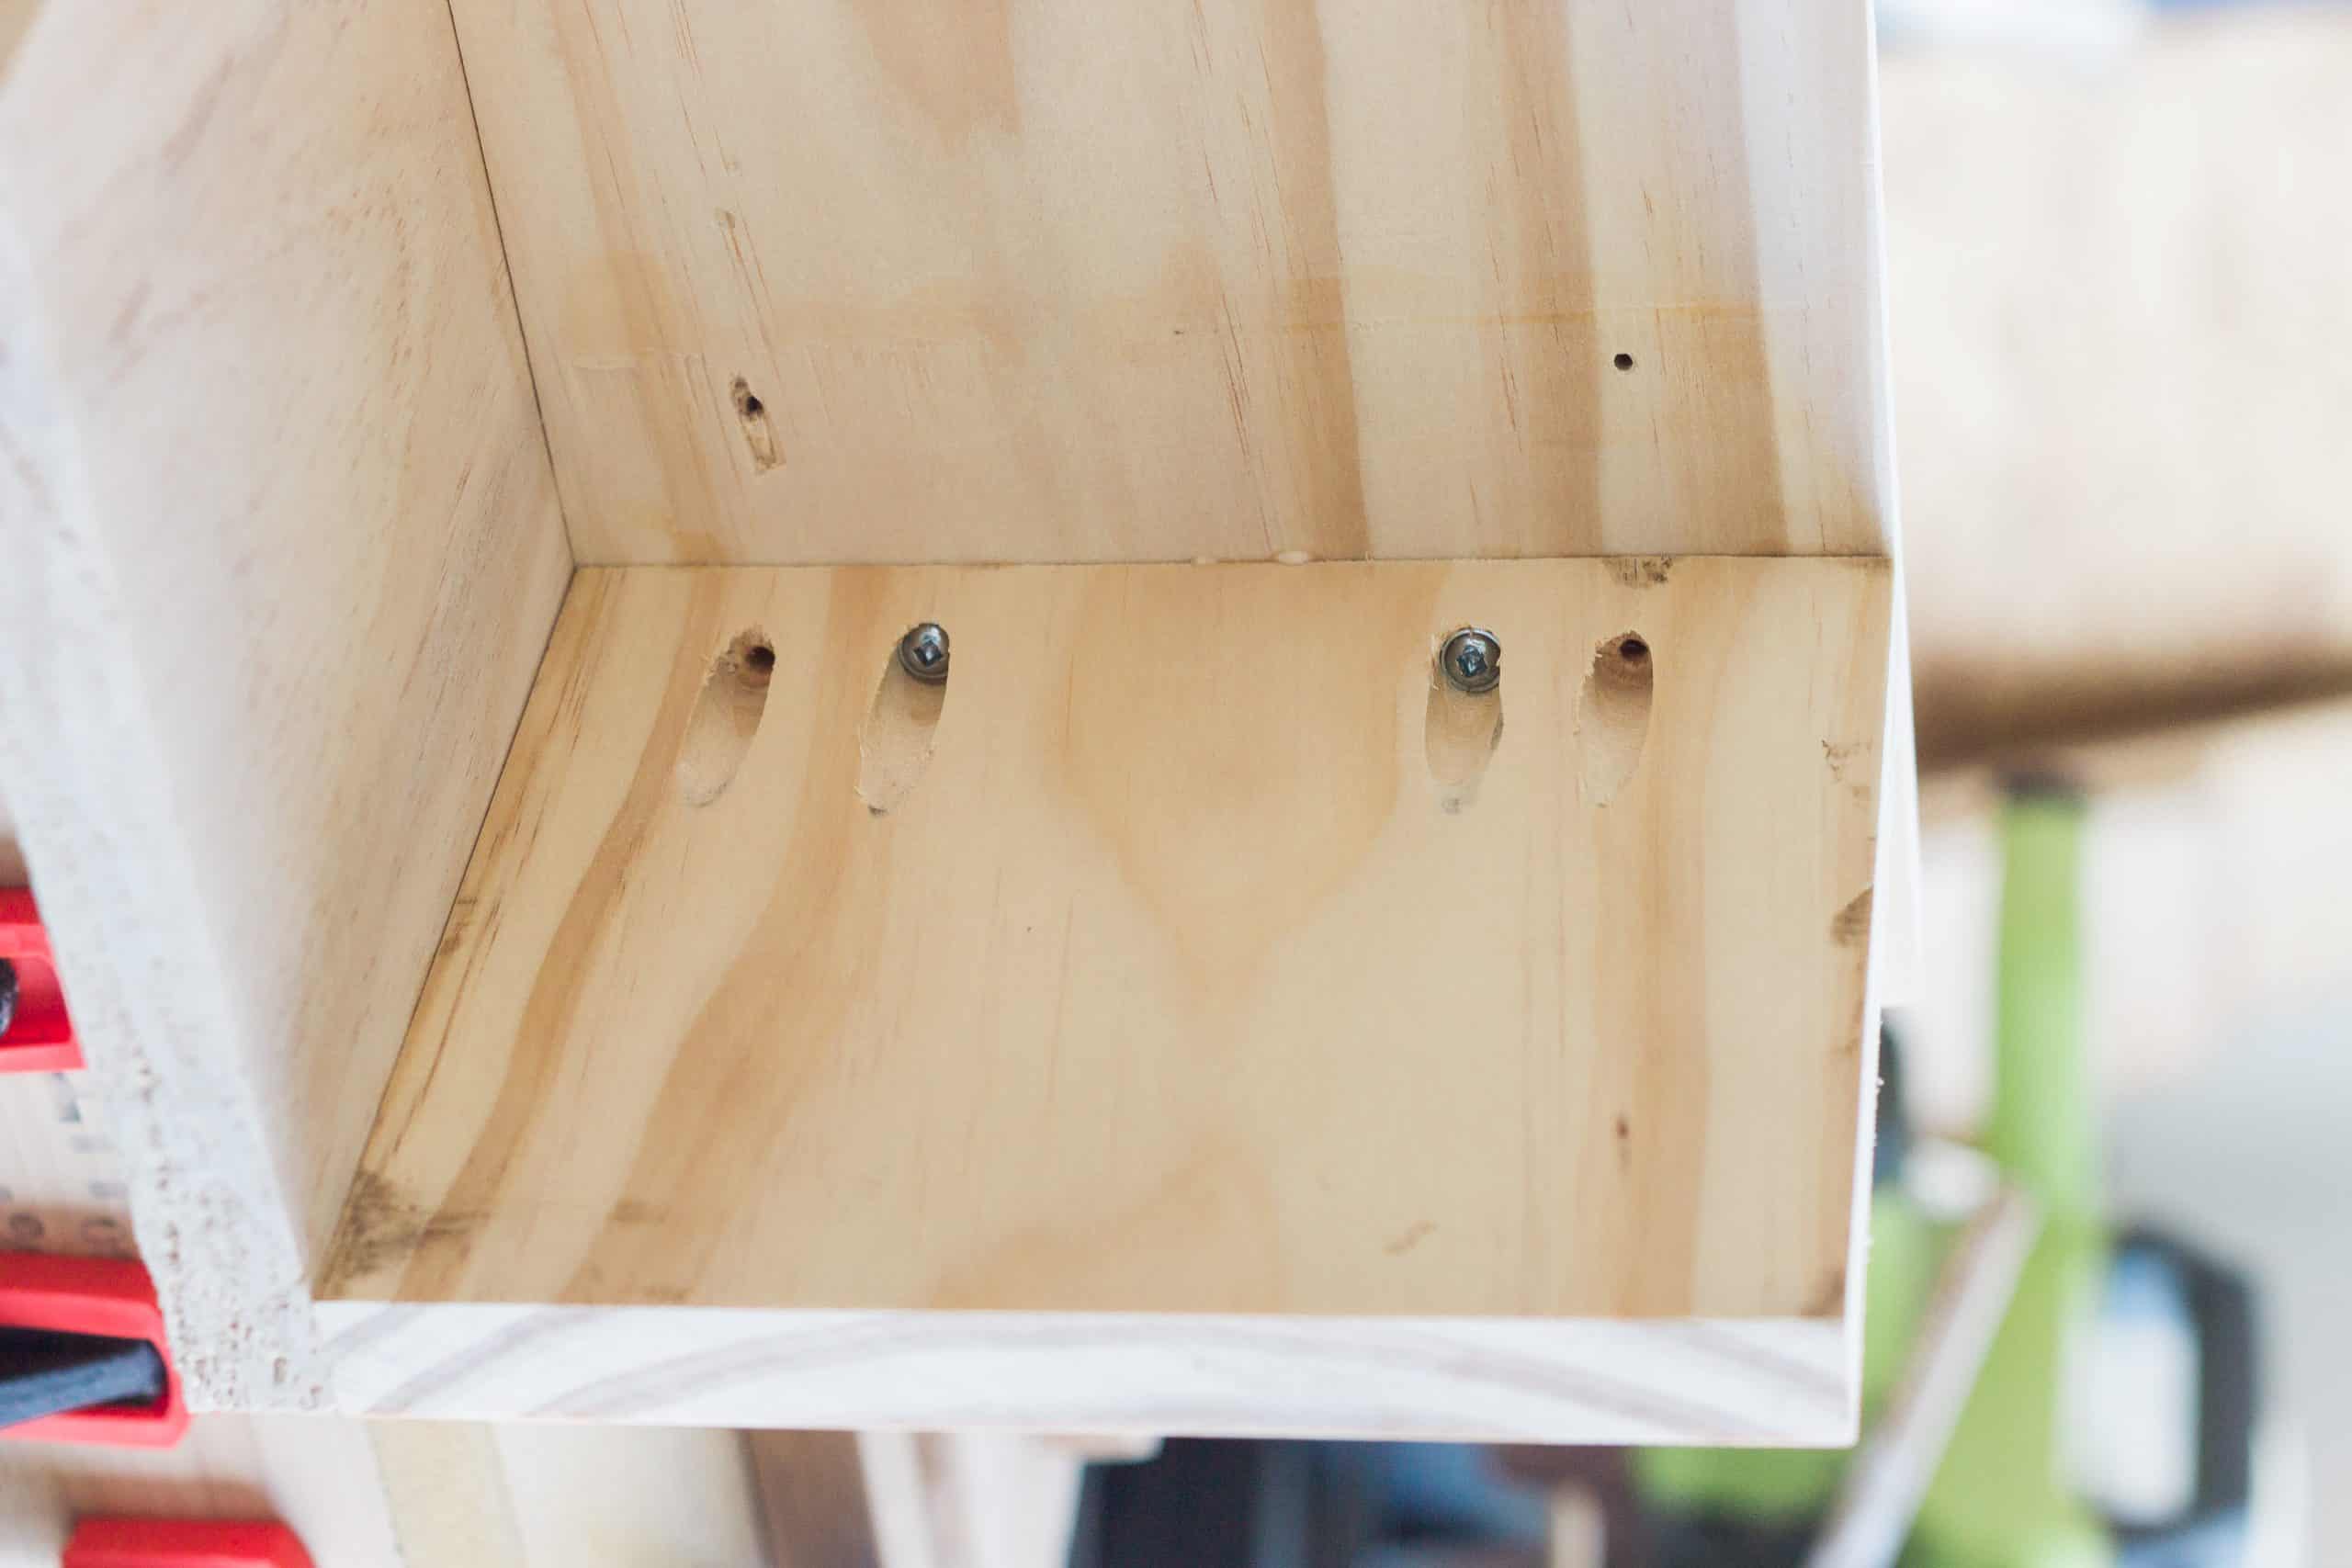
Once all shelves have been attached, you can add the 5.5″ inch leg to the bottom. We opted to use pocket screws in addition to wood glue to join it to the underside of the bottom shelf. We brought it out to where it sits flush and square to Back (B) at the bottom.
At this point, go ahead and sand and stain/paint as desired.

Once finished, it’s time to mount the bookshelf to the wall. Since we did not want to remove the baseboard, we opted to install some spacer boards on both Back (B) and Side (A).
Since Back (B) is visible from the entryway, we opted to use (2) 1 x 6″ strips added to the inside of the top and bottom of Back (B). We pre-drilled the holes and used glue to attach the strips. NOTE: Make sure to use shorter screws here to avoid them popping out the other side.
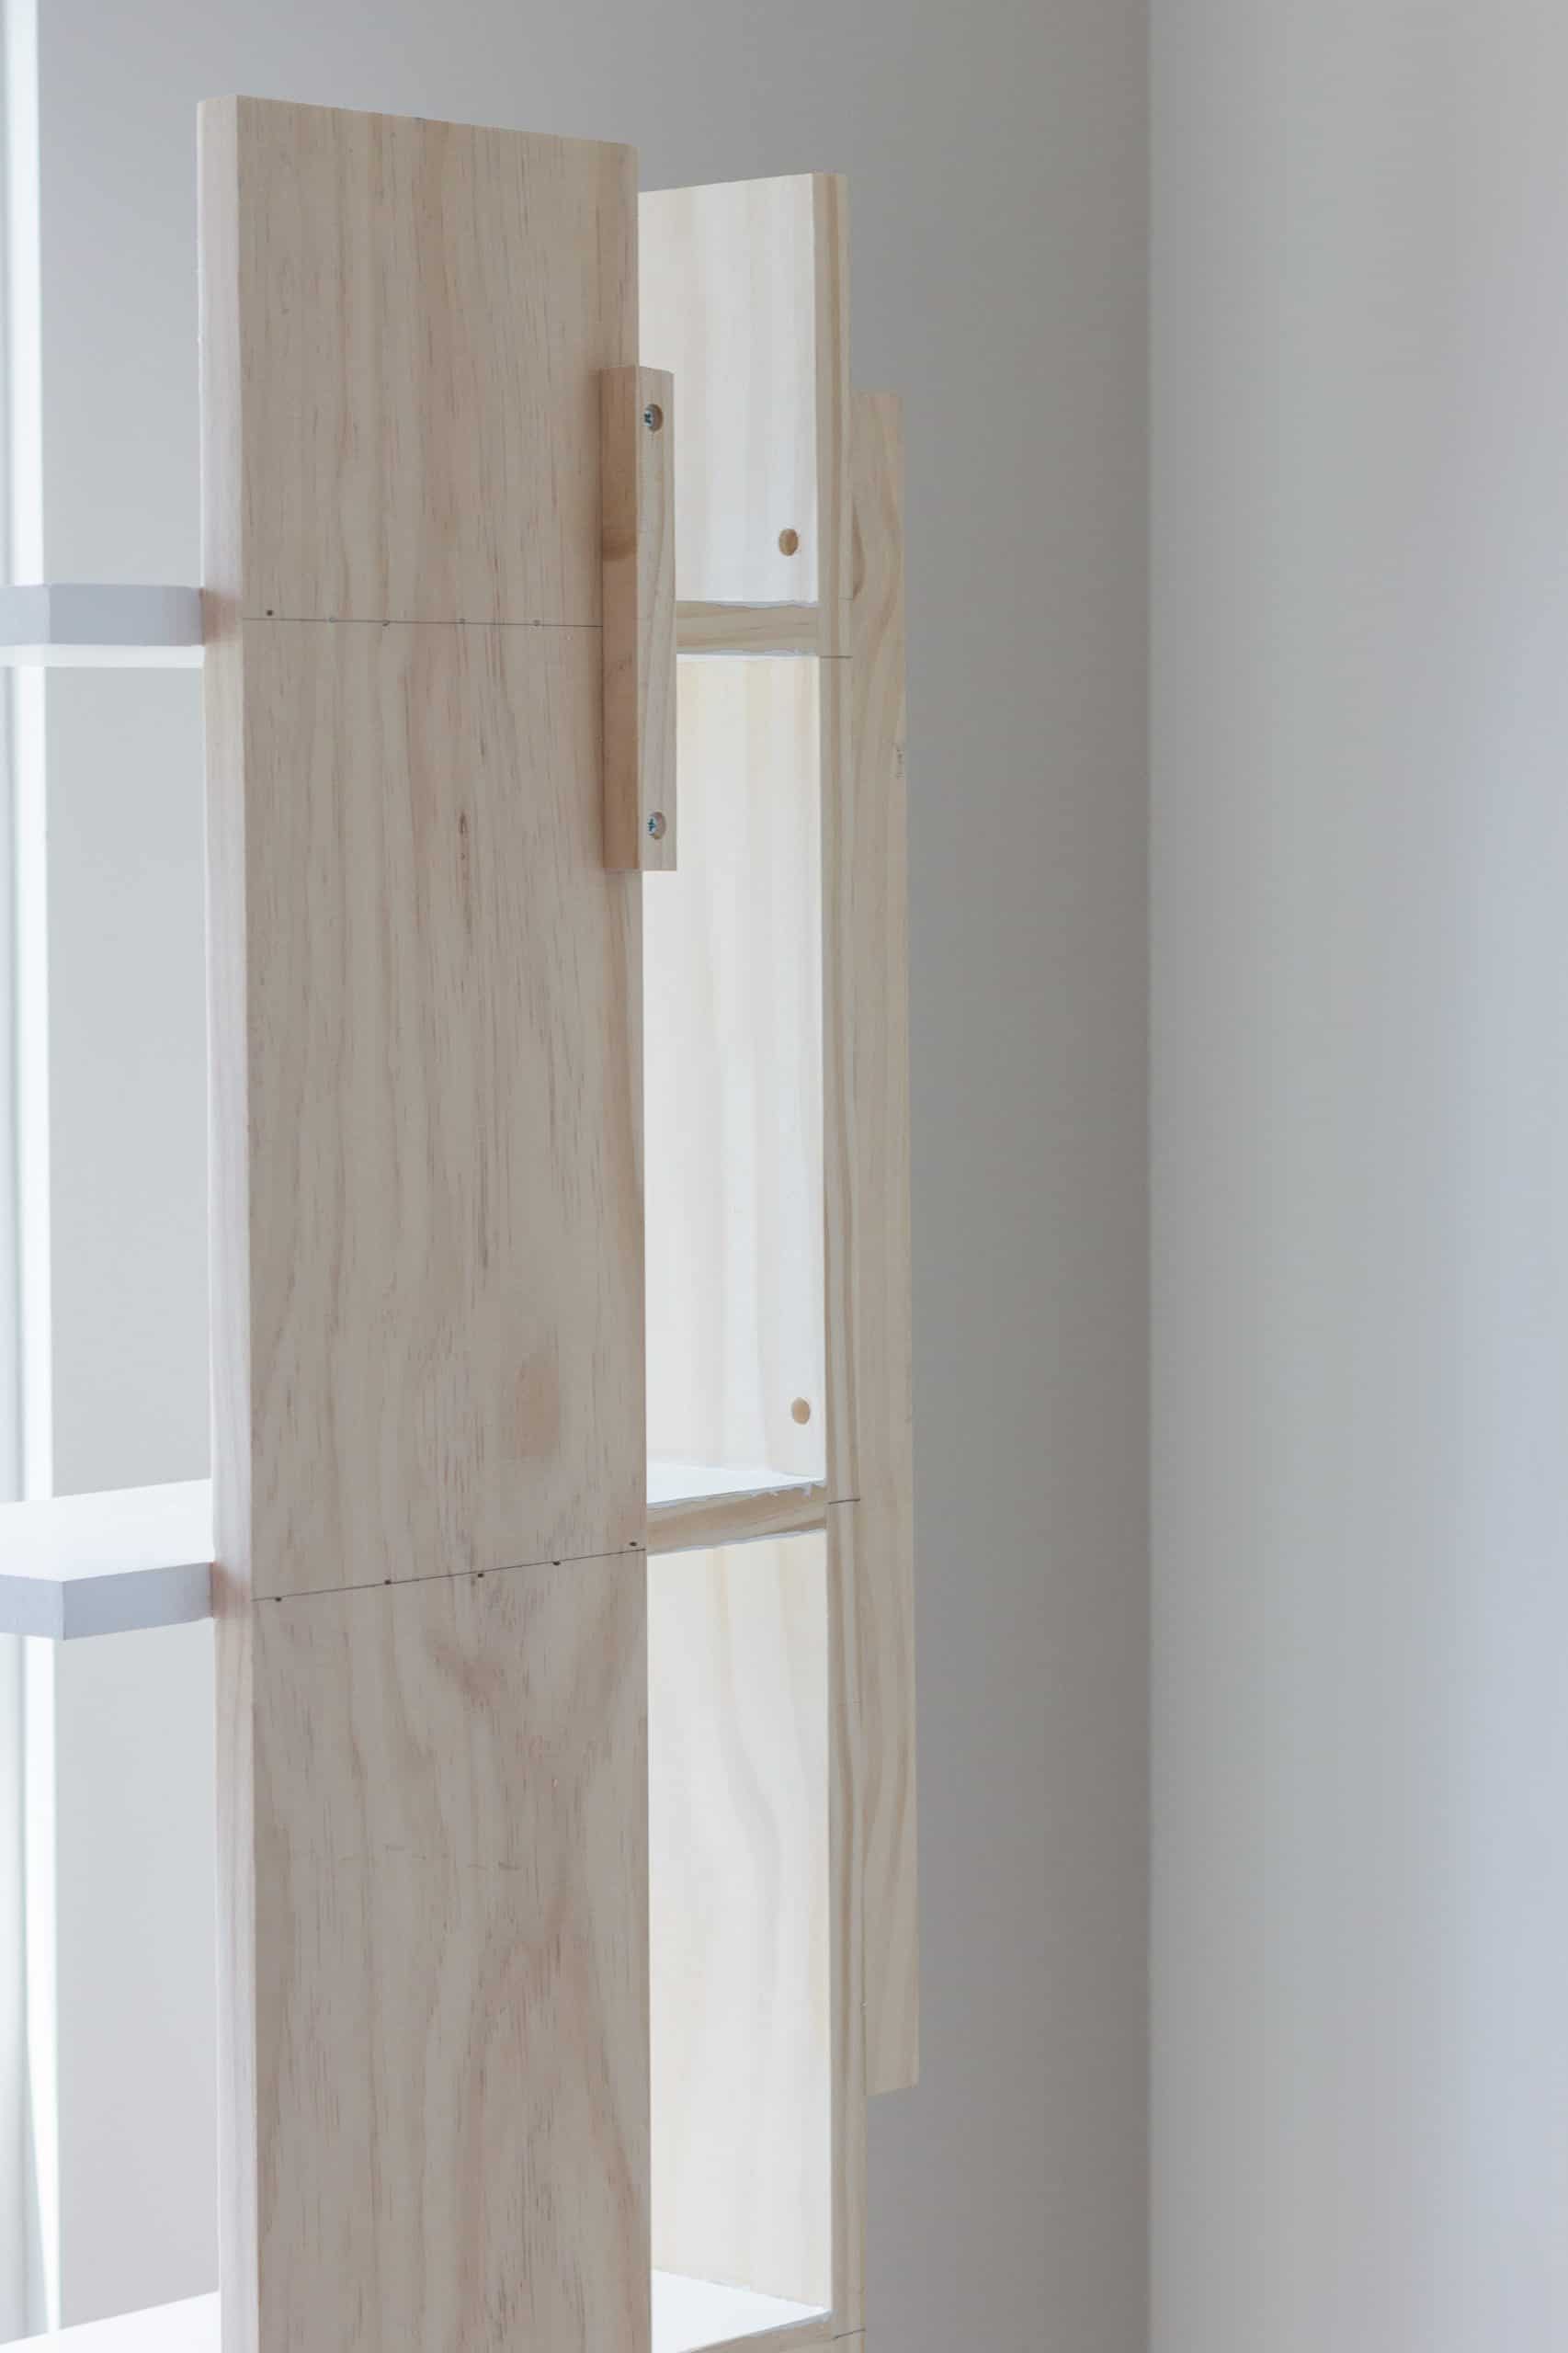
We then attached (1) 20-inch spacer board centered on the back side of Side (A).
Now it’s time to attach the bookcase to your walls. Hopefully, you’re able to hit a few studs. If not, be sure to use drywall anchors for a secure attachment. Pre-drill holes and then attach to walls.
All done! The build is a bit tedious, so make sure you’re working free of distractions but overall it’s a pretty simple and quick DIY project. And, honestly, for just $60 bucks we’re thrilled with the additional storage space we managed to squeeze into a previously unused corner.
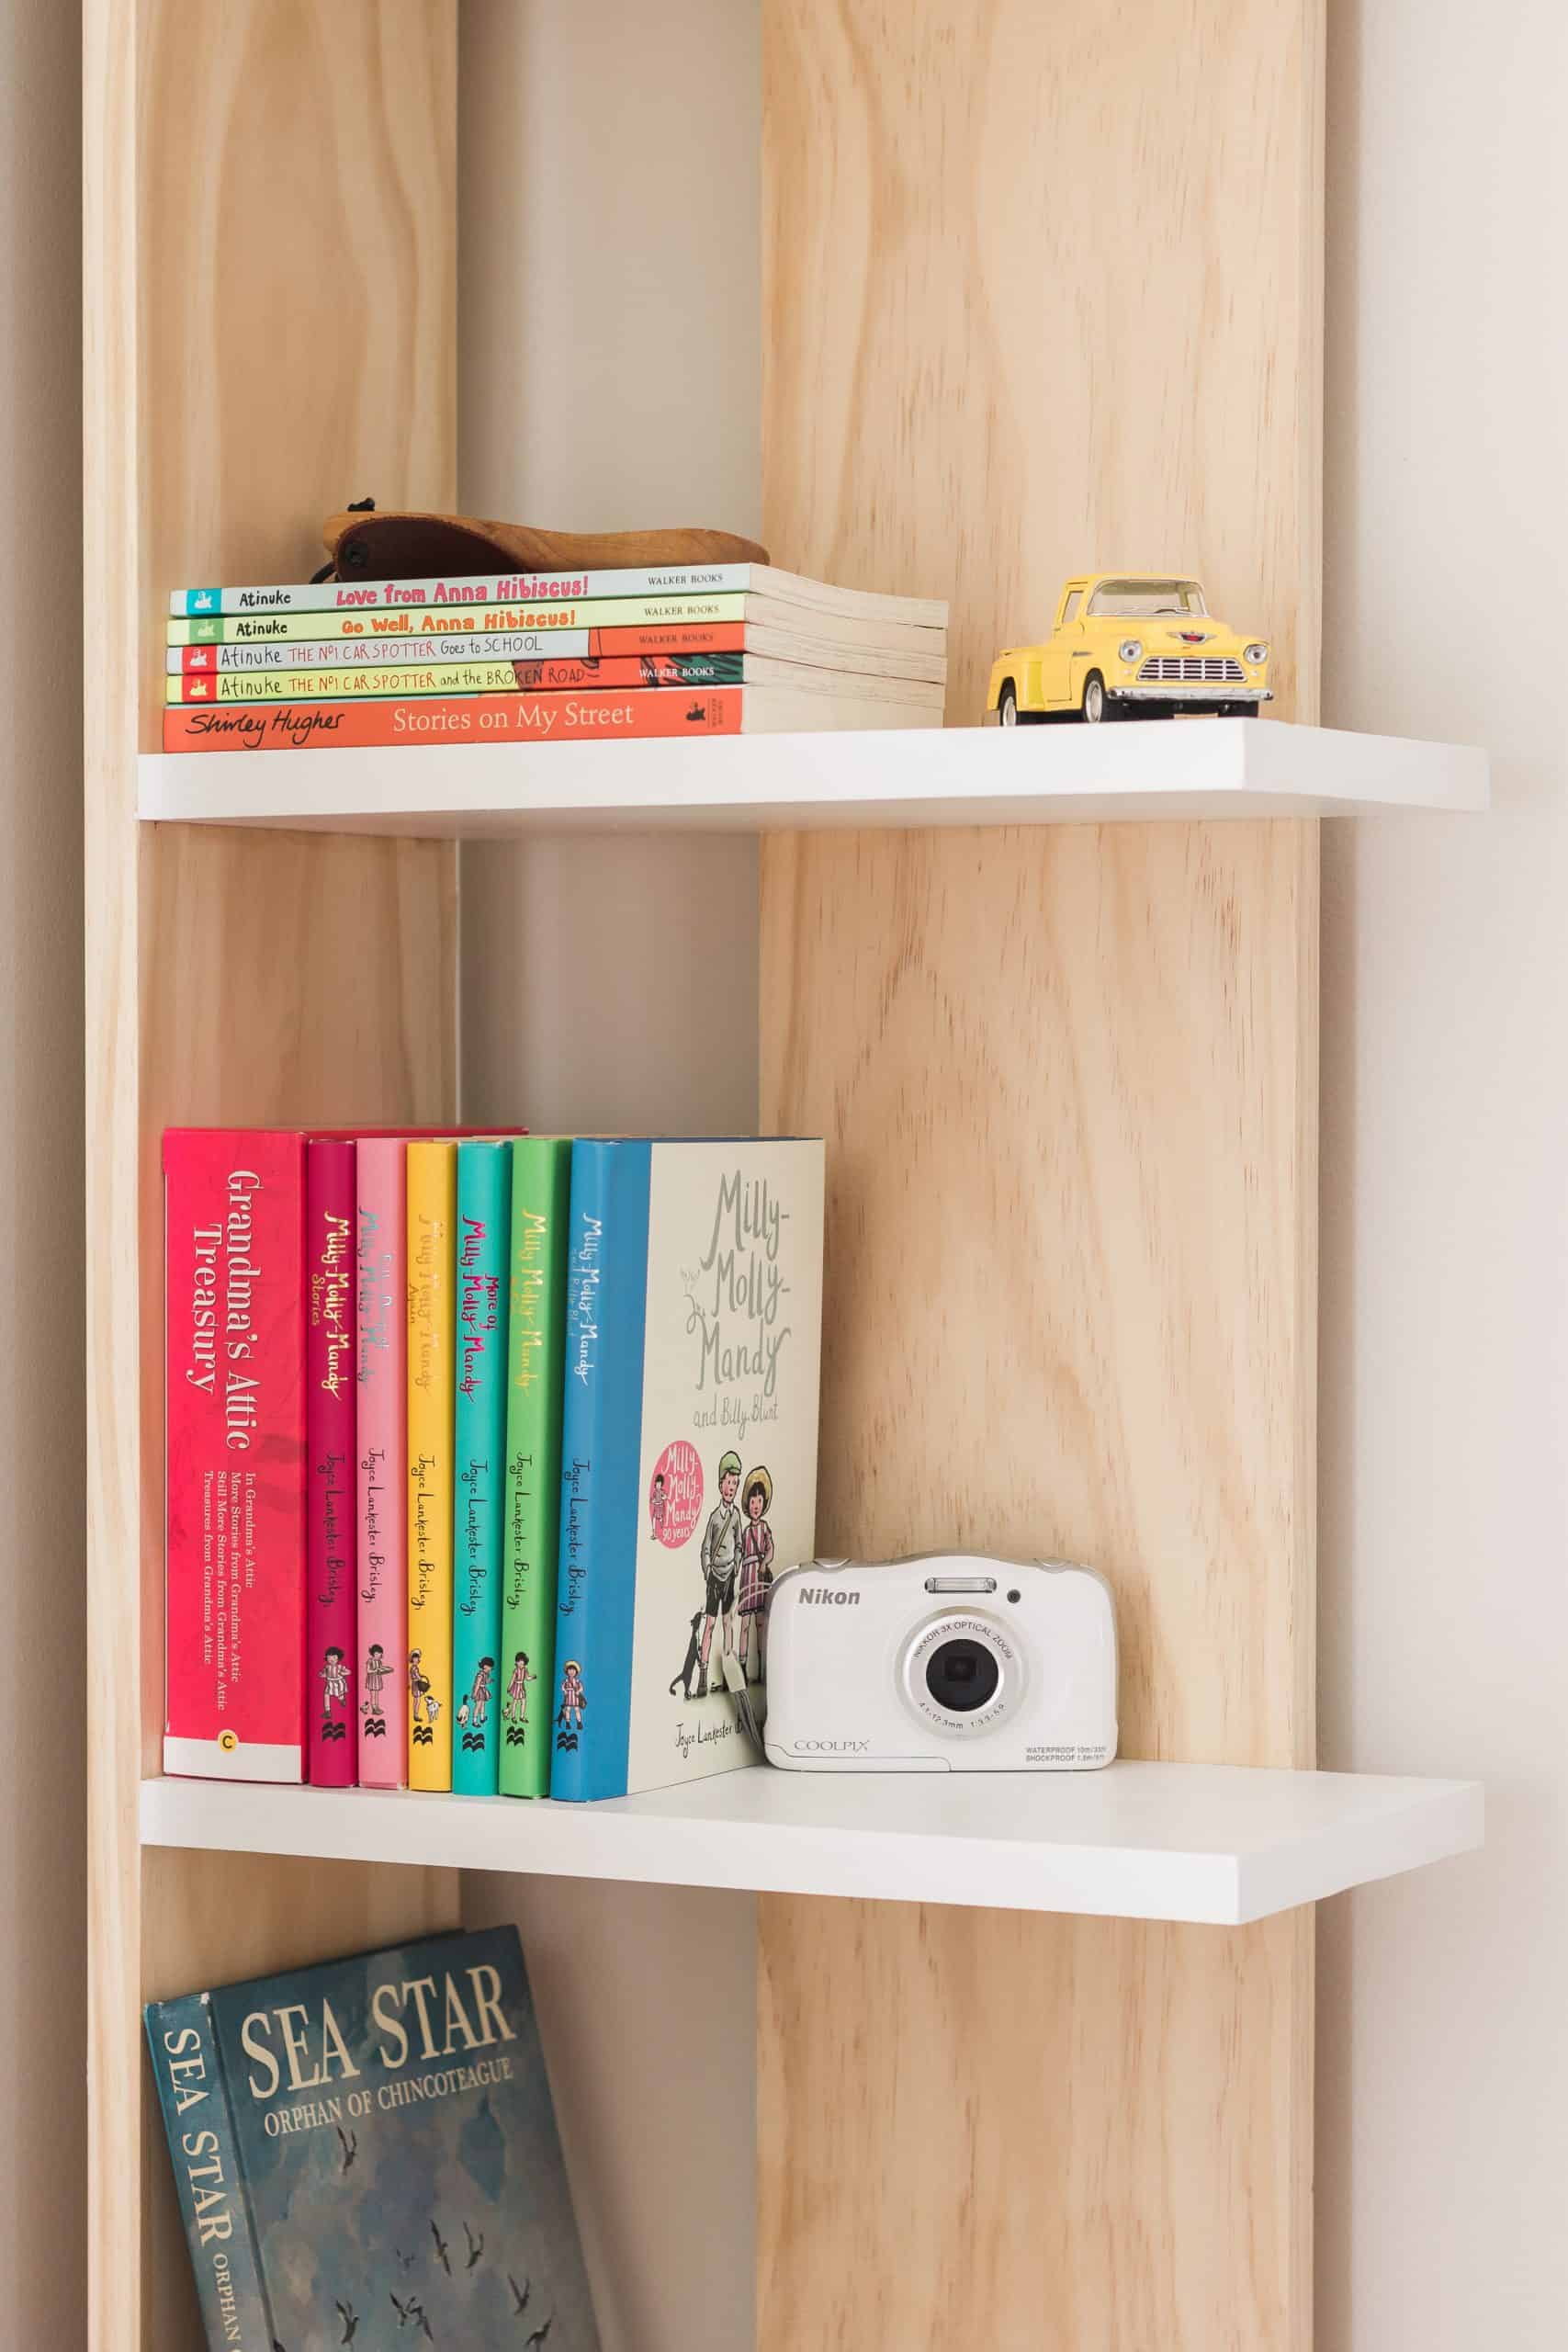
I can’t wait to see what books and treasures our daughters will choose to display in the coming years. I can assure you I doubt it’ll ever be this neat and tidy again though! 😉
Here’s where we now stand on our official ORC Project List:
Build matching twin headboardsBuild a small-space shelving unit for books and knick-knacks- Ditch the dresser for a nightstand
- Refinish a vintage desk to provide our children with a space to write and draw
- Install custom closet shelving
- Add a rug to soften the floors
- Figure out a lighting solution, particularly one that will help ease fears of the dark
- Create a minimal self-care station
- Decorate all those bare walls!
Next week we’ll be tackling the closet and installing some built-in shelving. And in the process saying goodbye to the ugly builder-grade wire shelving! Woohoo! (Don’t worry, we’re not throwing it away. It’s simply being relocated to our basement for additional storage there.)
Before you go, be sure to check out the other participants’ in this year’s One Year Challenge. Click the image below to see what everyone else has been up to this week and throw them a bit of encouragement with a follow or a like or a social media share.
If you’d like to receive the latest news about our budget-friendly DIY projects as we continue to add character to our builder-grade home, be sure to sign up for the newsletter. You’ll also receive access to the Resource Library, where you’ll find a collection of homeschooling and homemaking printables.
Can’t wait to follow along this space ! See ya next week !
That is such a great design – I love that it’s the more grown up version of a book ledge
Thank you so much, Lindsey!