
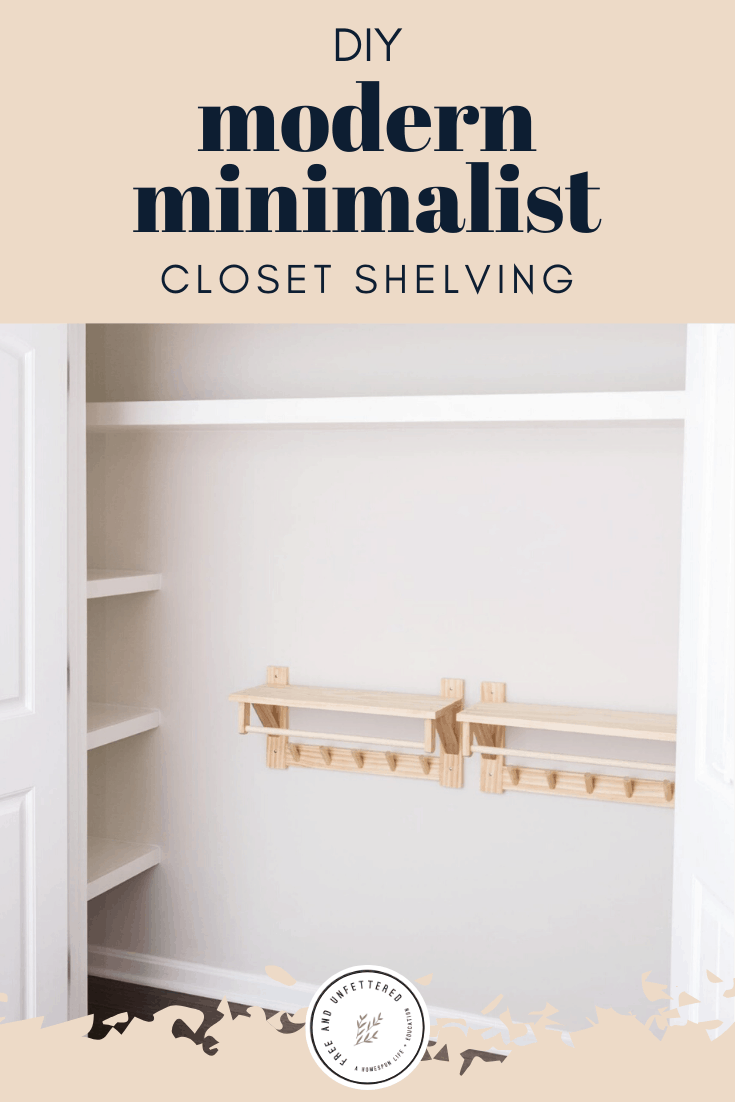
Easy DIY Built-In Closet Shelving | One Room Challenge – Week 4
How are you, friends? For this week’s One Room Challenge we’re tackling the closet in our girls’ shared bedroom. Built-in closet shelving may not be the most exciting project, but it’s essential for small spaces.

Here’s a quick recap of our projects and progress during the Spring 2020 One Room Challenge.
WEEK 1: A Shared Girls’ Bedroom Makeover — The Plan
WEEK 2: DIY Twin House Headboards
WEEK 3: DIY $60 Corner Bookcase
WEEK 4: Easy DIY Built-In Closet Shelving
WEEK 5/6: A Simple IKEA Rast Nightstand Makeover
WEEK 7: A Children’s Rolltop Desk Makeover
WEEK 8: The Final Reveal — See the Complete Transformation of Our Shared Kids’ Bedroom!
As you can see from our ORC Project List we are planning on replacing the girls’ small dresser with a nightstand. This, of course, means all their clothing will be kept in the closet moving forward so we want to squeeze every ounce of extra storage capacity out of this space as we possibly can.
ORC PROJECT LIST
Build matching twin headboardsBuild a small-space shelving unit for books and knick-knacks- Ditch the dresser for a nightstand
- Refinish a vintage desk to provide our children with a space to write and draw
- Install custom closet shelving
- Add a rug to soften the floors
- Figure out a lighting solution, particularly one that will help ease fears of the dark
- Create a minimal self-care station
- Decorate all those bare walls!
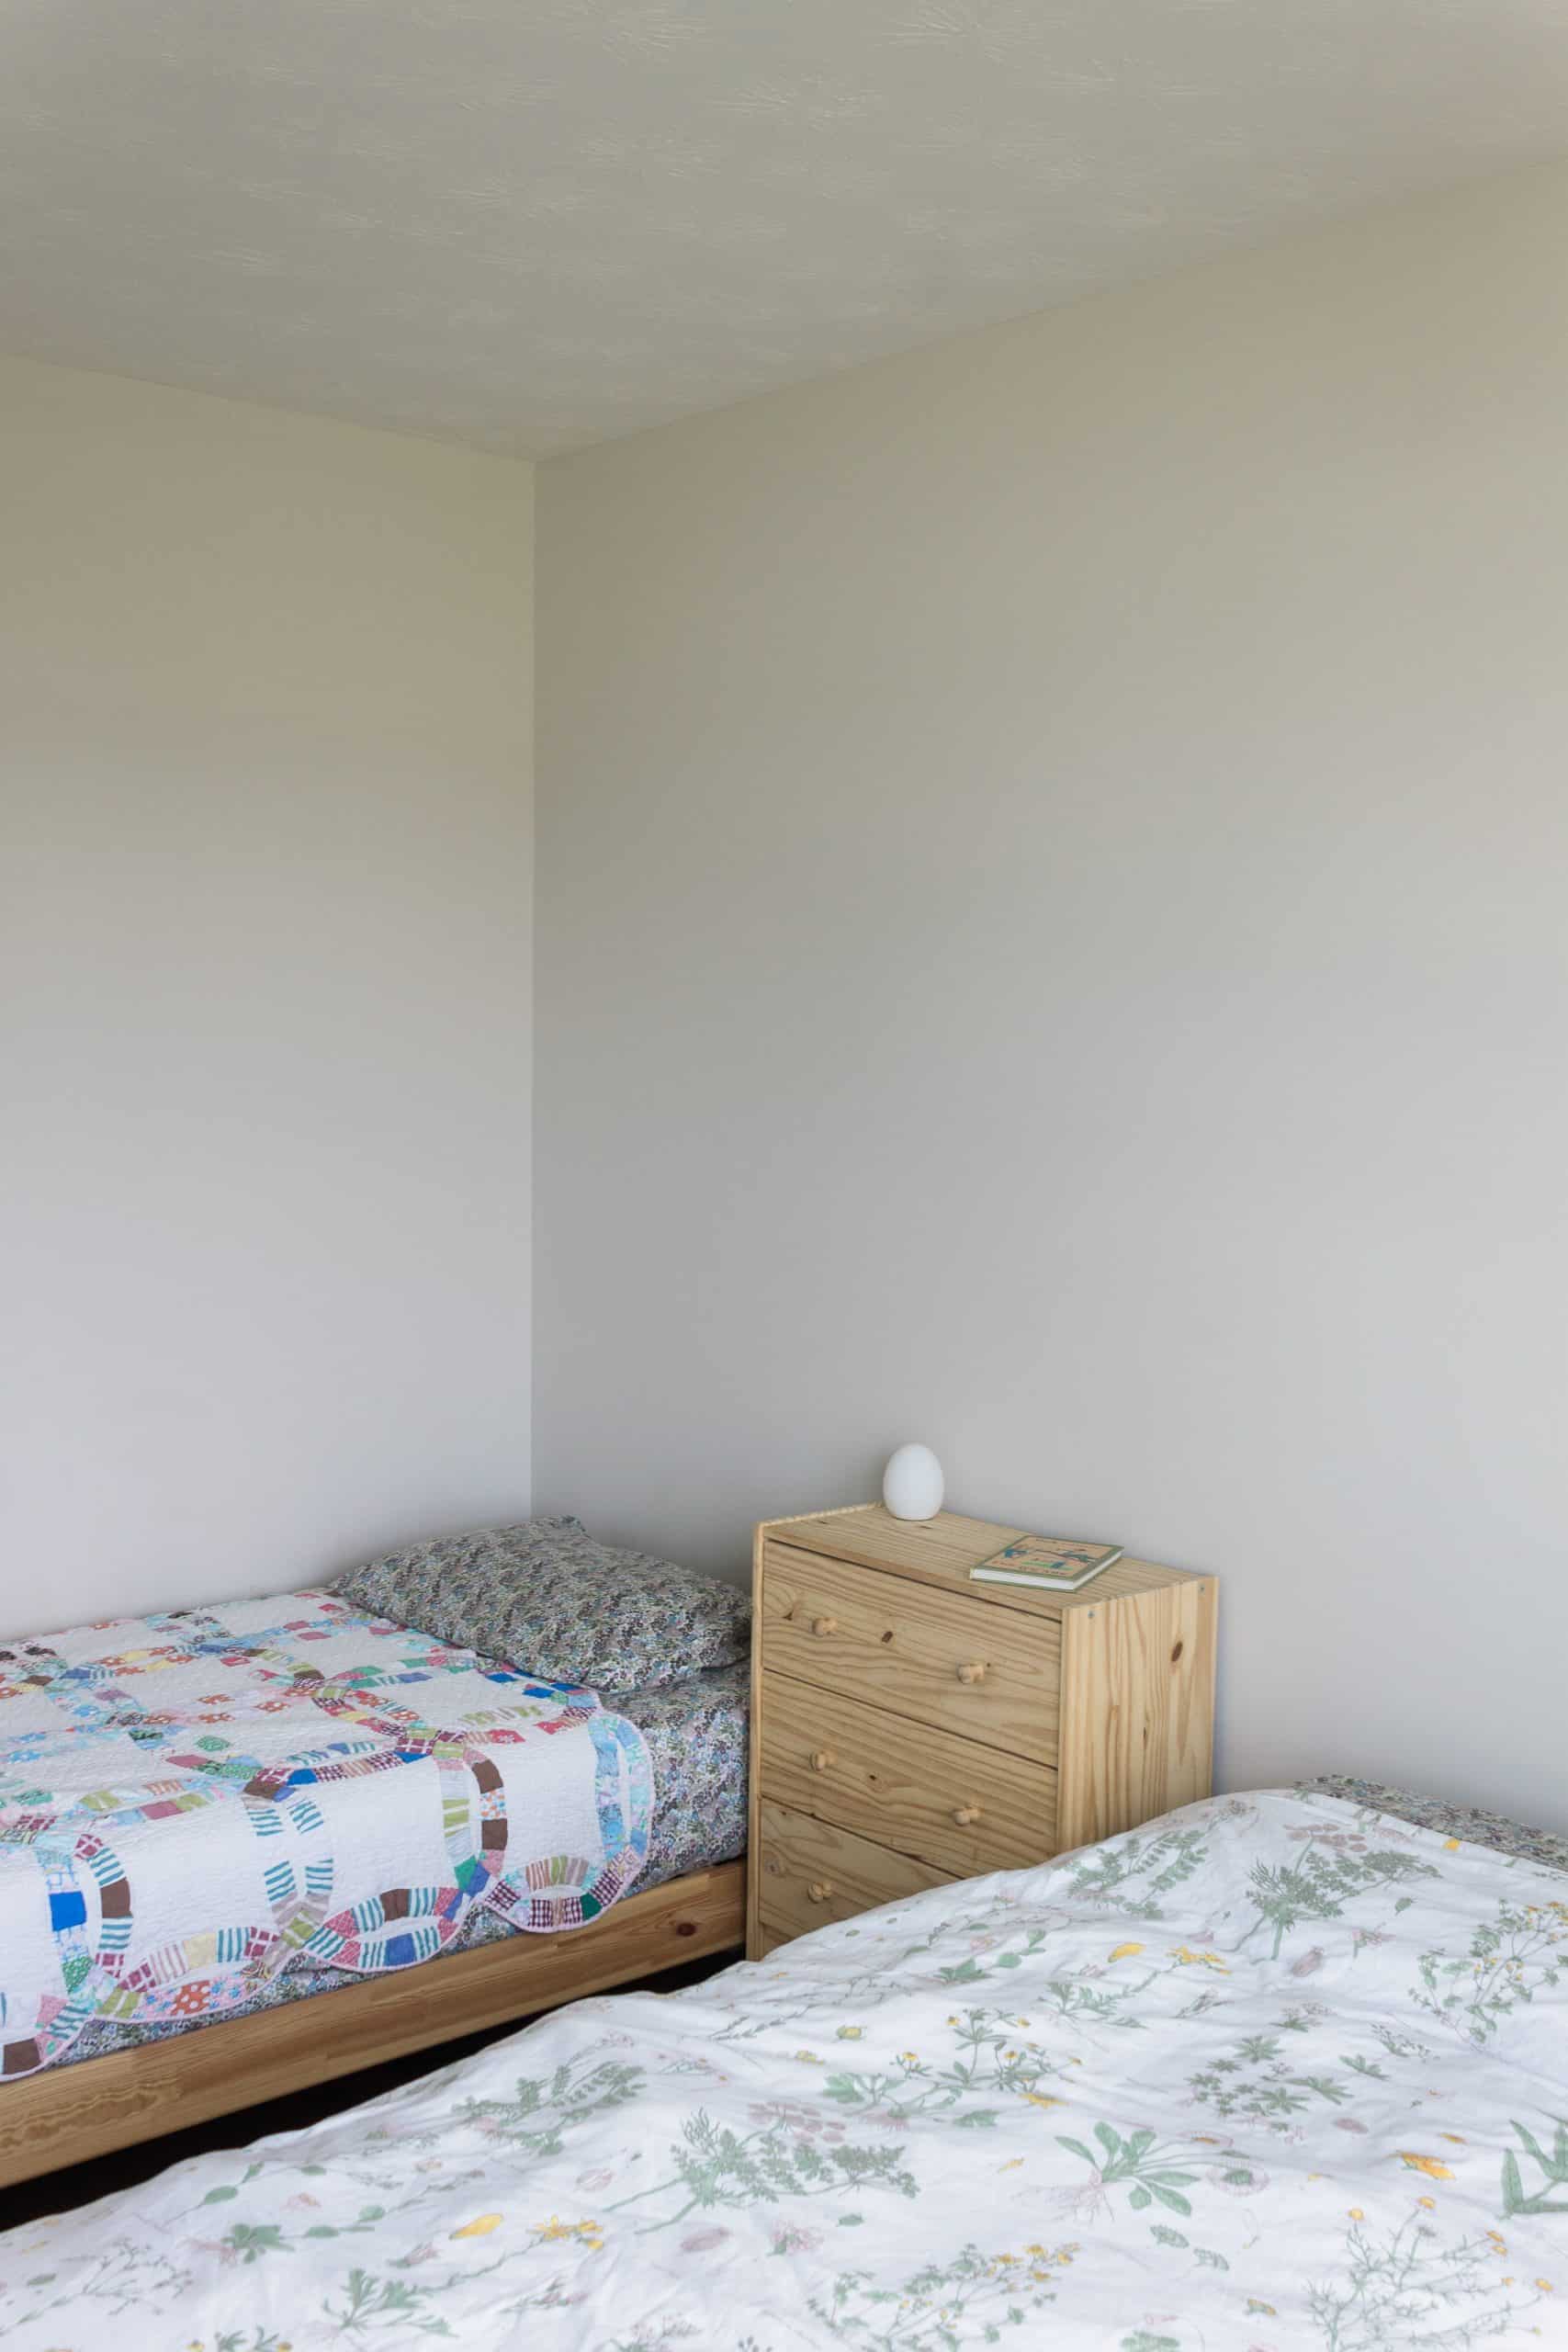
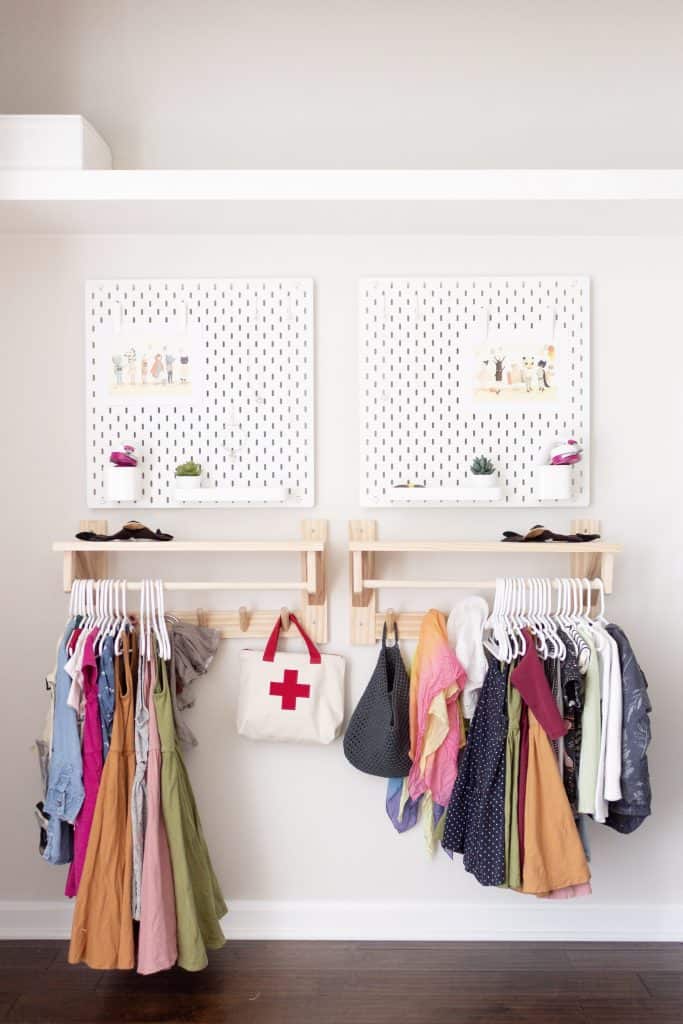
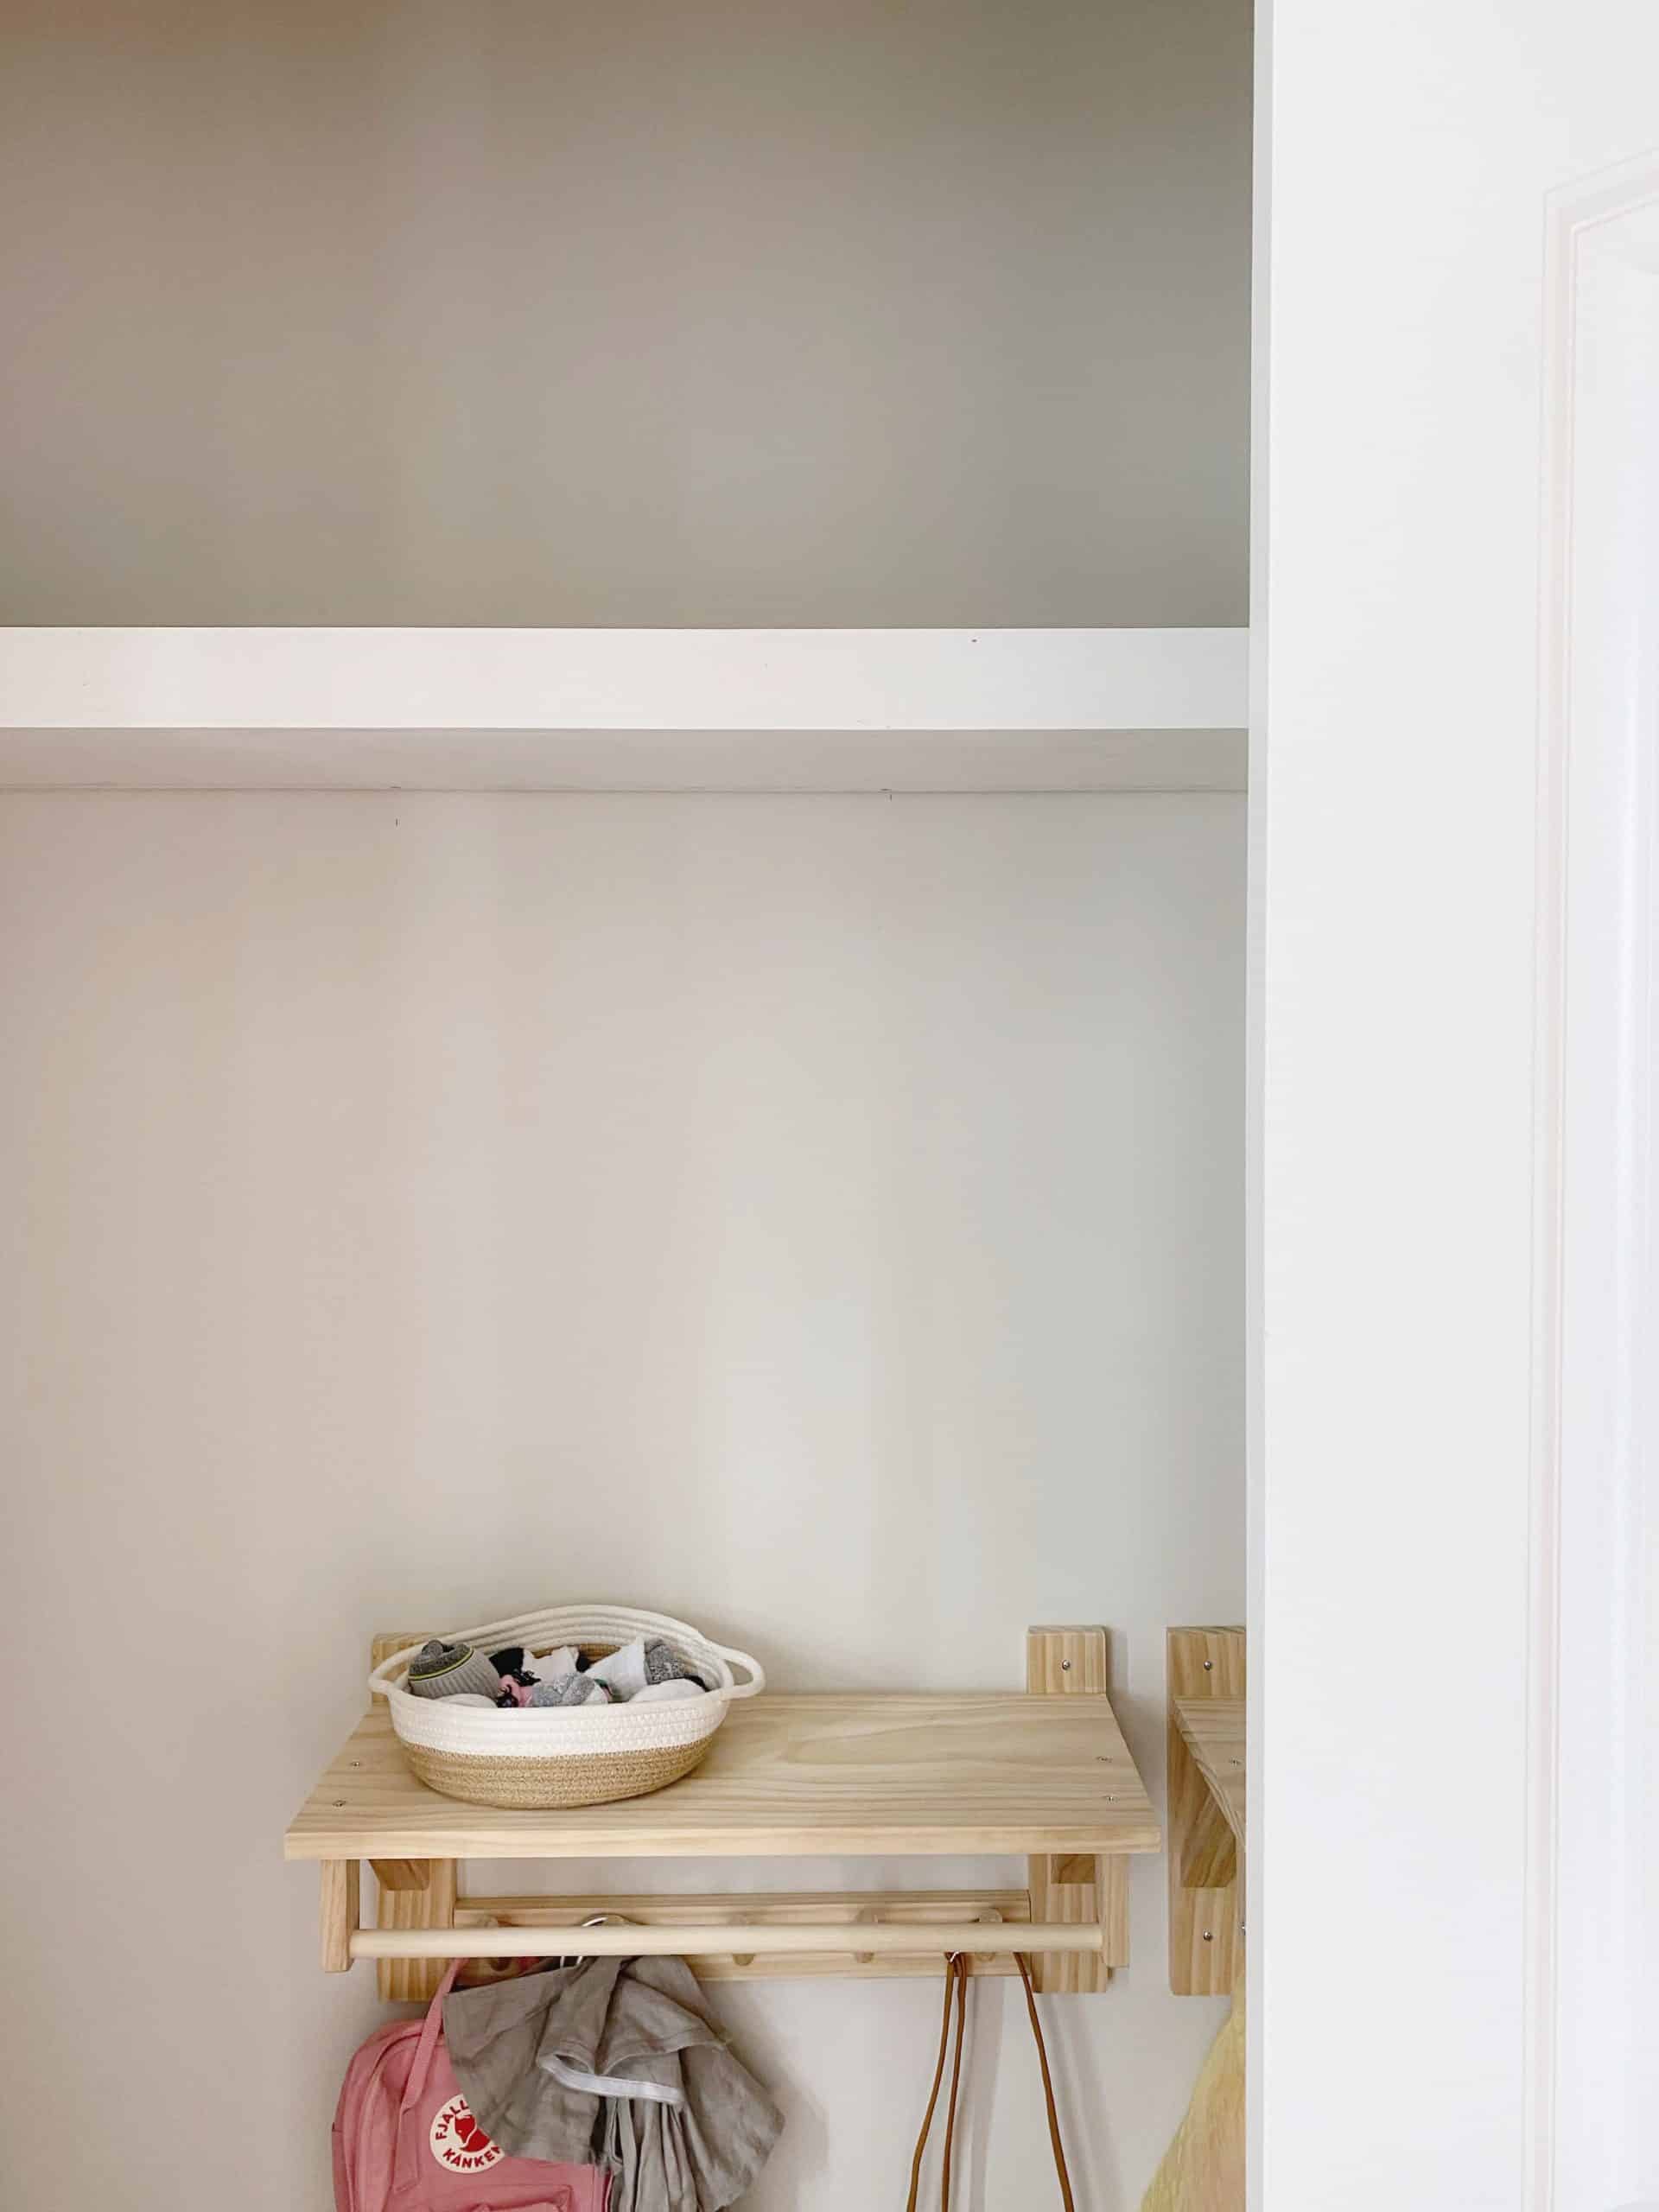
When we first moved into our home one of our first priorities was setting up an accessible dressing station for our kids. We ended up building each of our daughters a wall-mounted clothing rack to hang their shirts and dresses, and their pants, pajamas, and socks were kept in a small dresser that doubled as a bedside table.
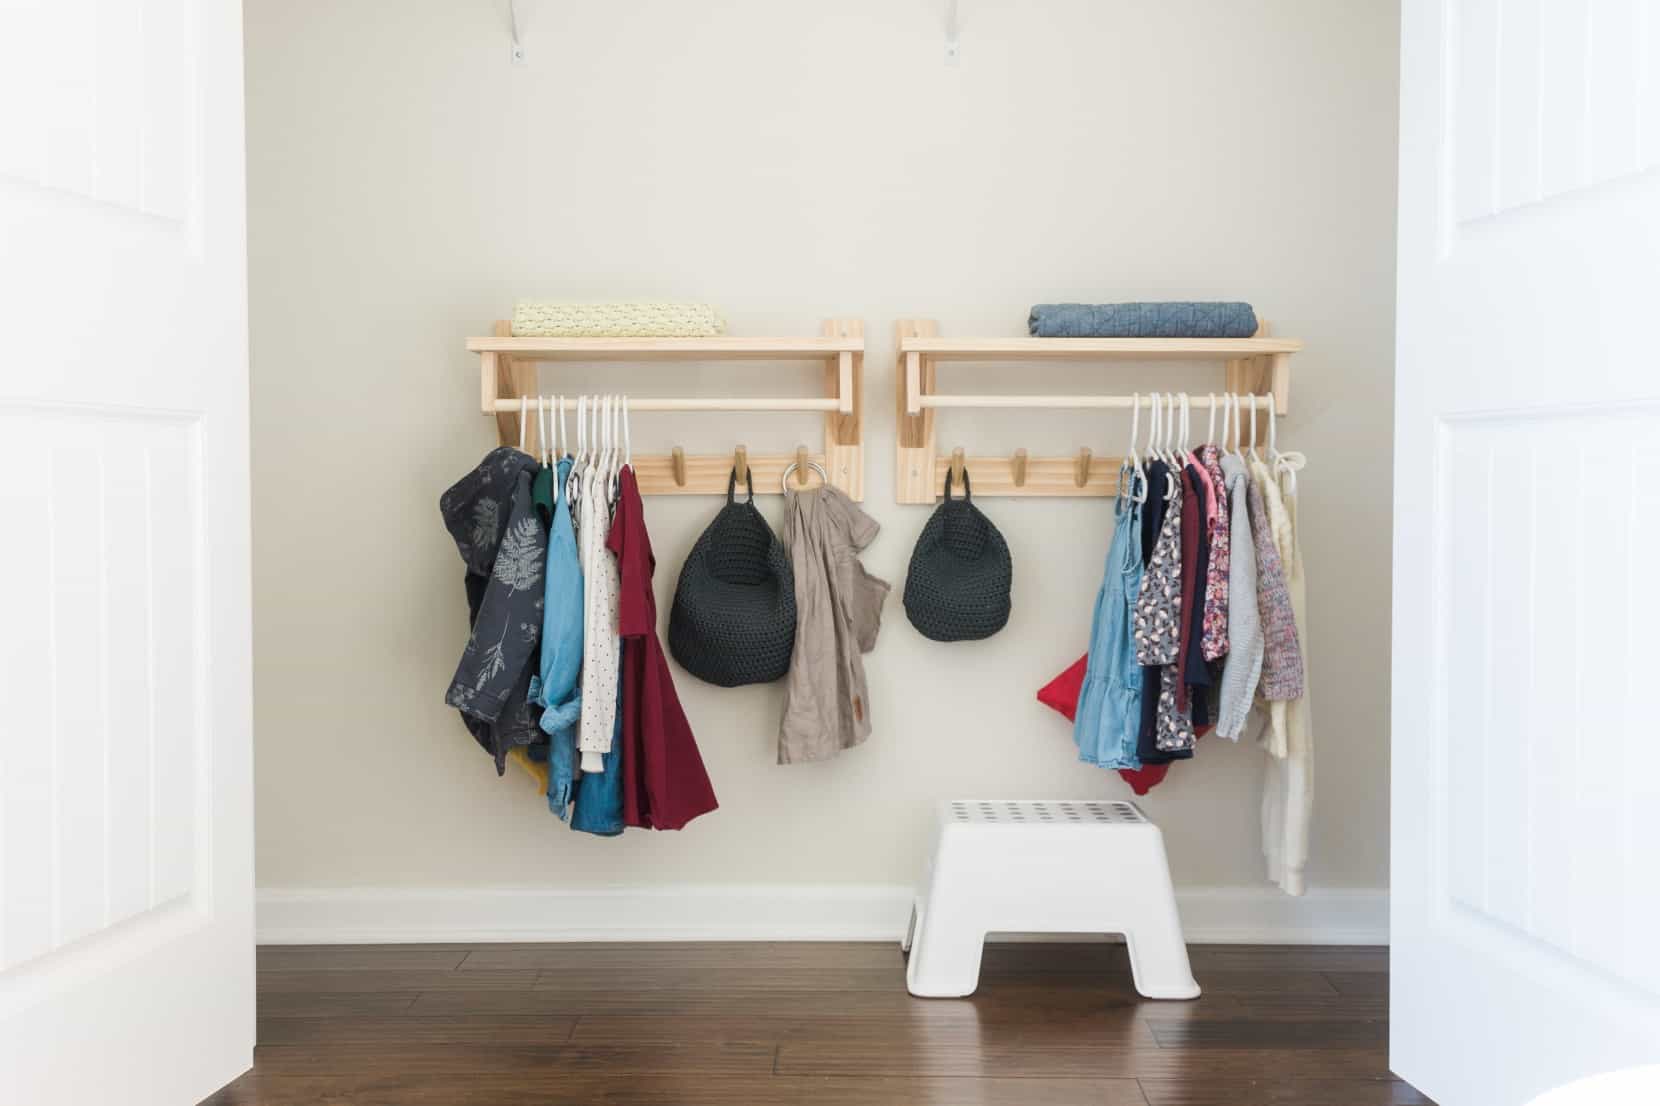
This solution worked for awhile. The wall-mounted clothing racks were awesome. But we ran into some issues with the dresser over the past year. First, compared to their low bed frames, the RAST dresser was ridiculously tall. Coupled with the fact that our now 6-year-old’s clothing is becoming too big to properly fit into the small drawers along with our youngest daughter’s extreme reluctance to put away her clothing in the dresser meant it was time to figure out a different storage solution.
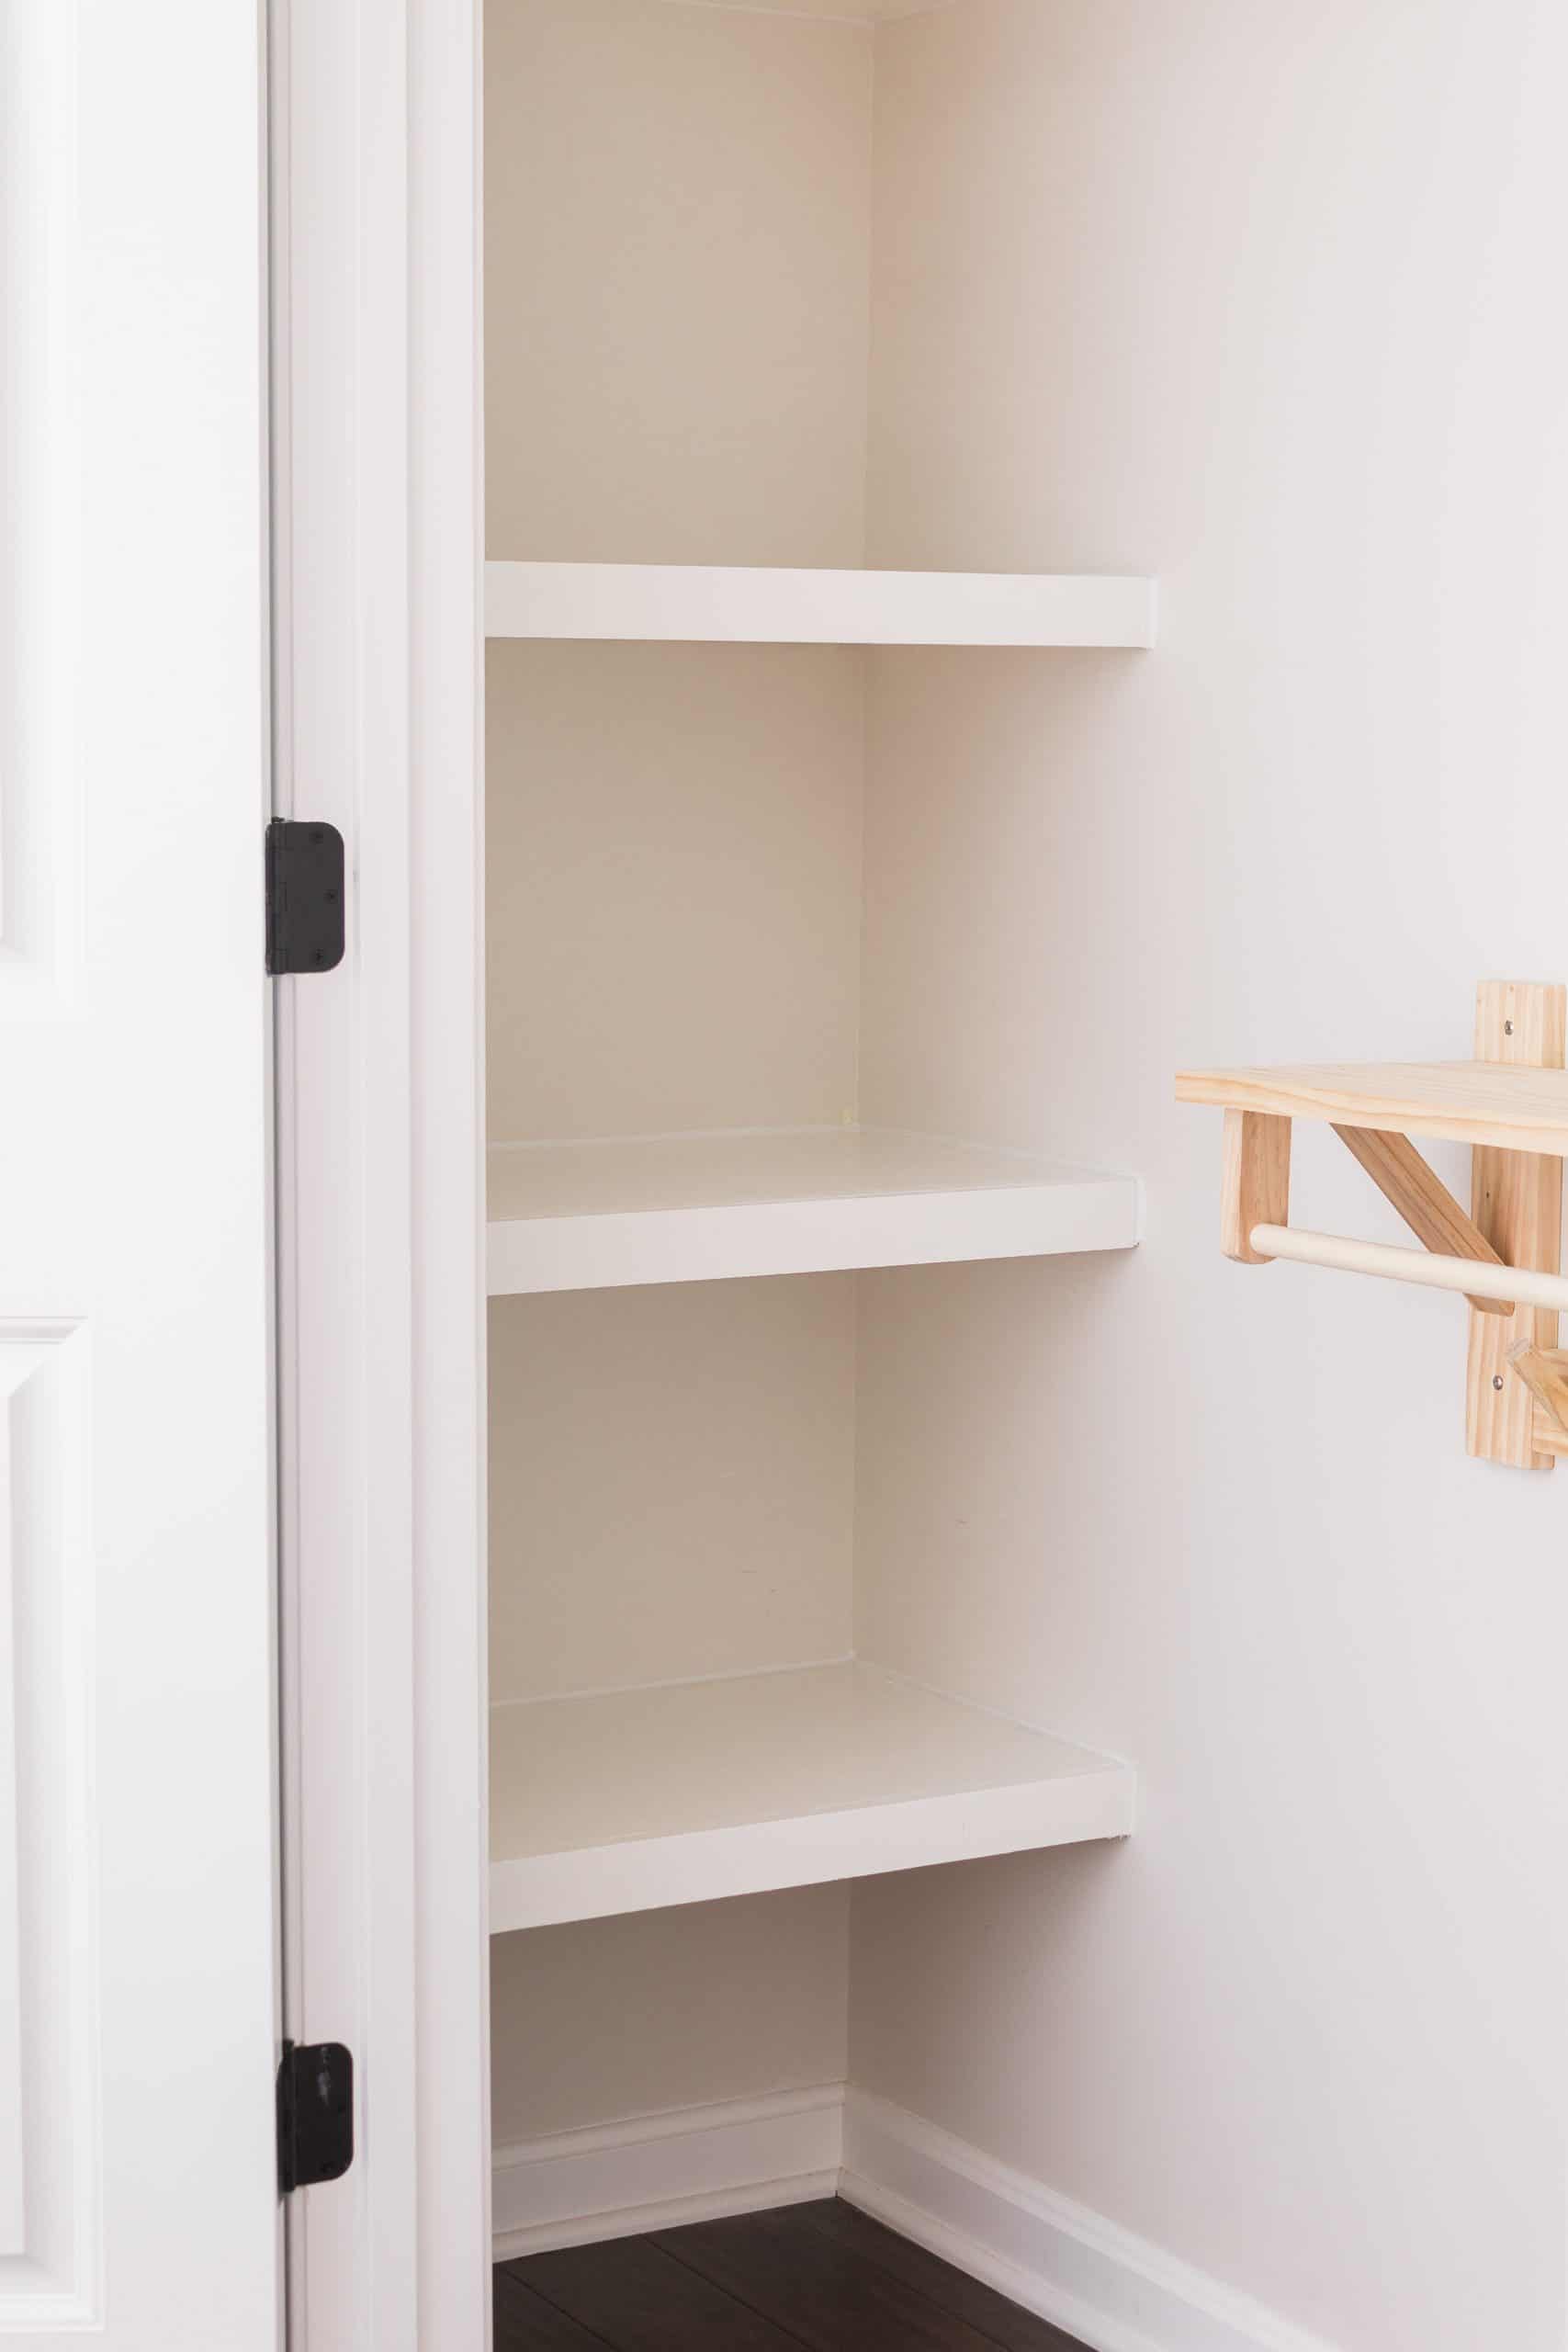
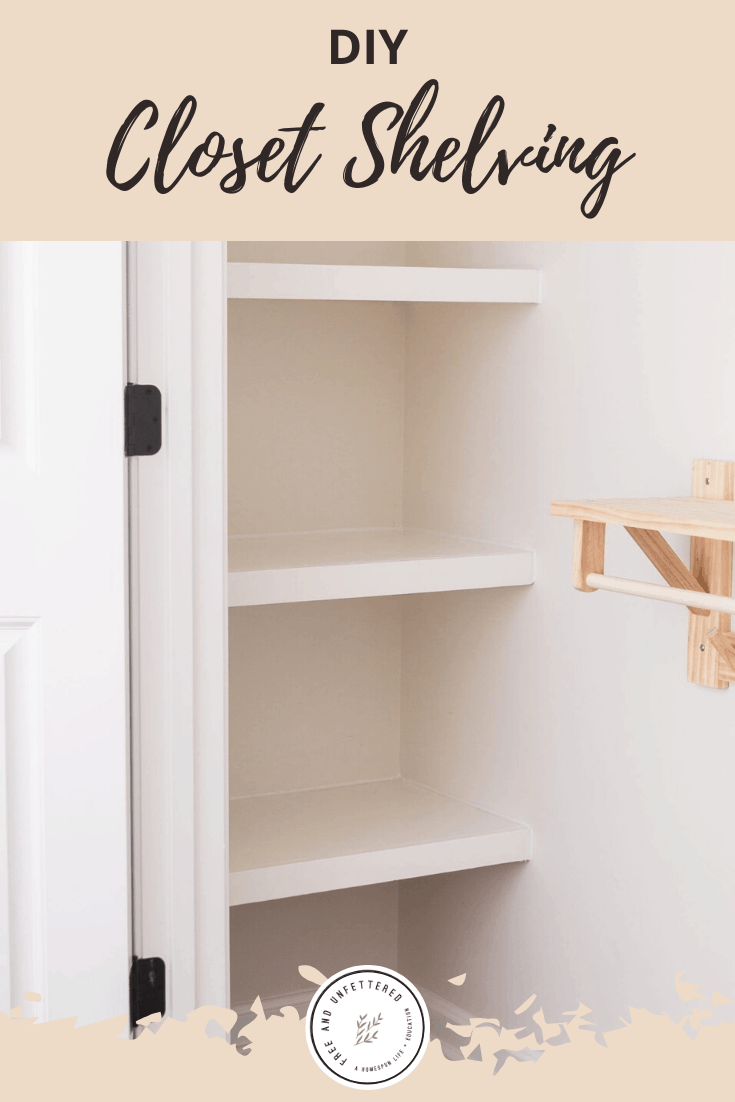
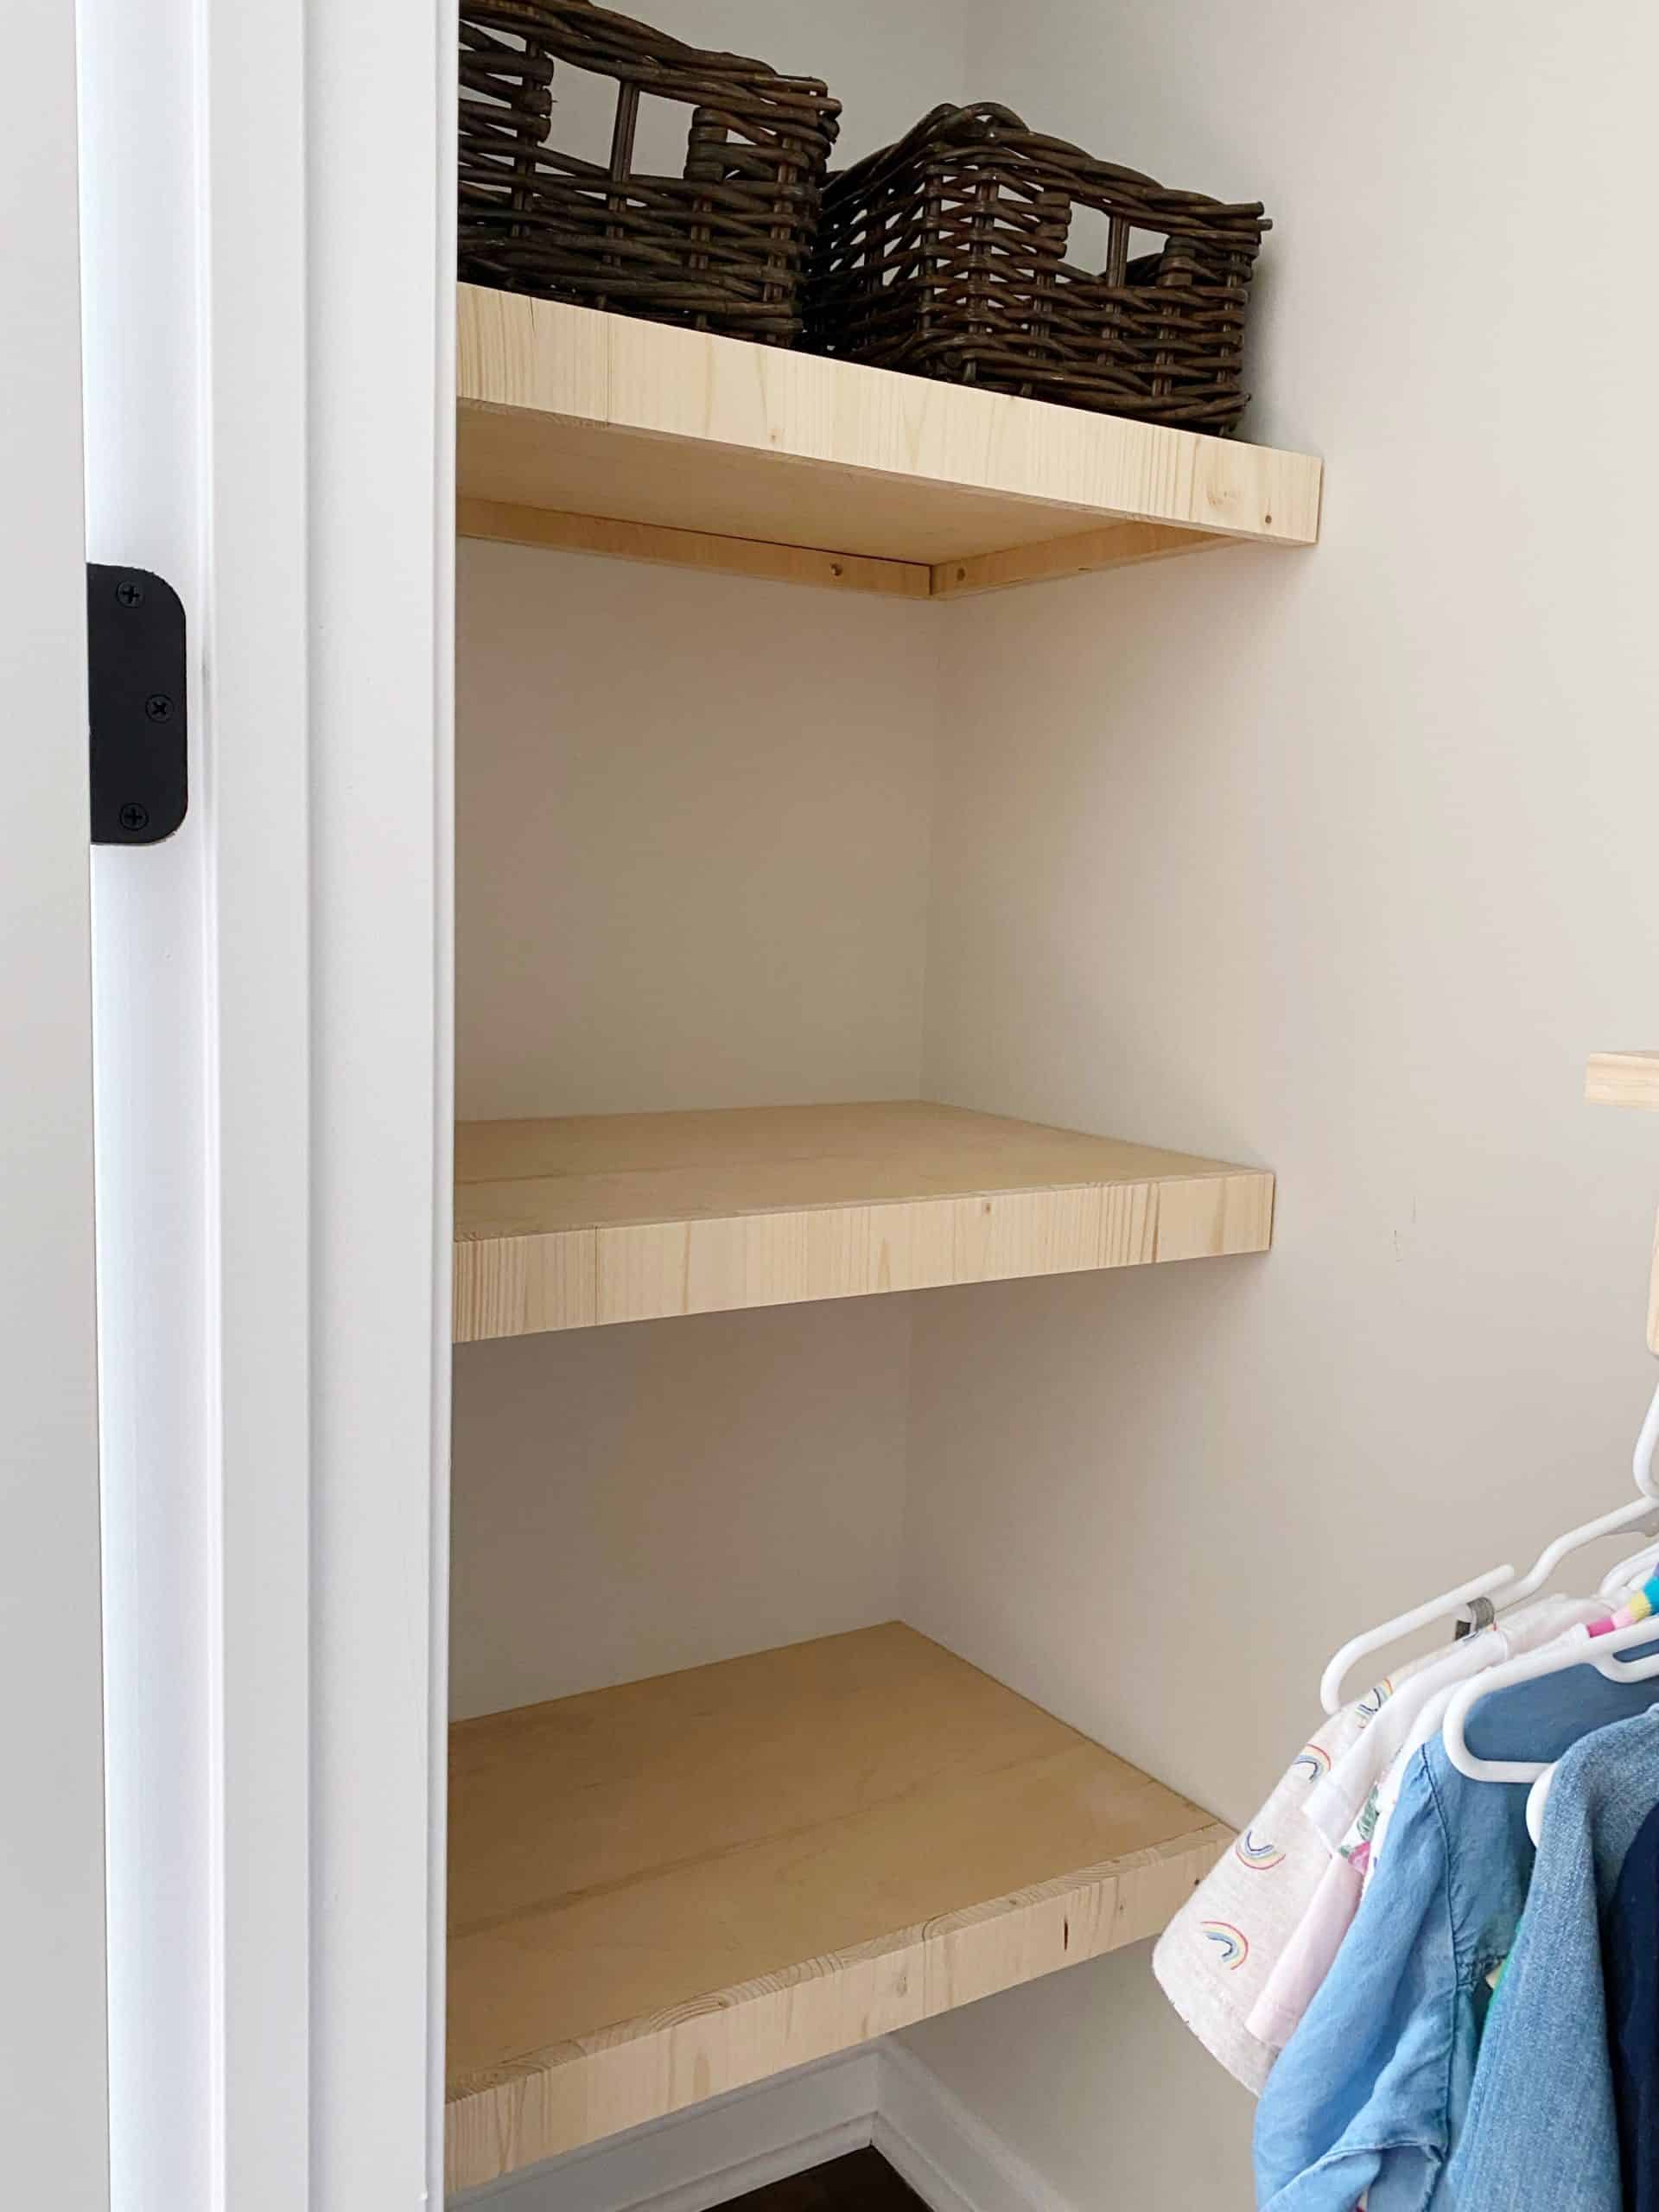
The plan had always been to add some built-in shelving to this portion of the closet. Luckily, we had enough leftover plywood scraps from our Modern Farmhouse Barn Door Shutter that we were able to install three shelves without it costing us any extra money. Cha-ching!
The extra shelving here will give us space for several bins and baskets if needed.
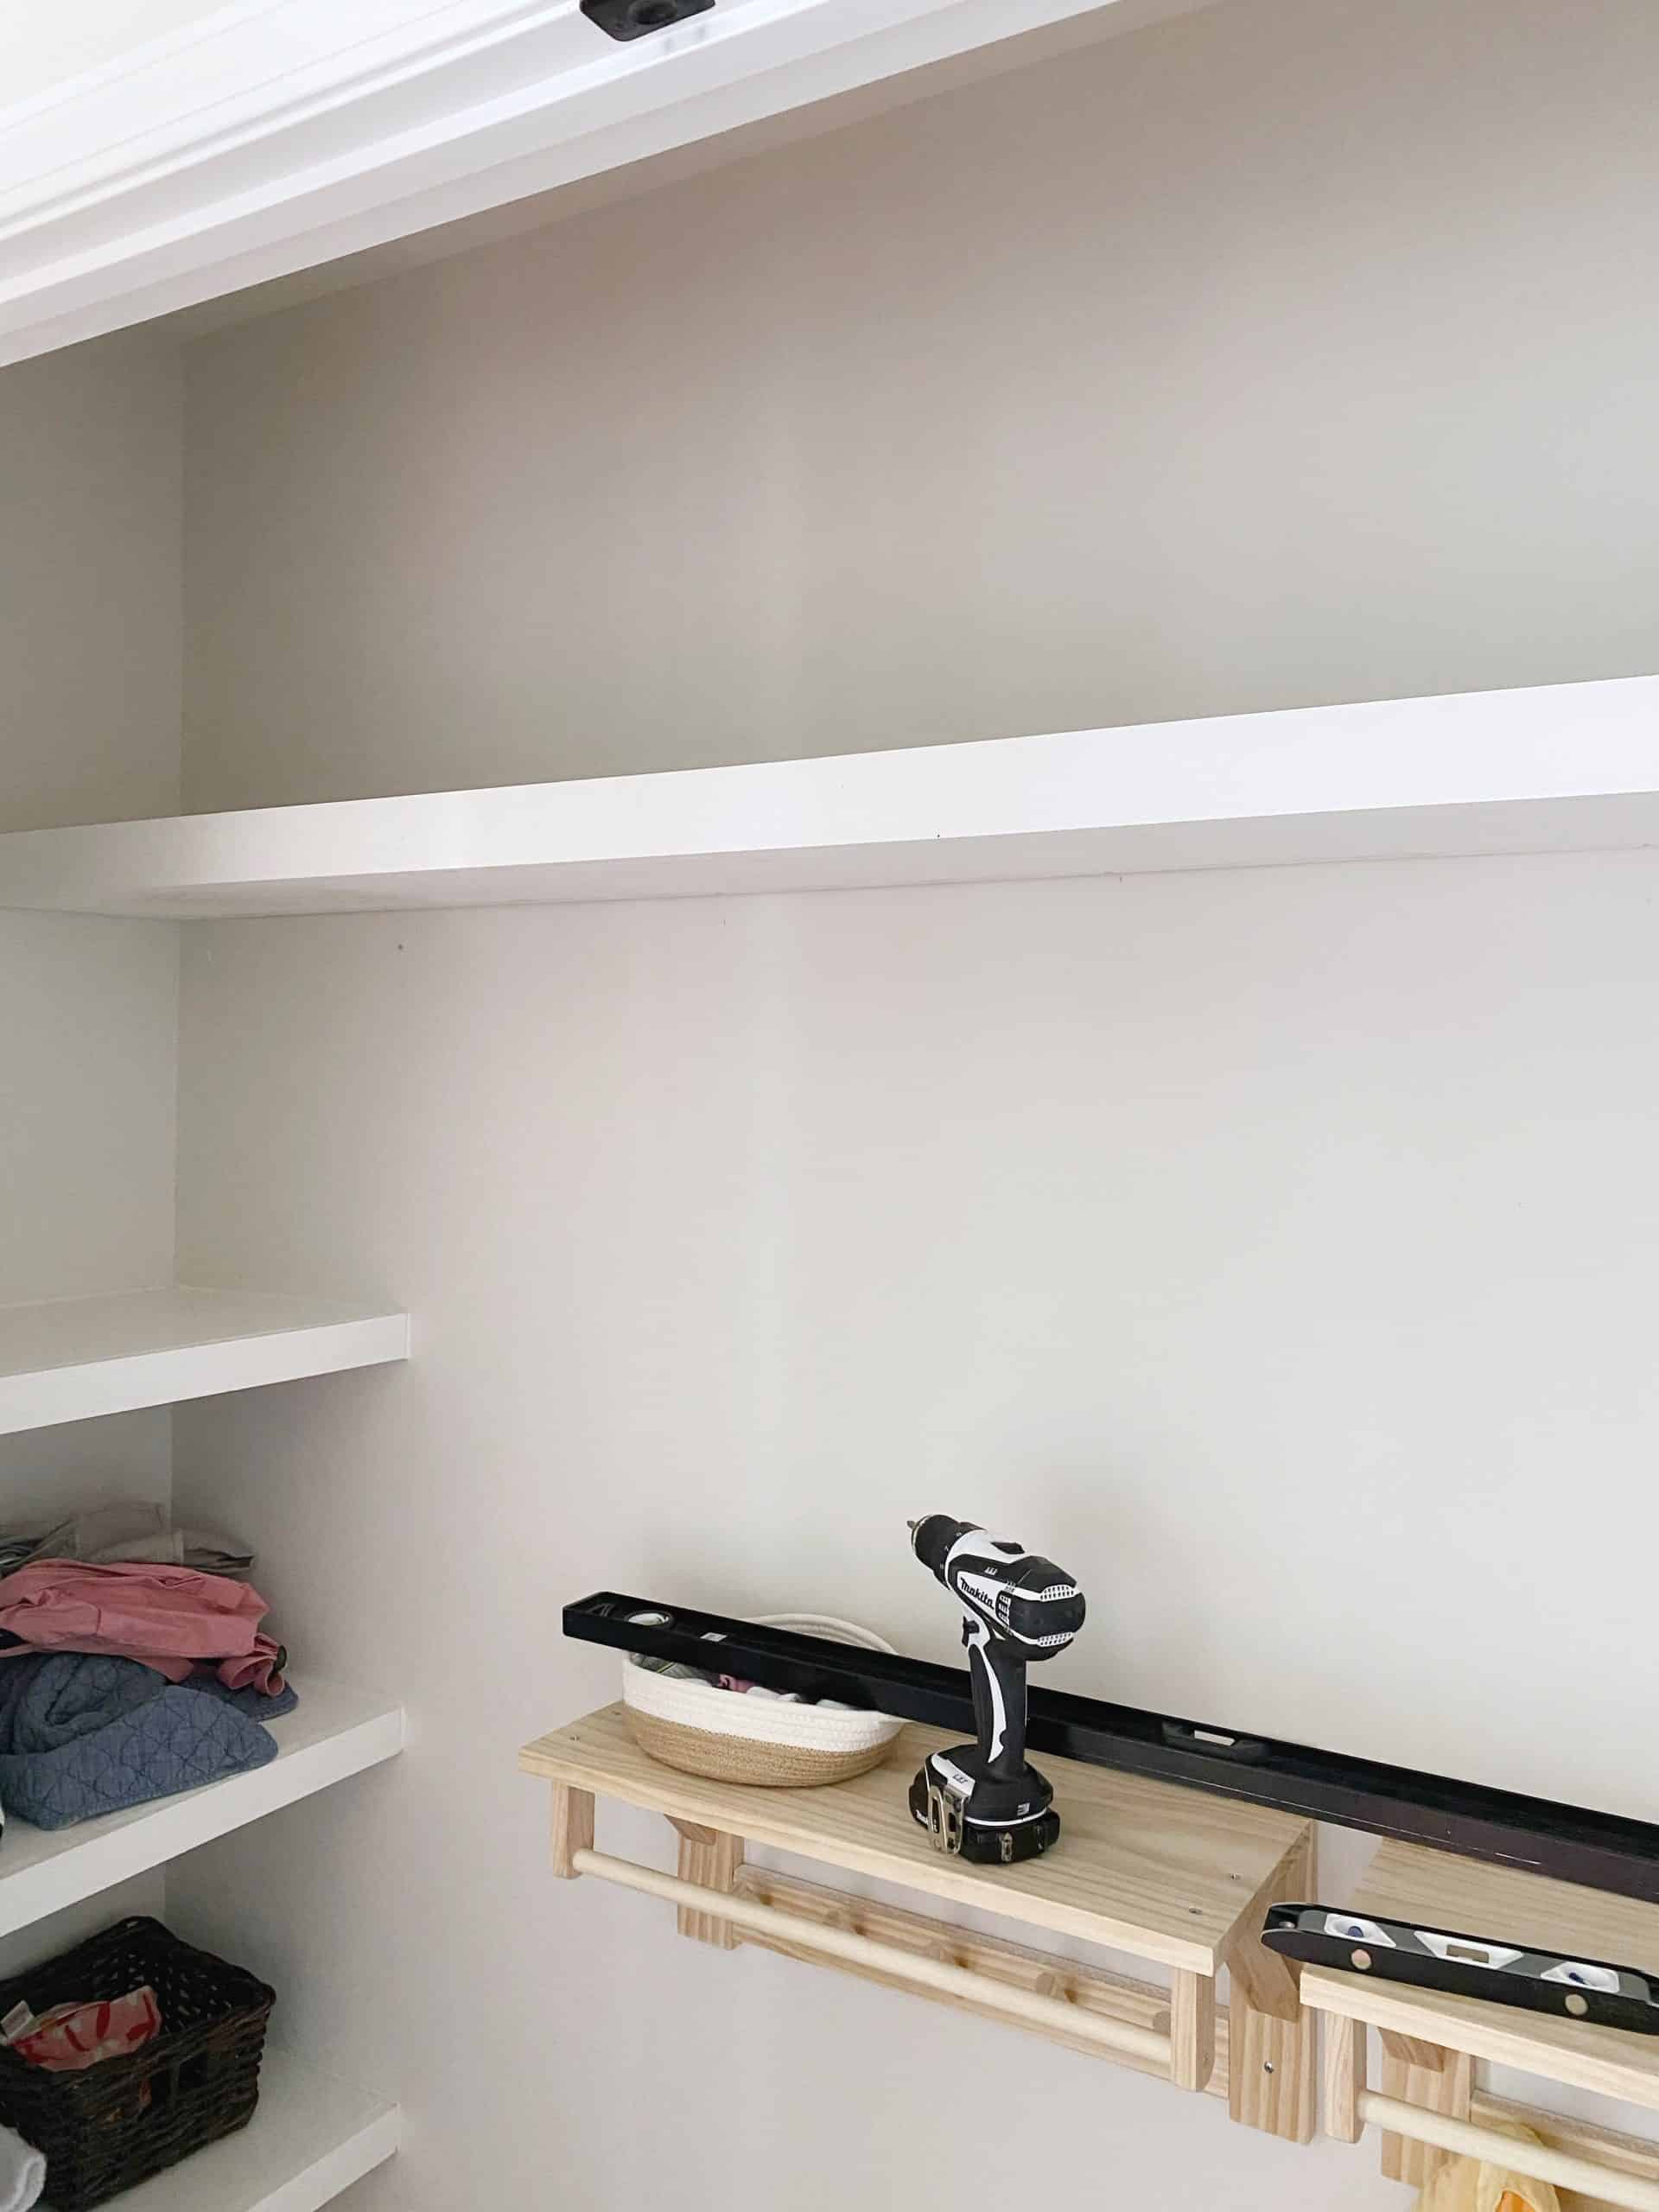
Once we installed the built-in shelving on the left side of the closet, it was time to tackle the top shelf. We replaced the builder-installed wire shelving with a floating shelf that extends the full length of the closet. Here, we’ll store the girls’ spare sheets and out-of-season clothing accessories.
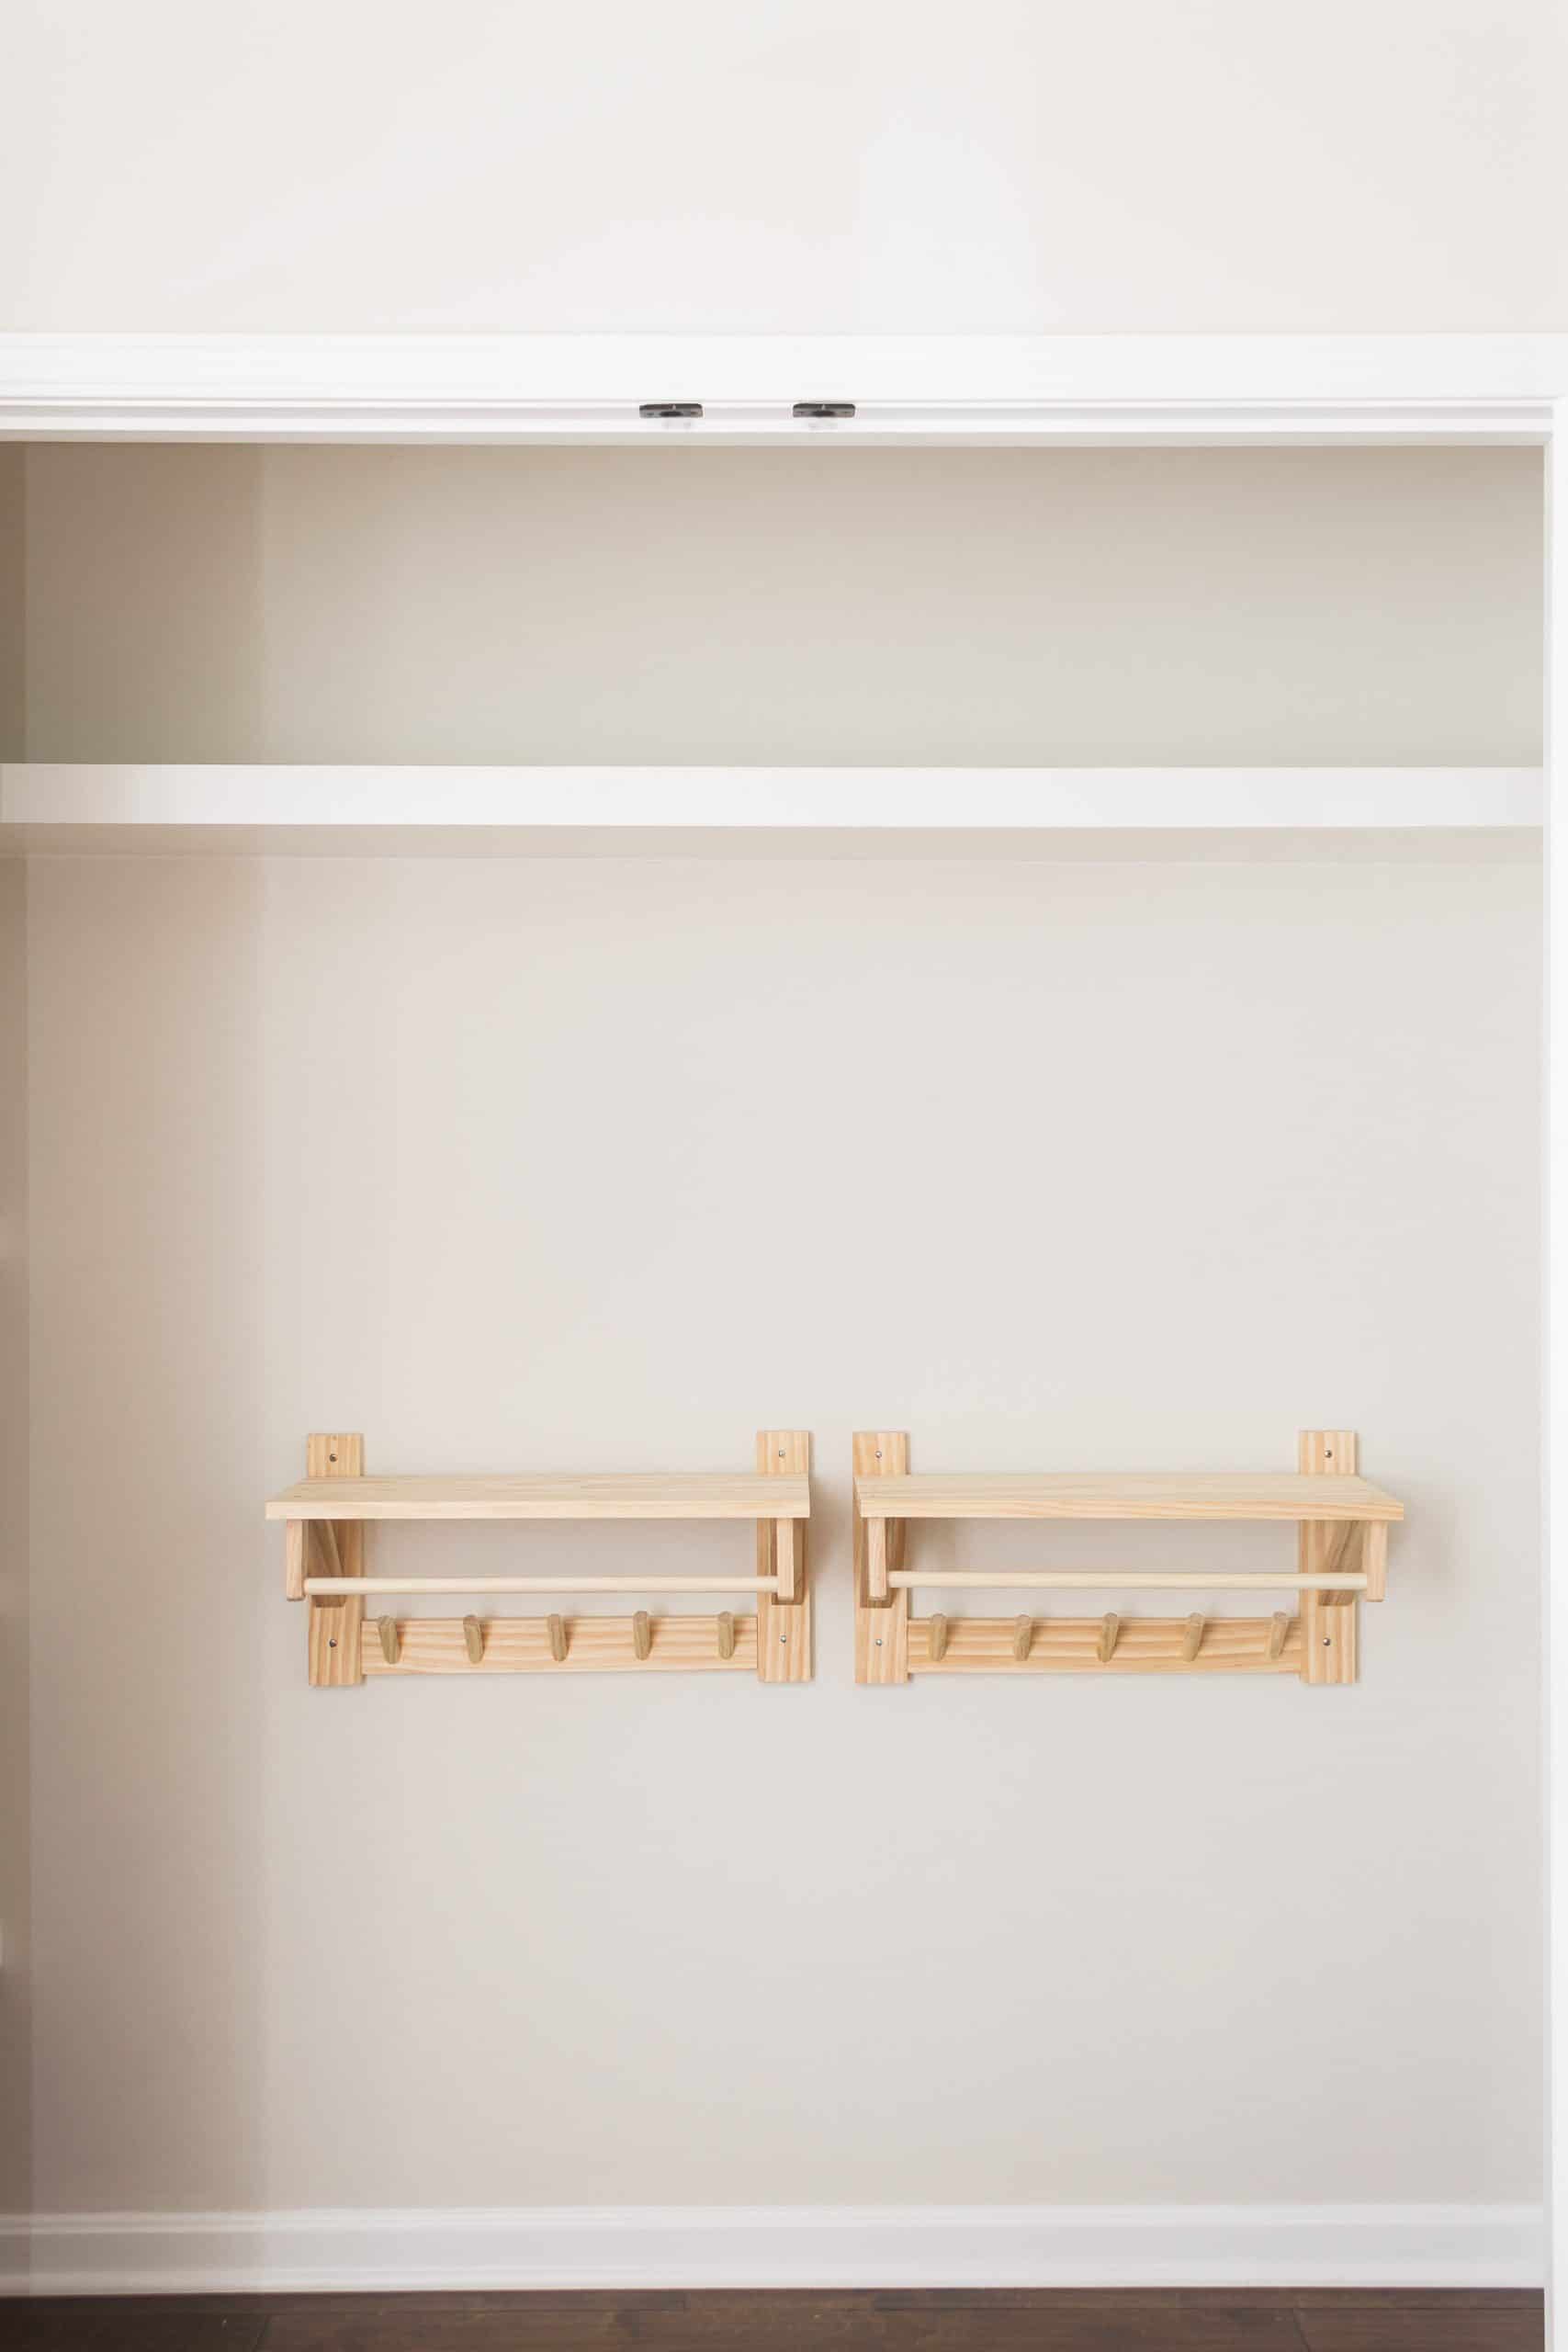
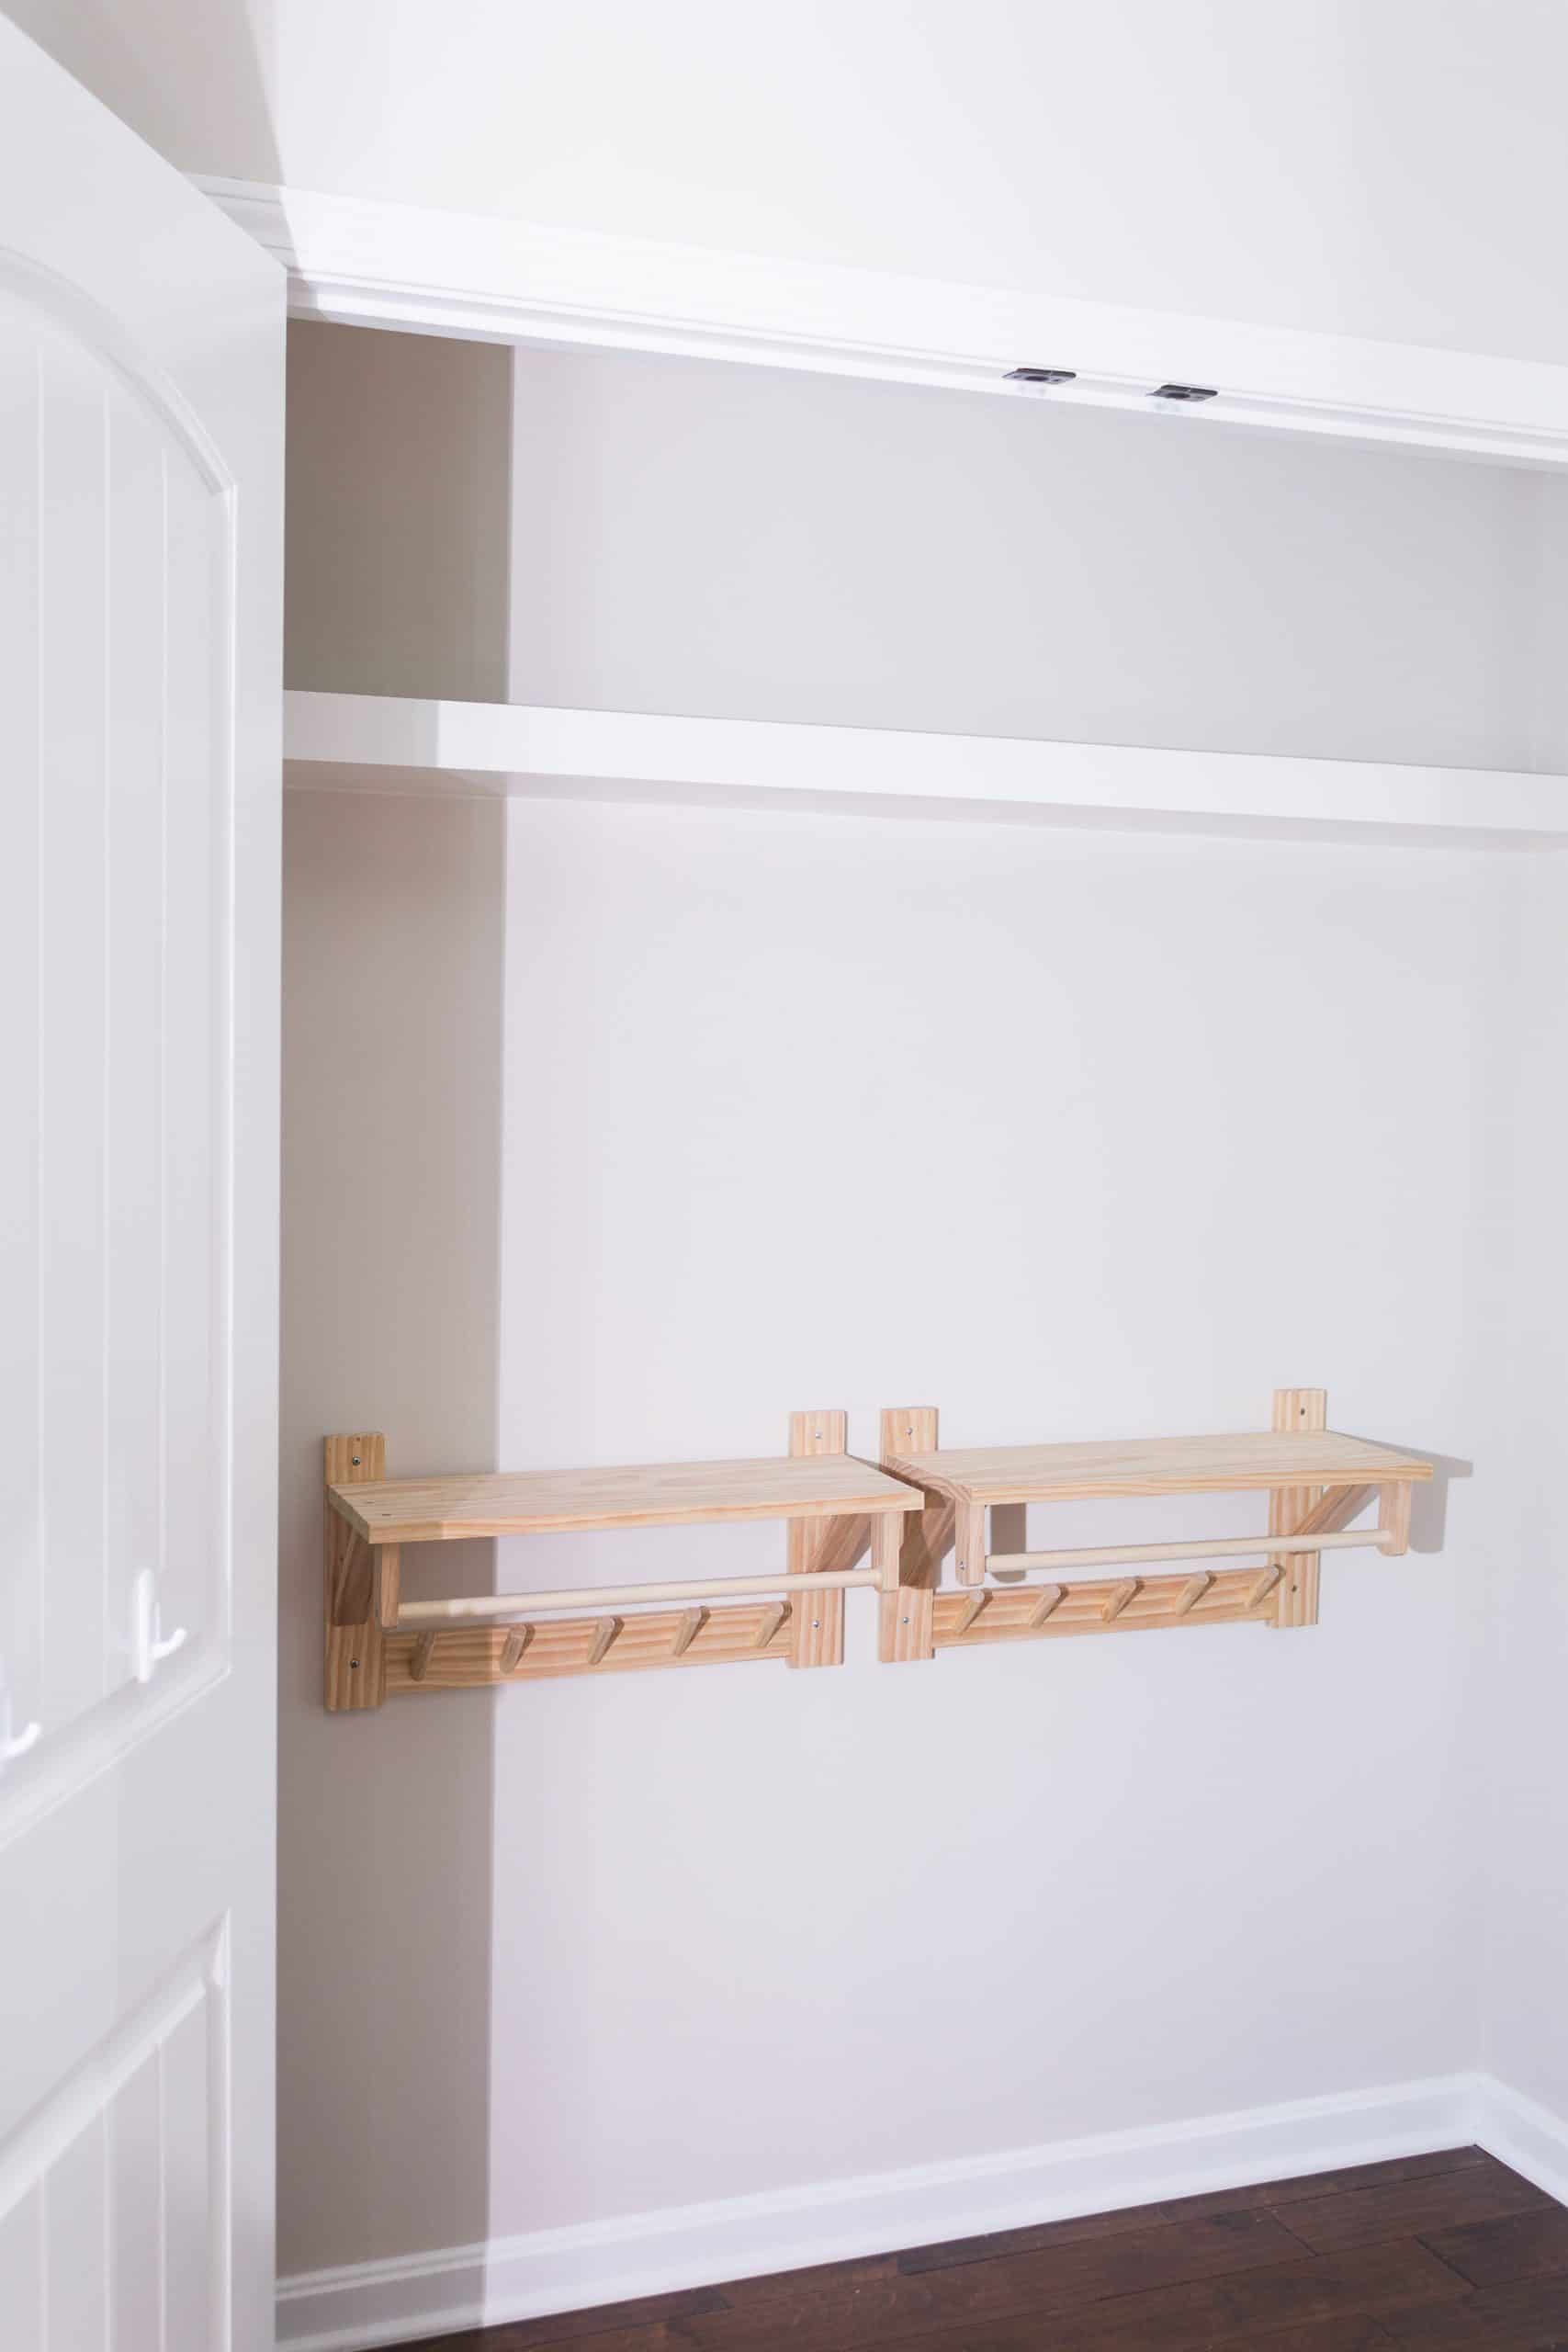
And now that the wire shelf has been removed, we’re able to use the wall space above their clothing racks as well. We installed a couple pegboards to give our daughters a place to keep their jewelry and other small decorative accessories they may wish to display.
Here’s a really quick rundown of how we built both types of shelving in case you’re looking to do something similar in your home.
BUILT-IN CLOSET SHELVING
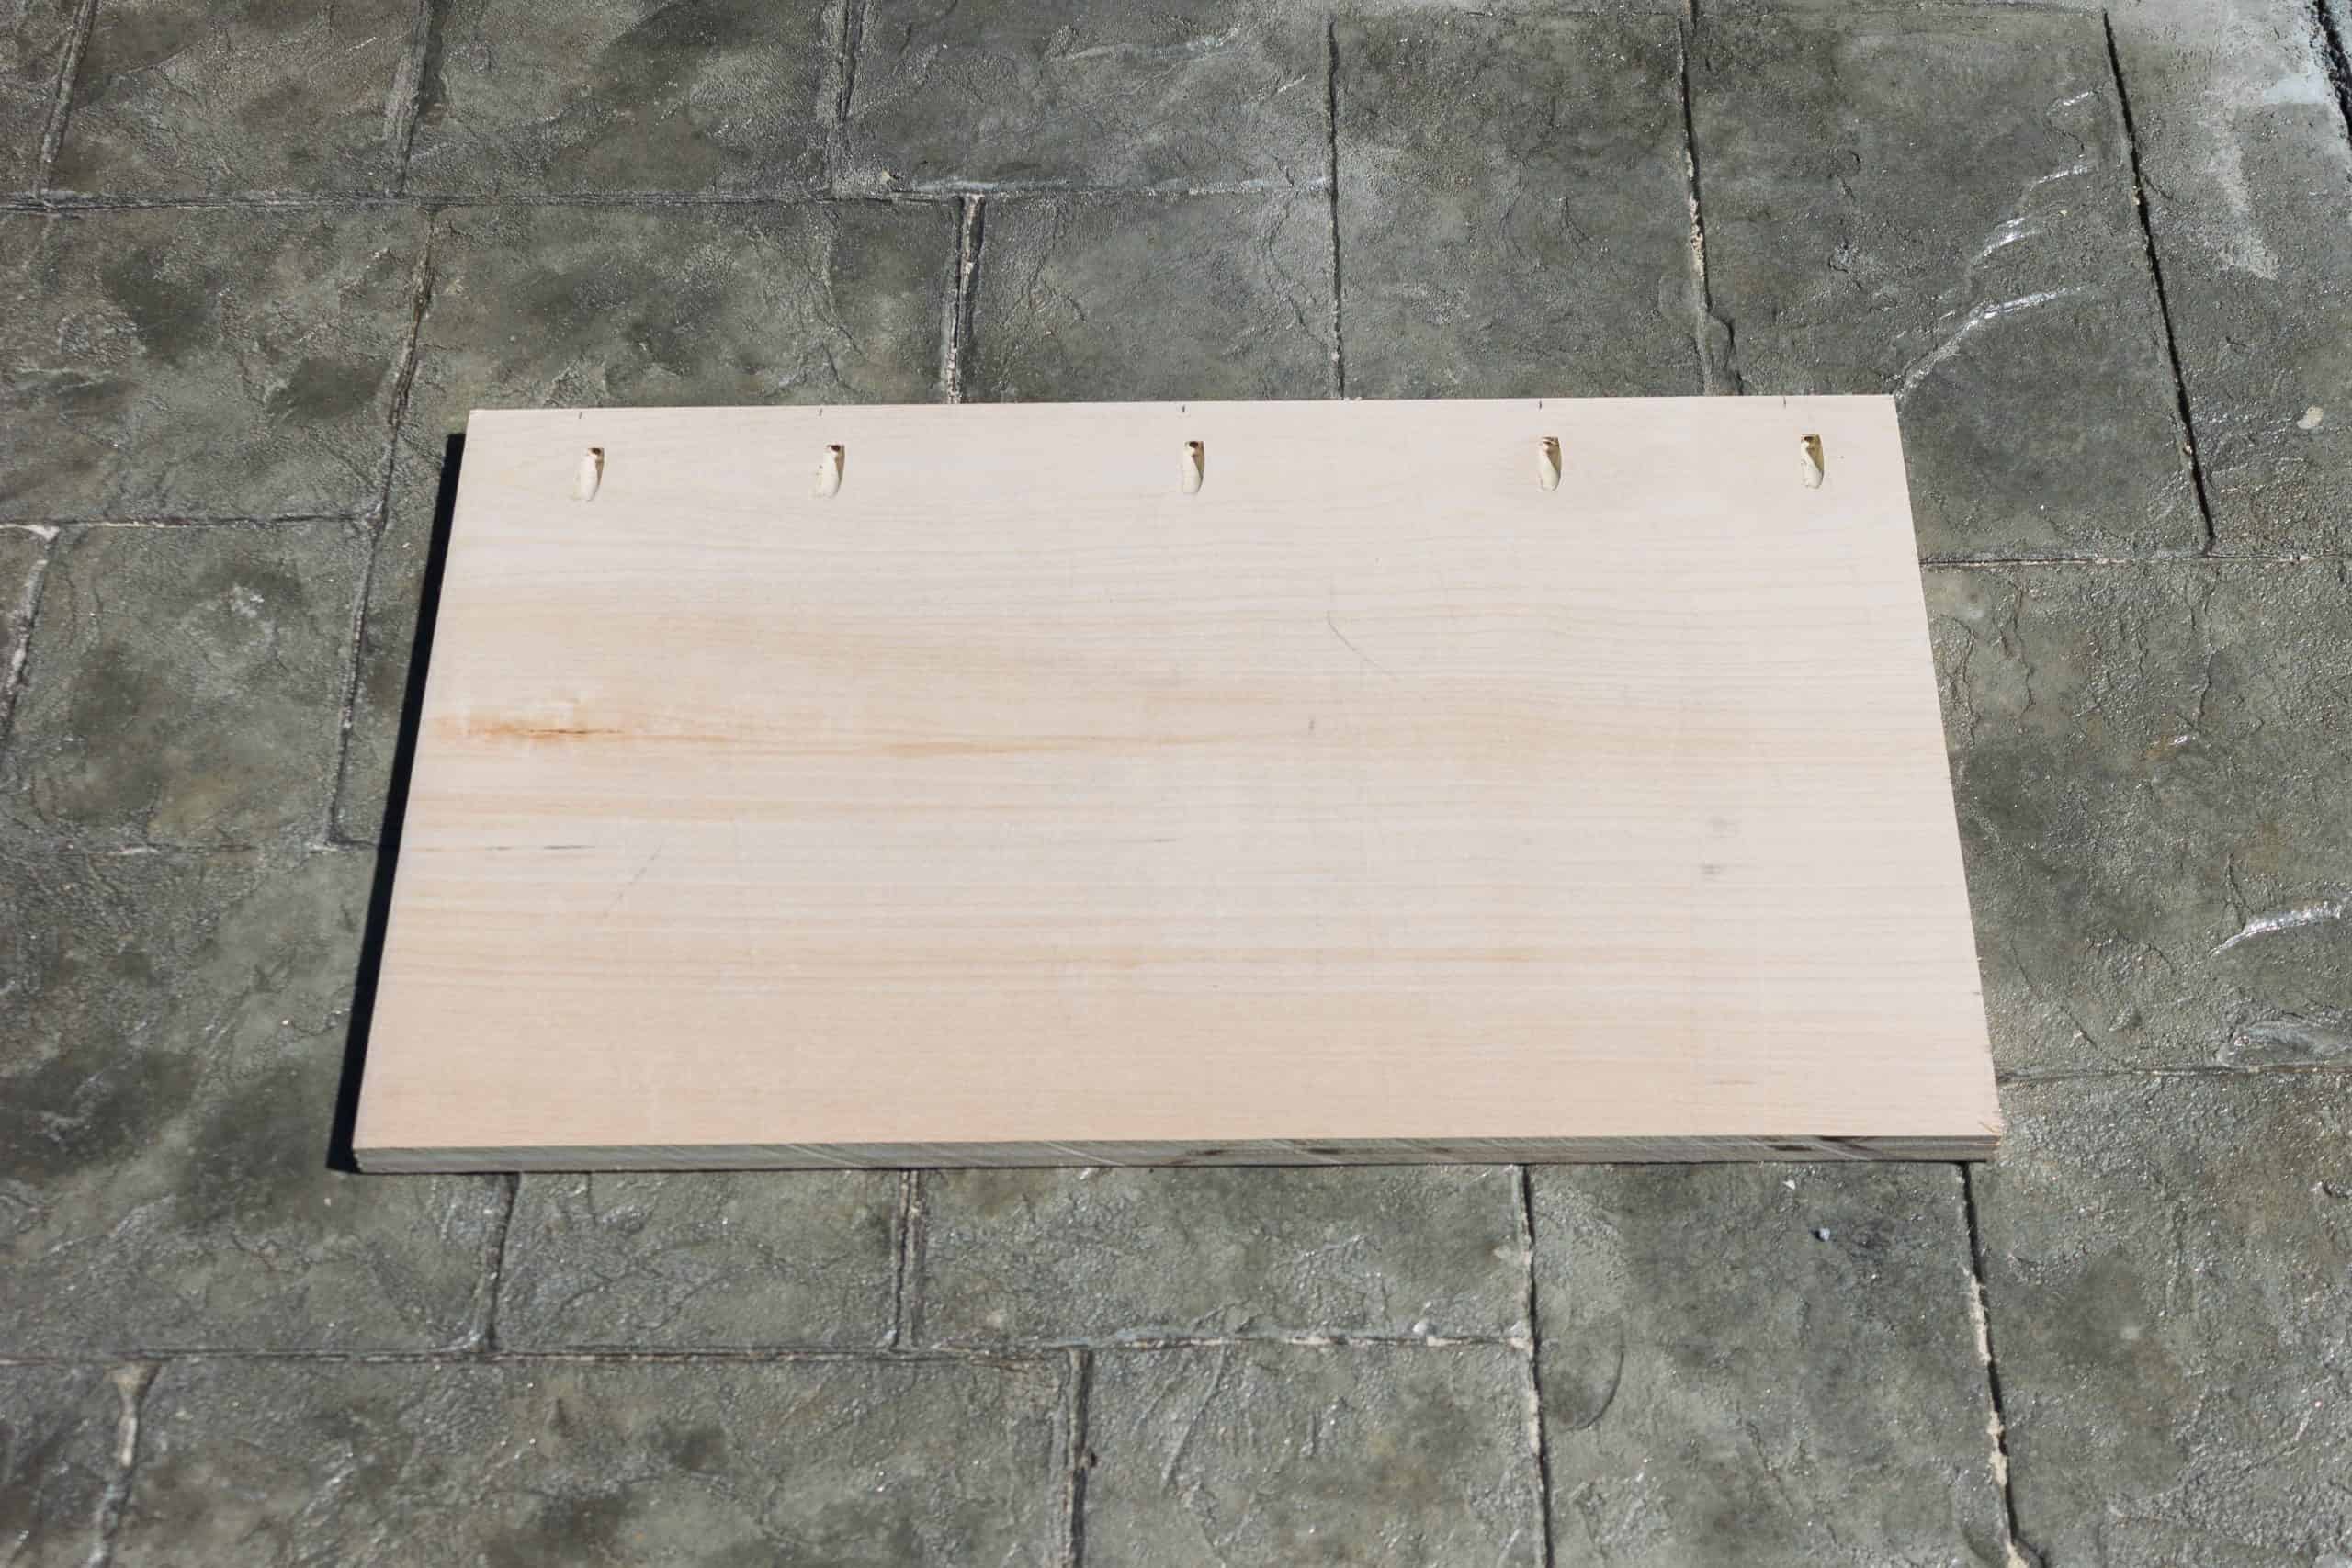
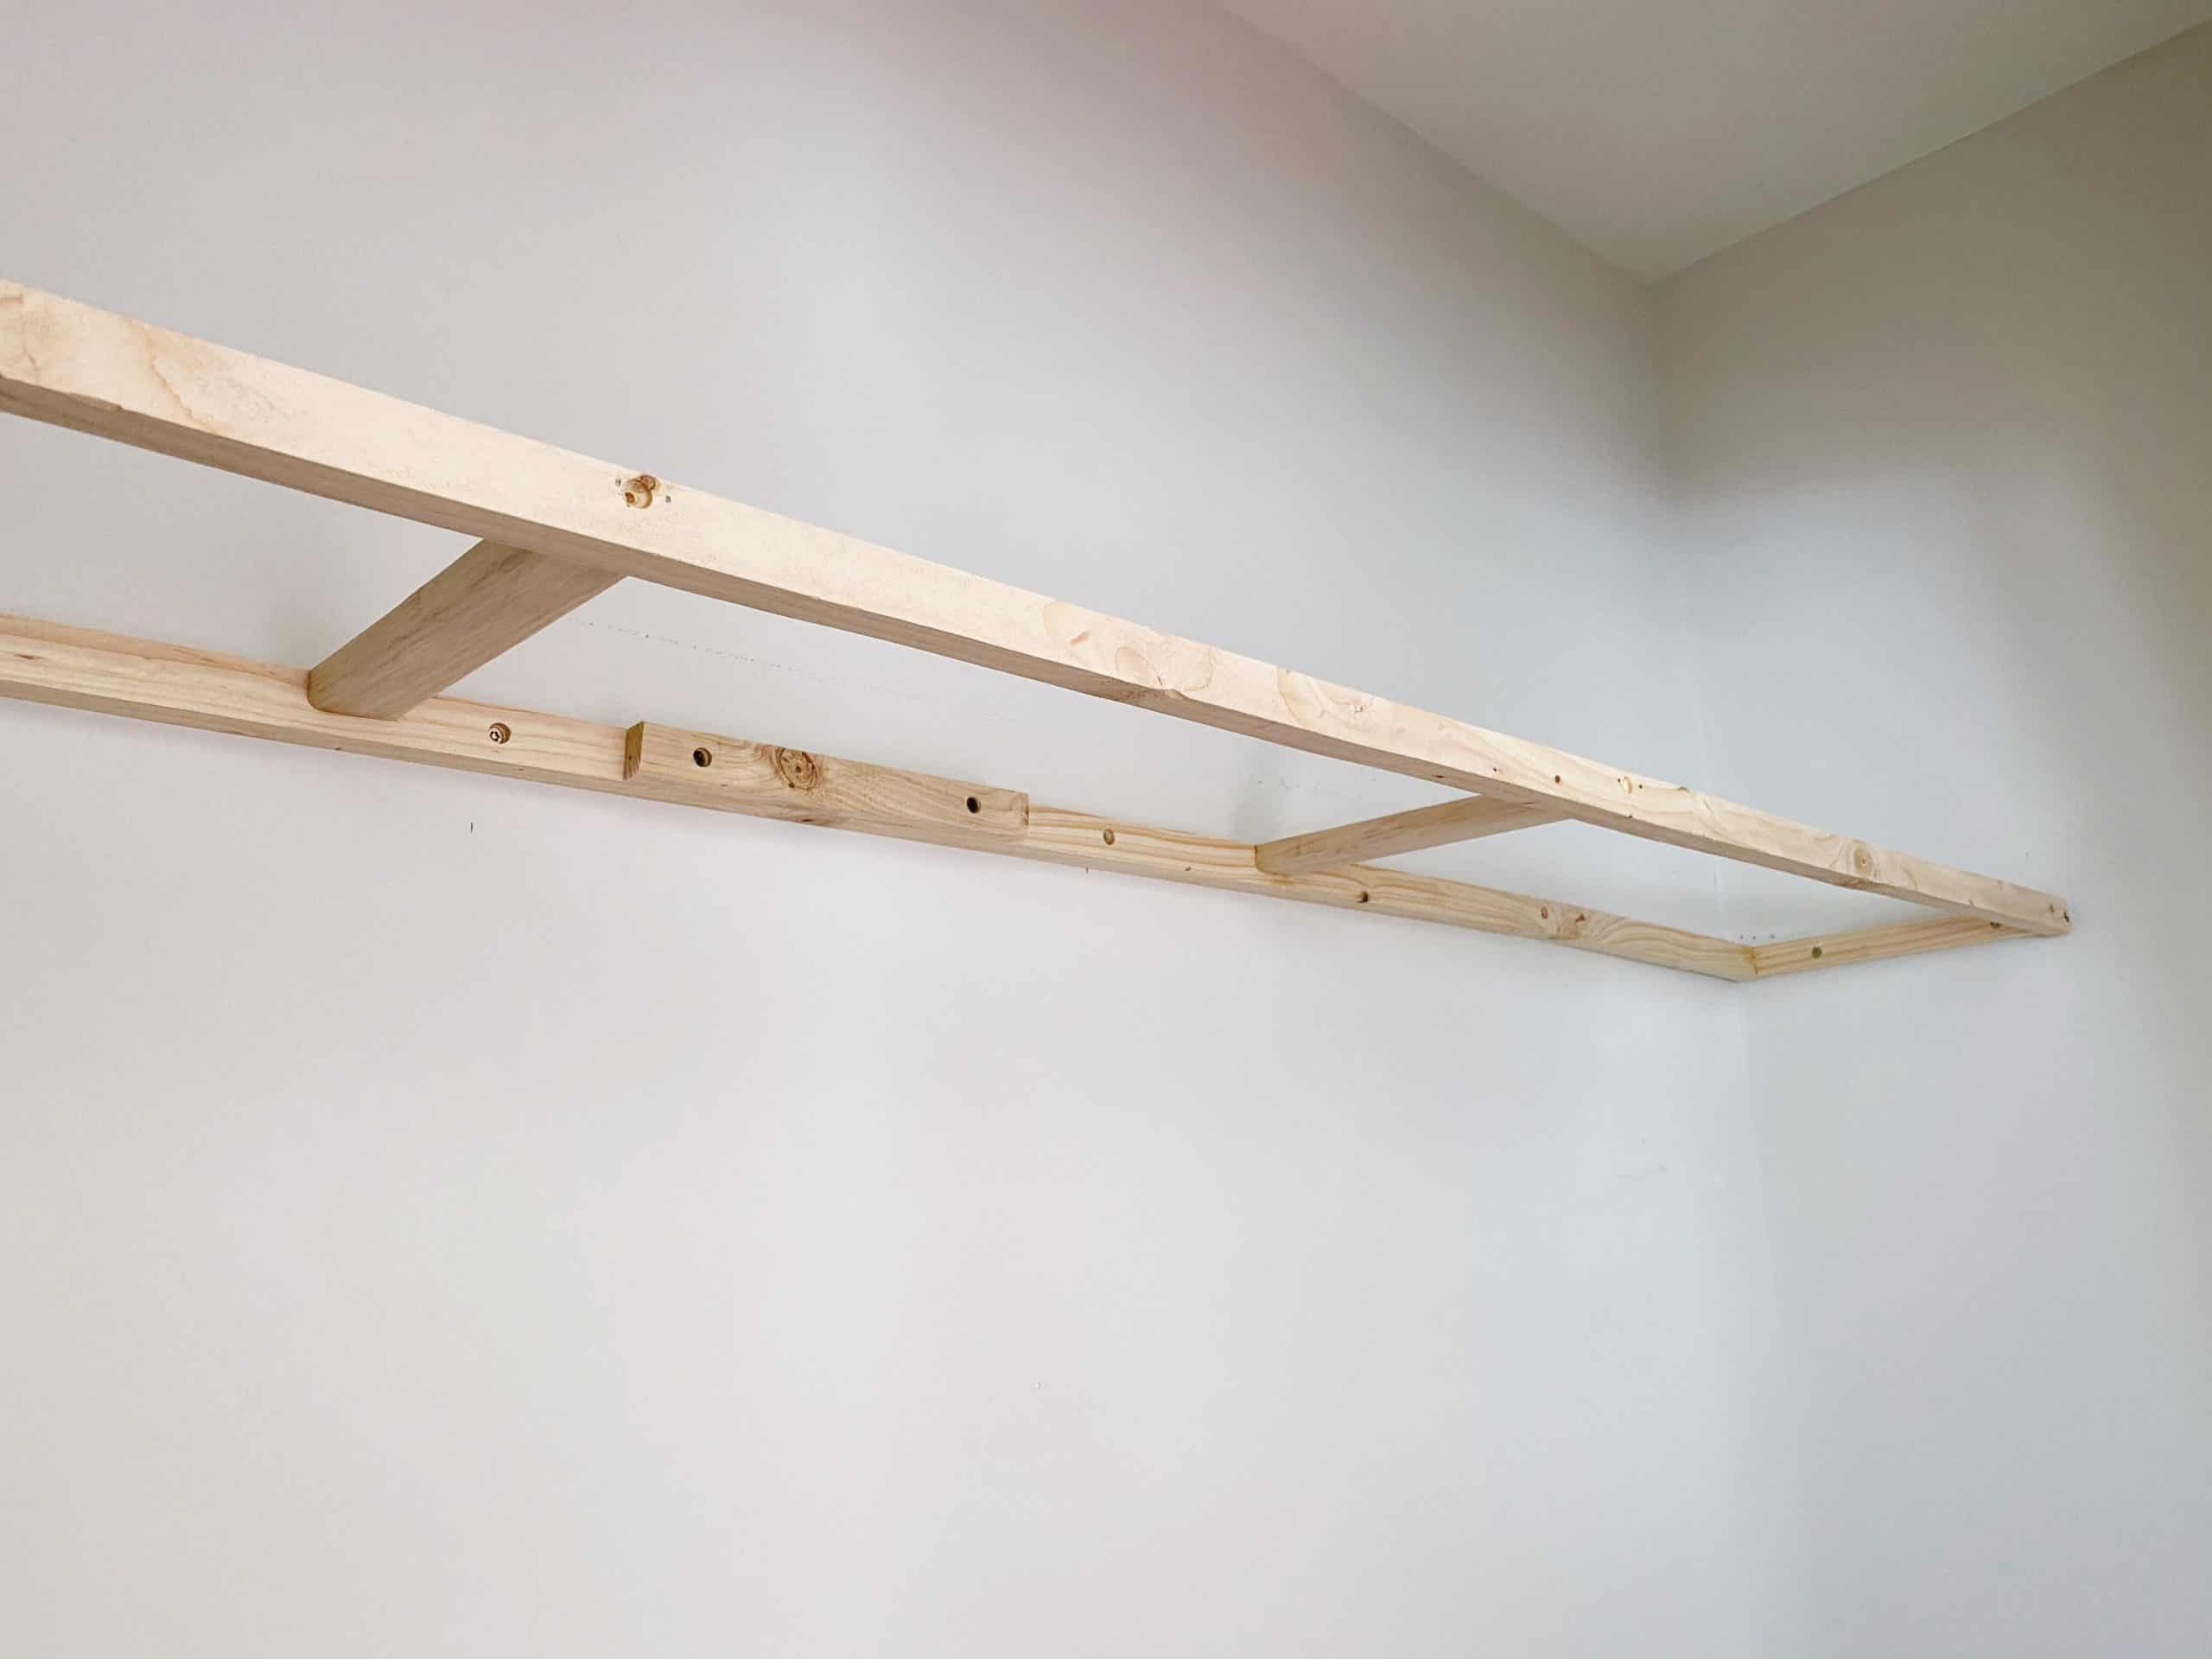
For the built-in shelving in the nook, we first cut thin strips of plywood to build the side and back supports that will attach directly to the wall. We pre-drilled the holes to protect against the wood splitting. You’ll attach these supports to the studs in your wall.

Then we cut the shelves to size. Using a Kreg Jig, we drilled a few pocket holes on the underside to attach the front face of each shelf.
Here’s one of the shelves with the front facing attached. We slid each shelf on top of the underframe in the closet and drilled them into place.
Once the shelves are attached, you can either leave natural or caulk and paint if desired. We have a ton of leftover white paint from our fireplace project, so that’s what we chose to use to finish these shelves.
Install a Floating Shelf
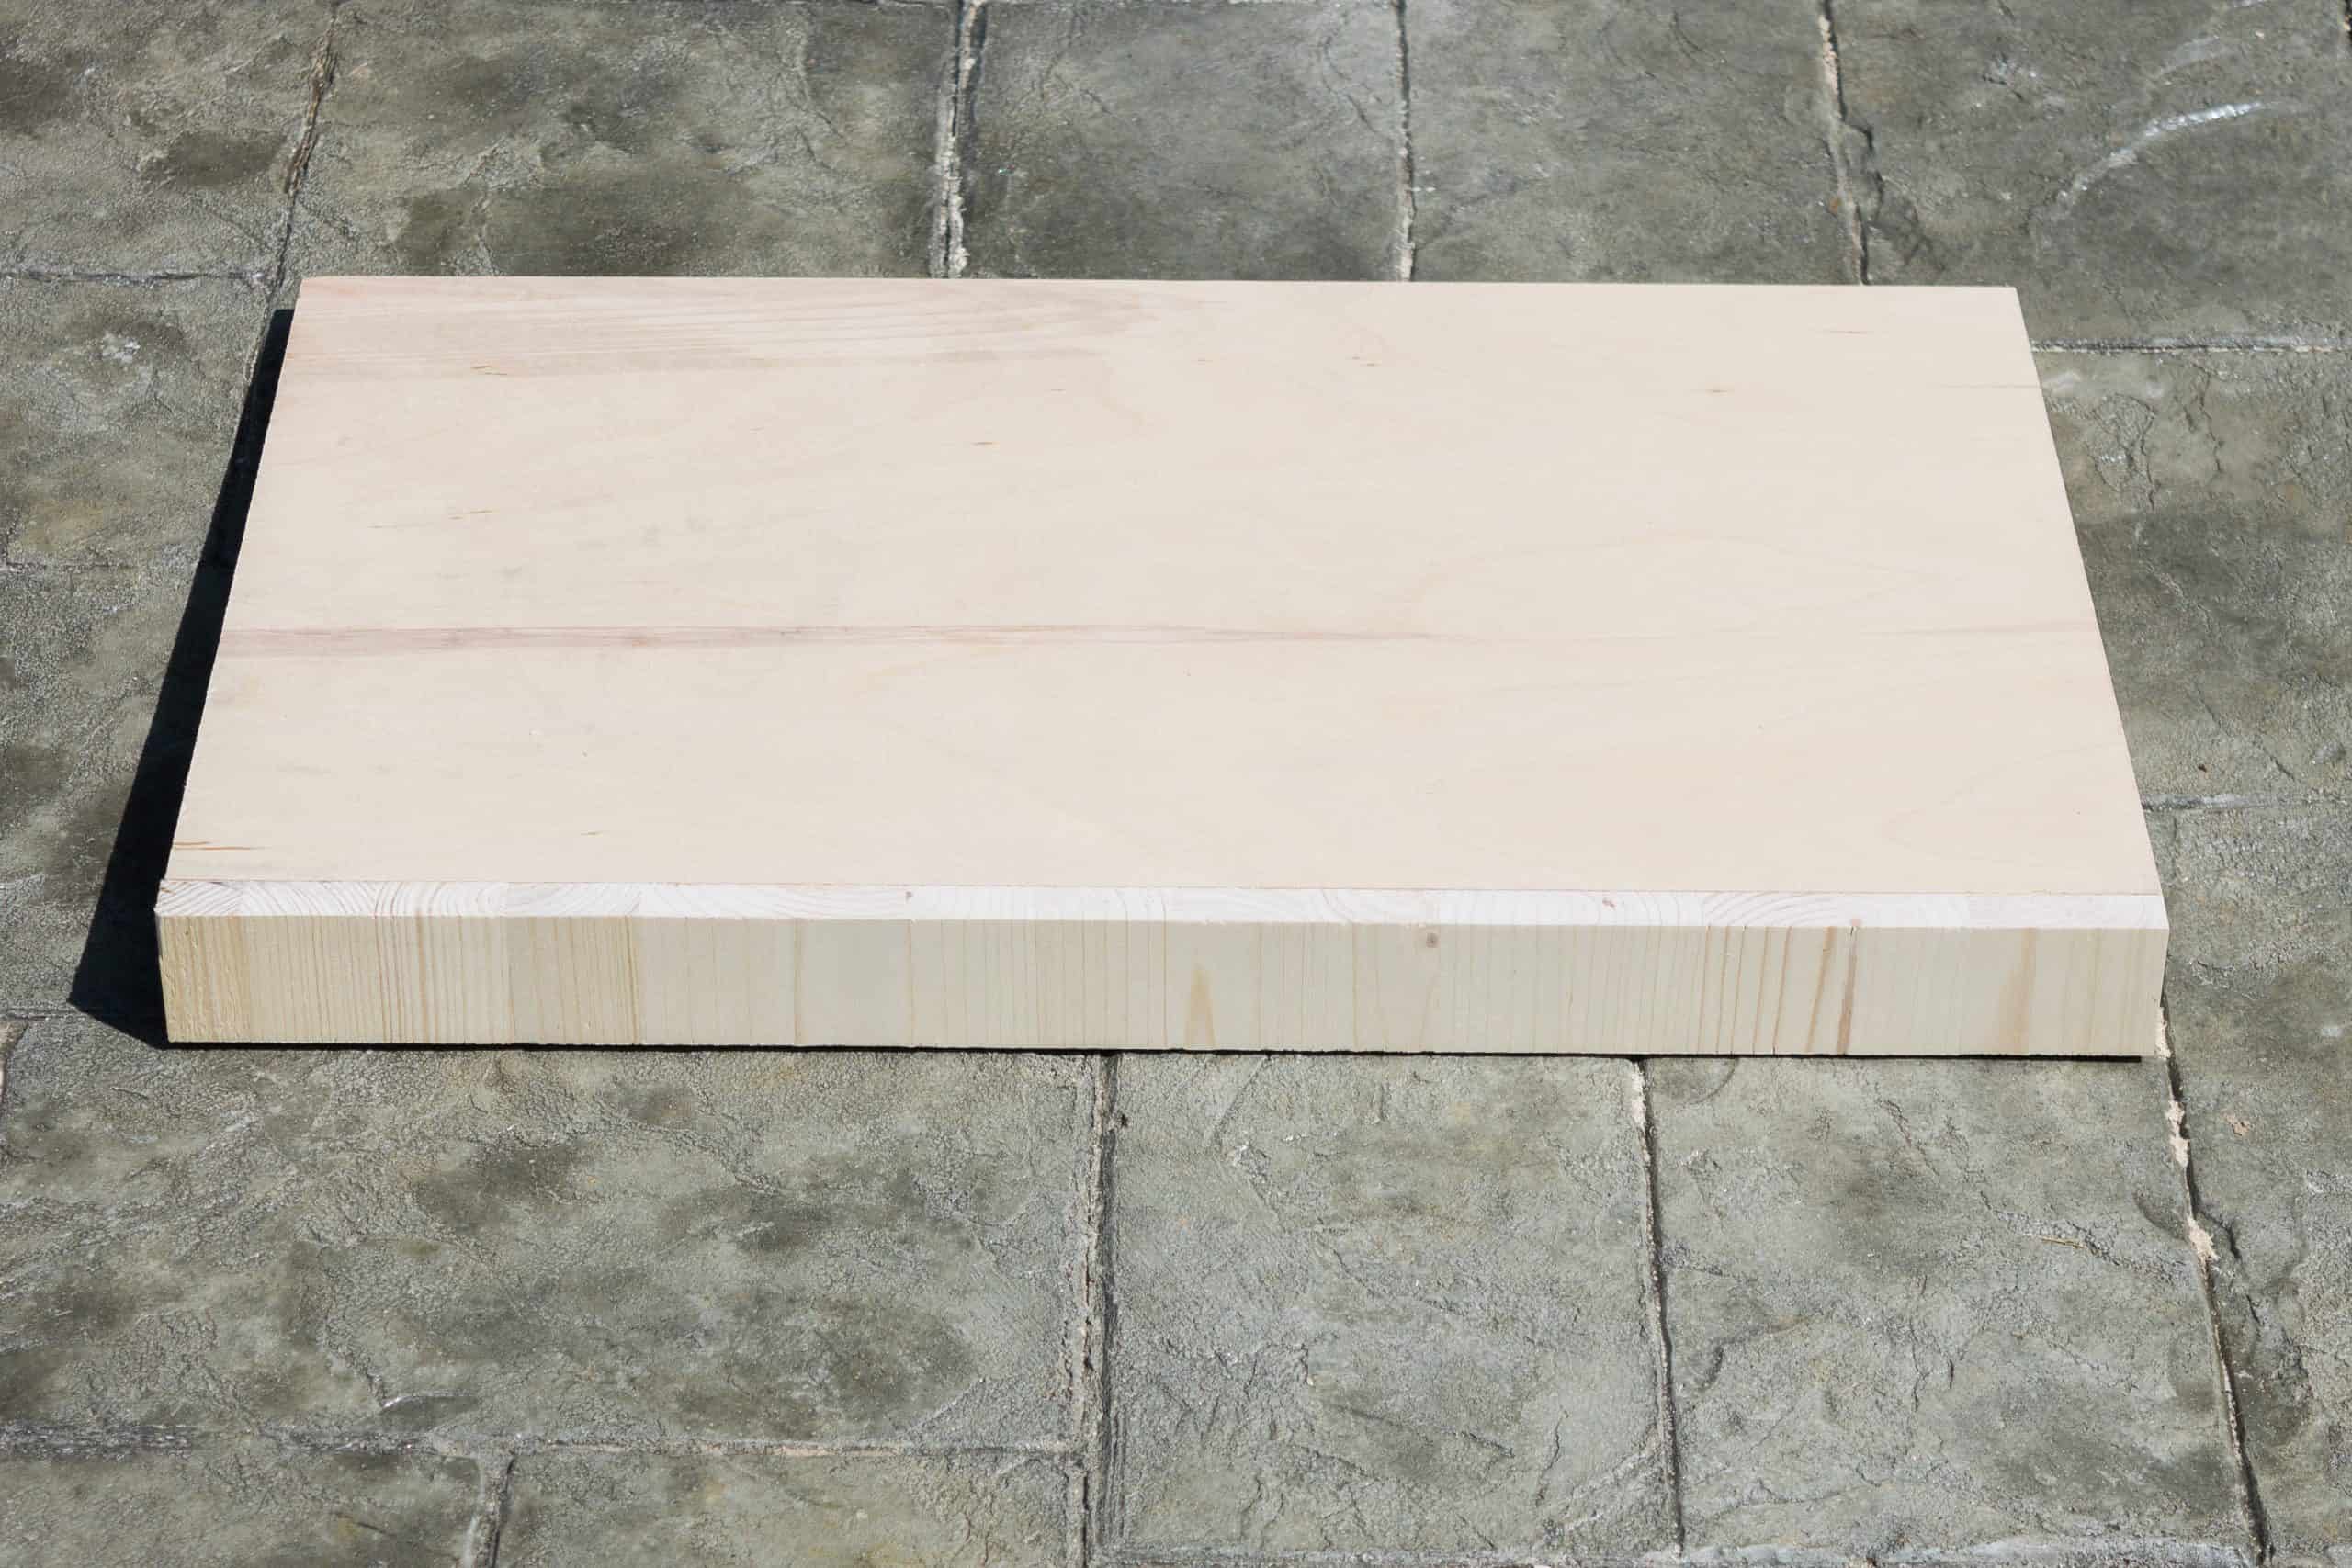
To install the top floating shelf we first built the ‘guts’ of the shelf, so to speak, and then built the casing to slide onto it. We followed the same process we used to build our Modern Farmhouse Wooden Mantel, except we changed the dimensions so this closet shelf wouldn’t be as thick. You can find the complete step-by-step tutorial here if interested, and then simply adjust the measurements to fit your space.

Voila! Custom closet shelving is now installed. I had hoped to be completely finished with the closet section at this point of the challenge, but we’re still waiting on the pegboards to arrive, so I’ll be sure to snap more photos for the final room reveal in a few more weeks.
To build the top floating shelf, Eric splurged and bought a couple select pine boards, but you could just as easily use plywood as well. We’re really happy with how this project turned out and how open the closet remains.
If you haven’t yet, be sure to visit the other participants in this year’s One Room Challenge. We’ve now reached the mid-way point of the 8-week challenge, so time is dwindling down to get everything completed and I know a little encouragement can do wonders!
The closet looks fabulous! I love the clean look look and the little pegs shelves.
Thank you, Amie!
Aww those are the cutest peg shelves!!
It’s been so fun following along on this space !