
DIY: Modern Farmhouse Floating Mantel
My mantel dreams finally coming true, you guys!
While I initially was a bit disappointed in not being able to find a home with a real fireplace (seriously, the housing market inventory was at an all-time low here when we managed to sell our prior home), it really pushed us to tackle a huge challenge: planning, designing, and building our own fireplace feature in our new home.
I’m over-the-moon happy with how it all turned out, and being able to change up the decorations season by season has been so much fun!

If you’d like to see how we built the actual fireplace feature wall and built-in bookcases, head over to this post for the complete tutorial.
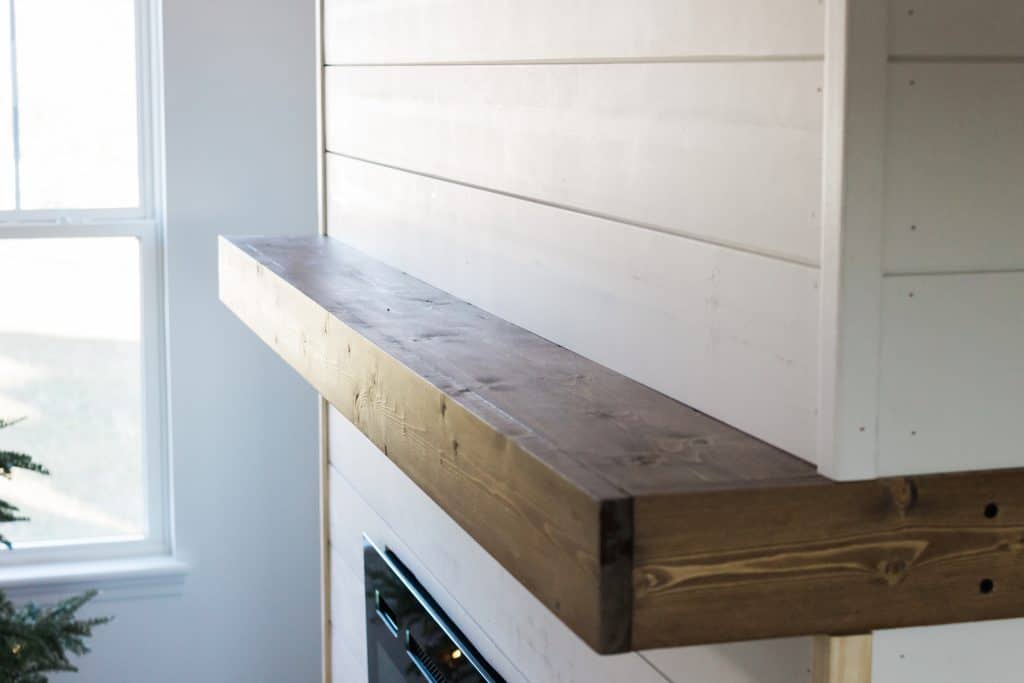
But here, I’ll quickly walk through how we built our modern farmhouse-inspired floating mantel.
I’ve gone ahead and included the dimensions specific to our specific project, so feel free to alter them as needed based upon what size mantel you’ll need.
Supplies & Materials
- Face Plate: (1) 1×4 cut to 64.5″ length
- Top and Bottom: (2) 1×6 cut to 63″ length
- Side Panels: (2) 1×4 cut to 11″ length
- Back Plate: (1) 1×4, ripped to 2″ and then cut to 63″ in length
- Braces: (4) 2×4 cut to 4″ in length
- (1) box 1-inch black construction screws
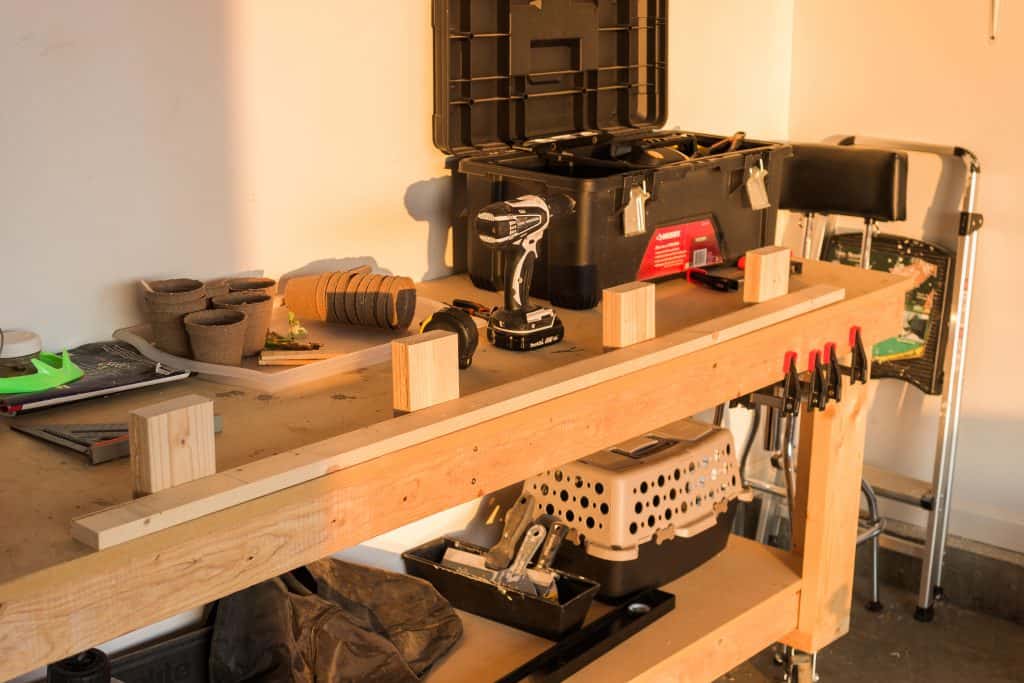
Build the Mantle
First, you’ll want to determine which of your pieces you want to face outward and therefore be seen. Then mark the back side so you’ll know which side to drill the pocket holes.
After you’ve cut all your pieces to length, begin drilling pocket holes on the inside pieces of your mantel.
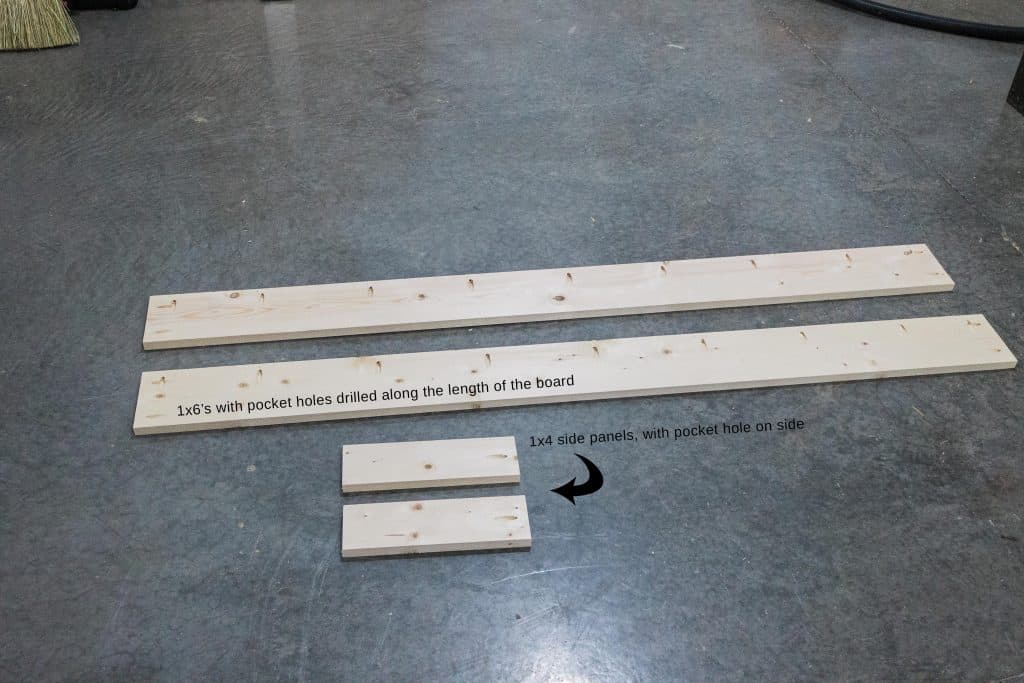
Take your top and bottom pieces and drill pocket holes along the long side on both boards. These will be screwed to the face plate of the mantel. Be sure to check for square when attaching these pieces together. Use clamps if needed.
Take your top piece, line it up, and then screw it to the face plate. We opted to use wood glue along with screws to ensure a stronger bond.
Now take your two side pieces and drill a pocket hole on one end of each board. We’ll use these to attach the side pieces to the face plate.
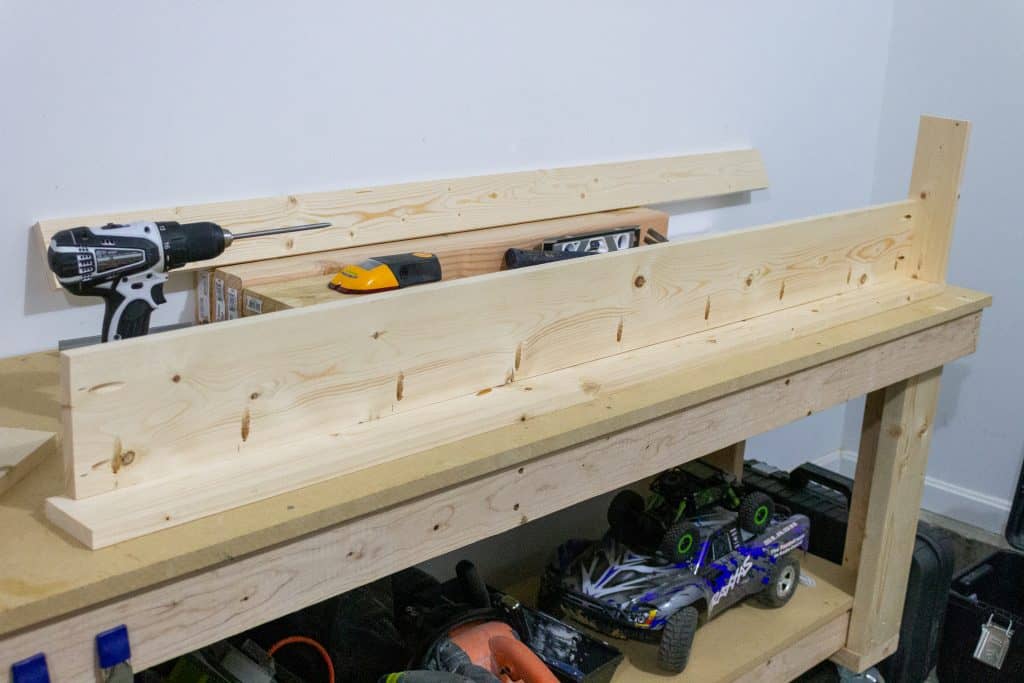
Next, attach the top and bottom pieces.
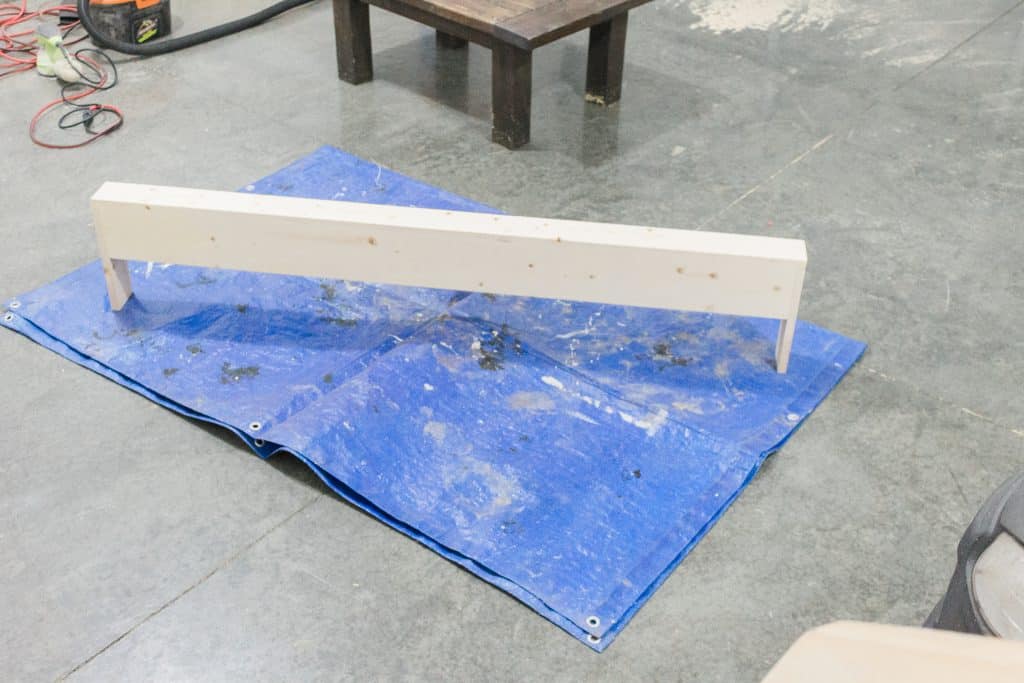
At this point you should have the shell of the mantel complete. Wipe any excess glue off and then sand the mantel really well before staining. We opted to use Minwax’s Early American stain to match our wooden hearth.
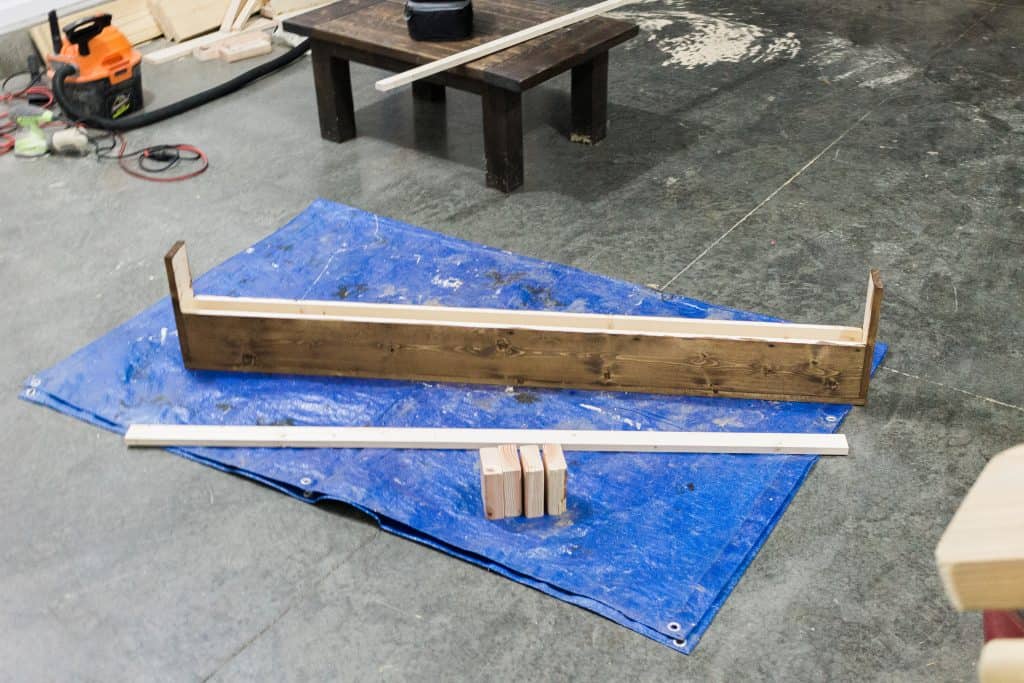
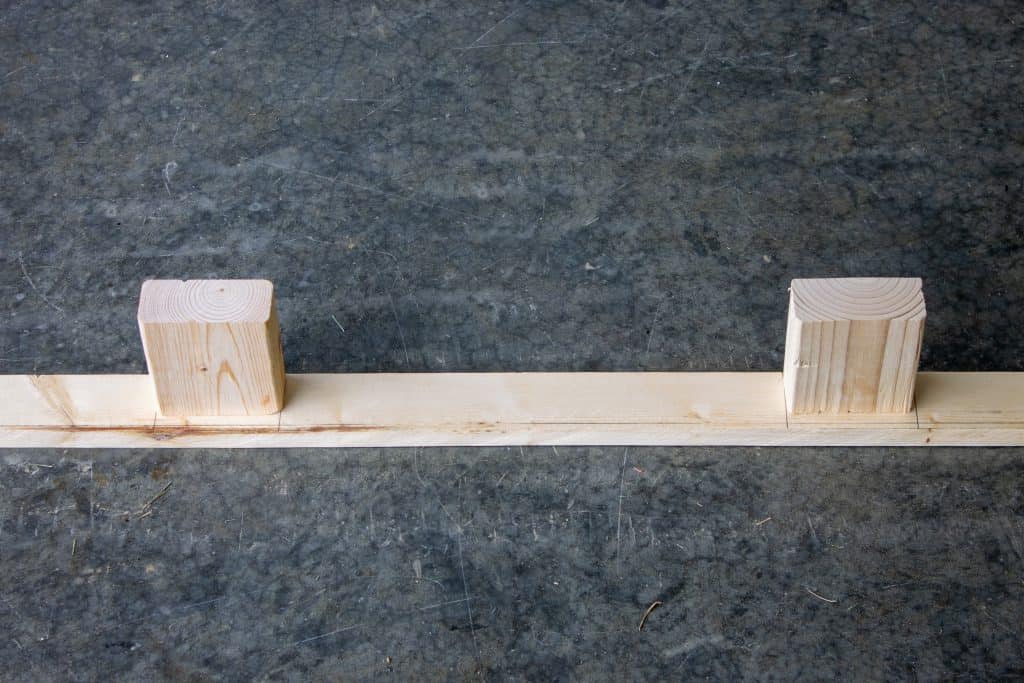
Build the Support Brace
To build the back plate that will hold the mantel in place take the 1×4 that’s been ripped to 2″ and attach your (4) 2×4 braces. We chose to attach the first support brace in 5.5″ from the end and then attached the second one 12″ from that one and repeated these measurements for the other end of the board. These measurements may differ based upon the total length of your floating mantel piece.
Make sure the 2×4’s are flush with the top of the board. You’ll want the top of the mantel shell to sit directly on top of these braces in the same way a floating shelf would.
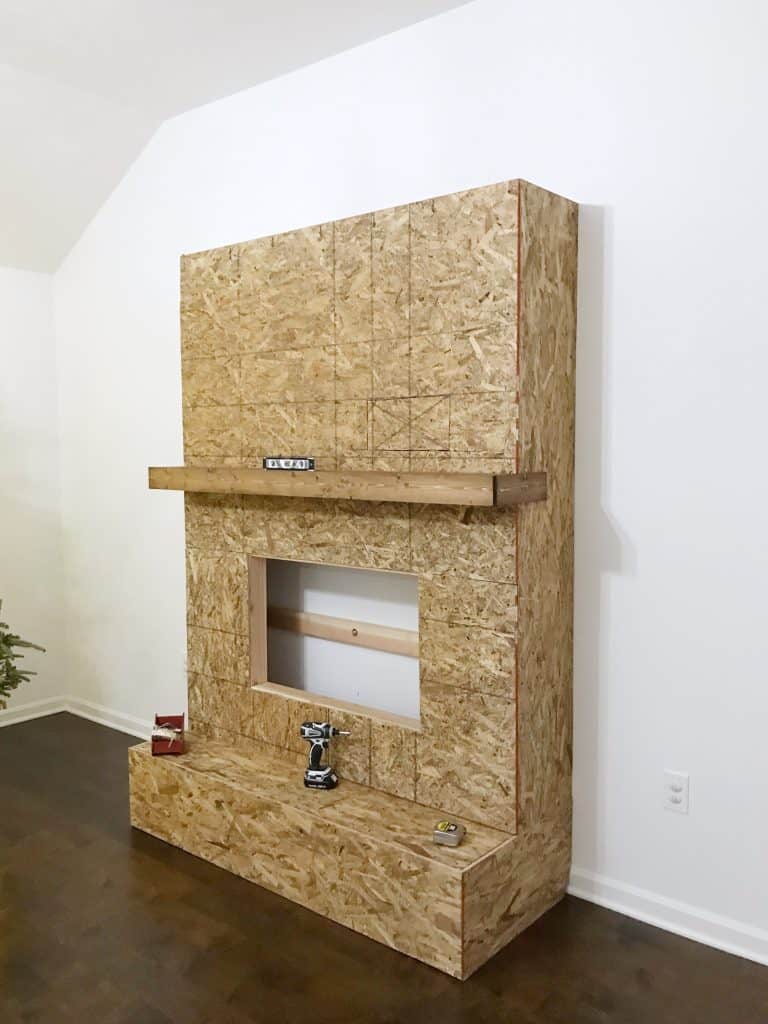
Attach Mantel to Fireplace
Now it’s time to attach the back support brace to the fireplace wall. At this point your frame should be encased in plywood. We attached our shiplap AFTER installing the floating mantel.
When we built our frame to hold our electric fireplace we made sure to include a 2×4 stud at 53″ from the ground to serve as the support for our mantel.

Attach the back plate to this stud, ensuring it is level.
At this point, you can either simply slide the floating mantel shell over the support brace and use two screws on the side plates to screw them to the frame or, alternatively, use (4) screws on the top and (4) screws on the bottom along with the (2) screws on the side.
We opted for the latter because we wanted to ensure the floating mantel would not budge, given the fact that we have two small children who like to hang off things. 🙂
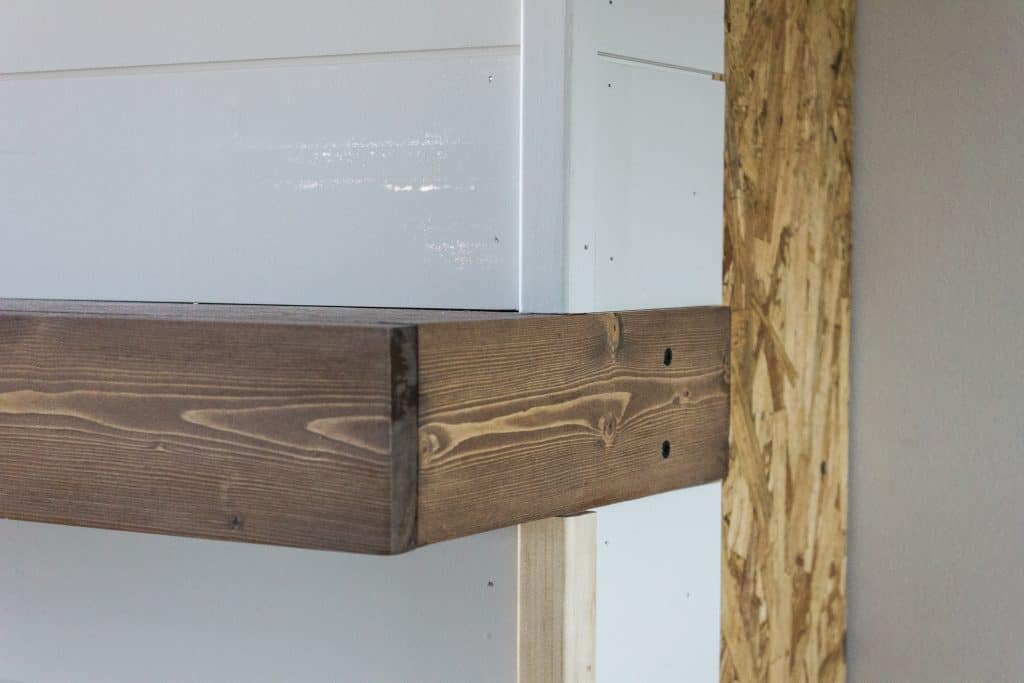
If you’re wanting to secure the mantel with the top and bottom attachment like we did you’ll need to pre-drill (4) holes on the top, 1/4″ in from the edge of the board that sits flush with the fireplace. Countersink screws when attaching the mantel to the backplate. This way once the shiplap is installed the screws are hidden from view.
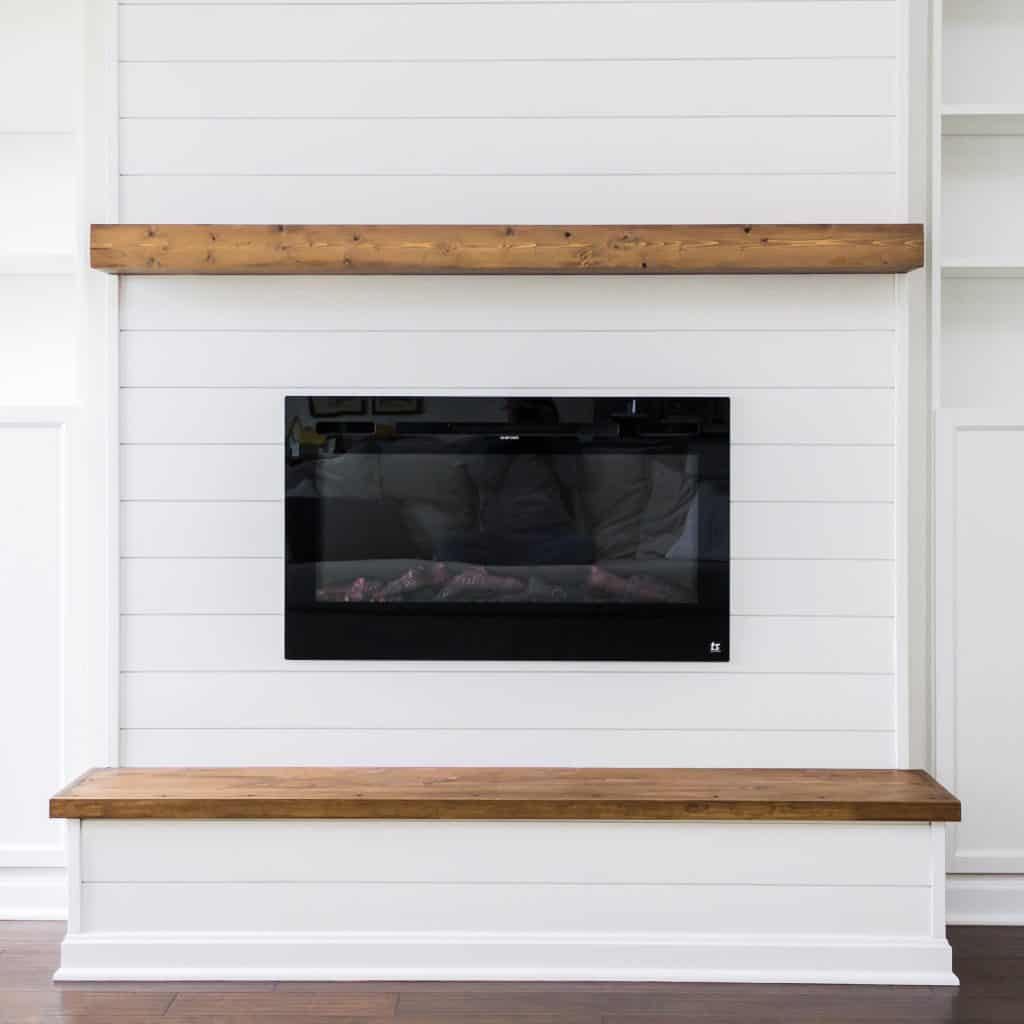
We chose to run a small bead of caulk along the seams where the mantel meets the shiplap. Tip: Use painter’s tape to ensure you get a really smooth line when caulking.
And that’s it! Congrats on building your floating wooden mantel!
If you have any other questions, please feel free to leave a note in the comments below. Happy building, friends!
What kind of wood did you use for this?
Hi there! We used select pine boards.
Hello, I am working on building my electric fireplace based off of your plans! I am curious, after staining the hearth and mantle, did you use any kind of sealer?
what color stain did you use for your hearth and mantle boards?
We used Minwax’s Early American stain.
I used the same stain and it appeared so much darker on my finished “select pine” lumber. But a standard 2×4 it showed up lighter like this and I wanted that. Oh well, I got the lumber that was straight and costed a pretty penny. Still turned out great though!
Hello and thank you so much for all your details. My local hardware place does not have pine
2x4s. Do you think its OK to use fir? Also, does your initial supply list include the motel pieces?
Thank you!!
I’m so excited to get this going:)
Darn “autocorrect”. I meant mantel, not motel.
How were you able to get the screws into place on the last board for the mantle? We got to that step and realized we could not get to the screws/holes in the tight space.