DIY Peg Shelf
Whether your entryway needs a bit more organization or you have a wall that you’d like to spruce up a little, this DIY peg shelf with mail holder is a perfect small space solution. In this blog post I’m sharing the complete tutorial for how to build your own for as little as $30 dollars!
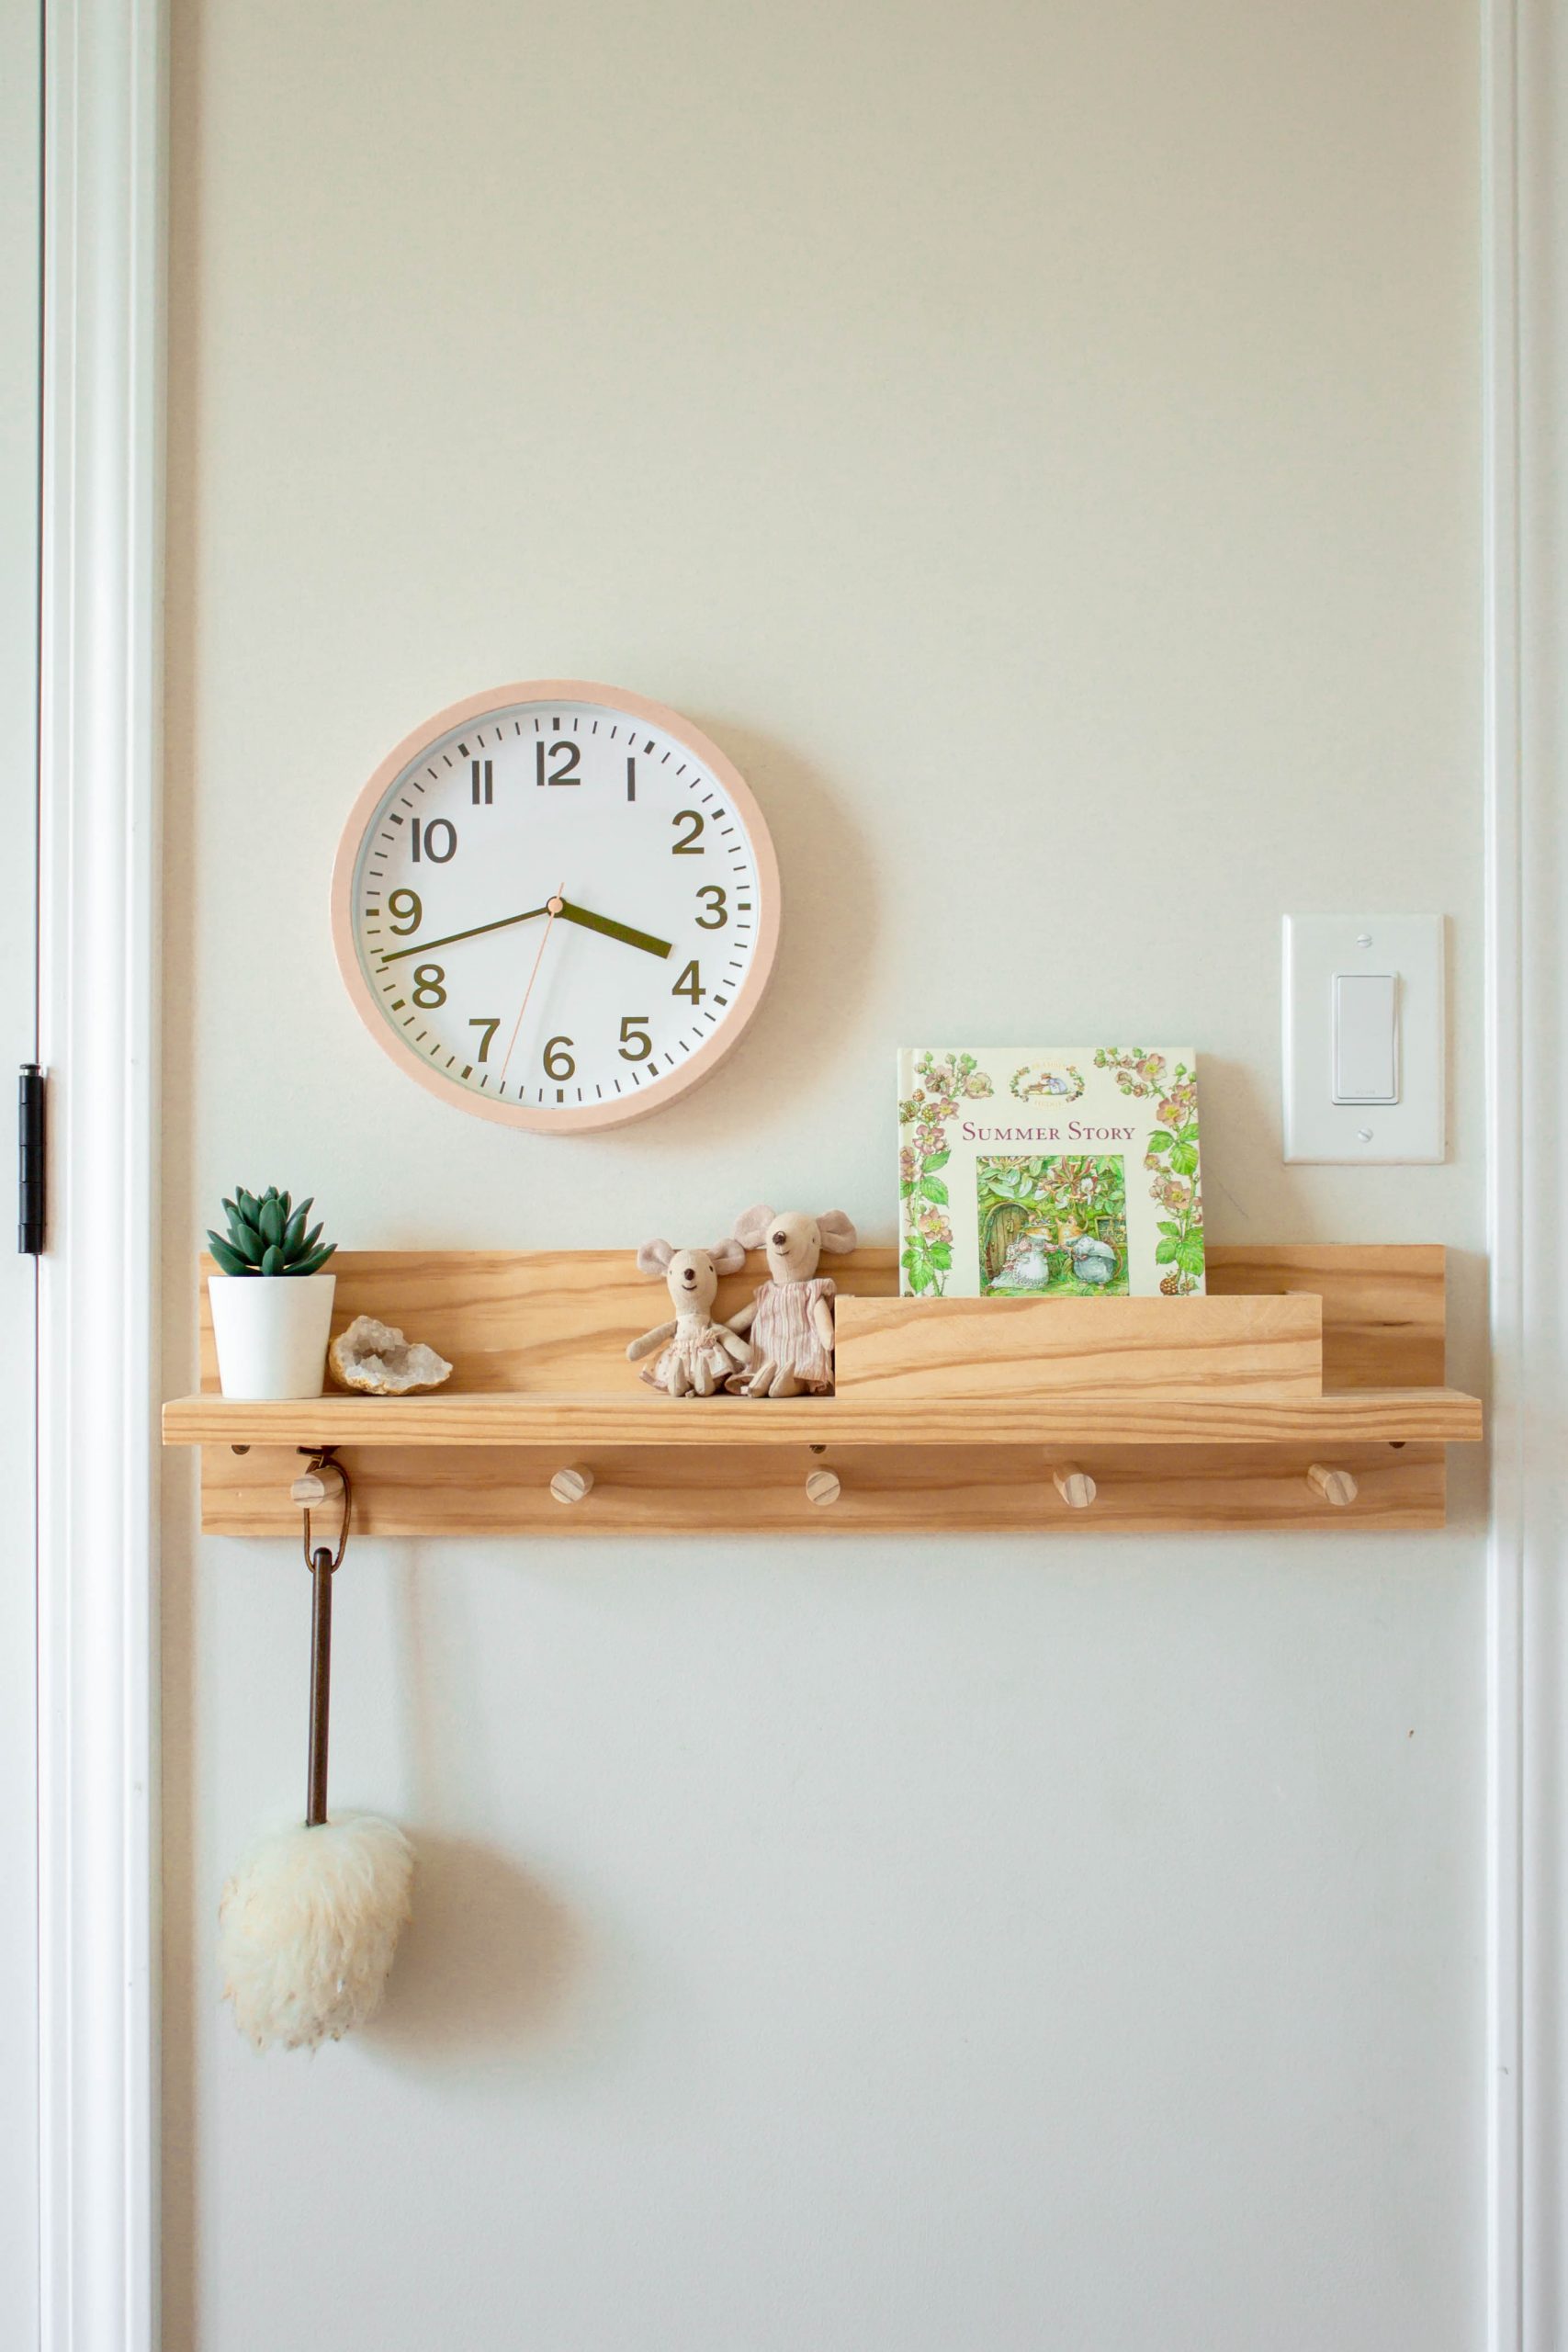
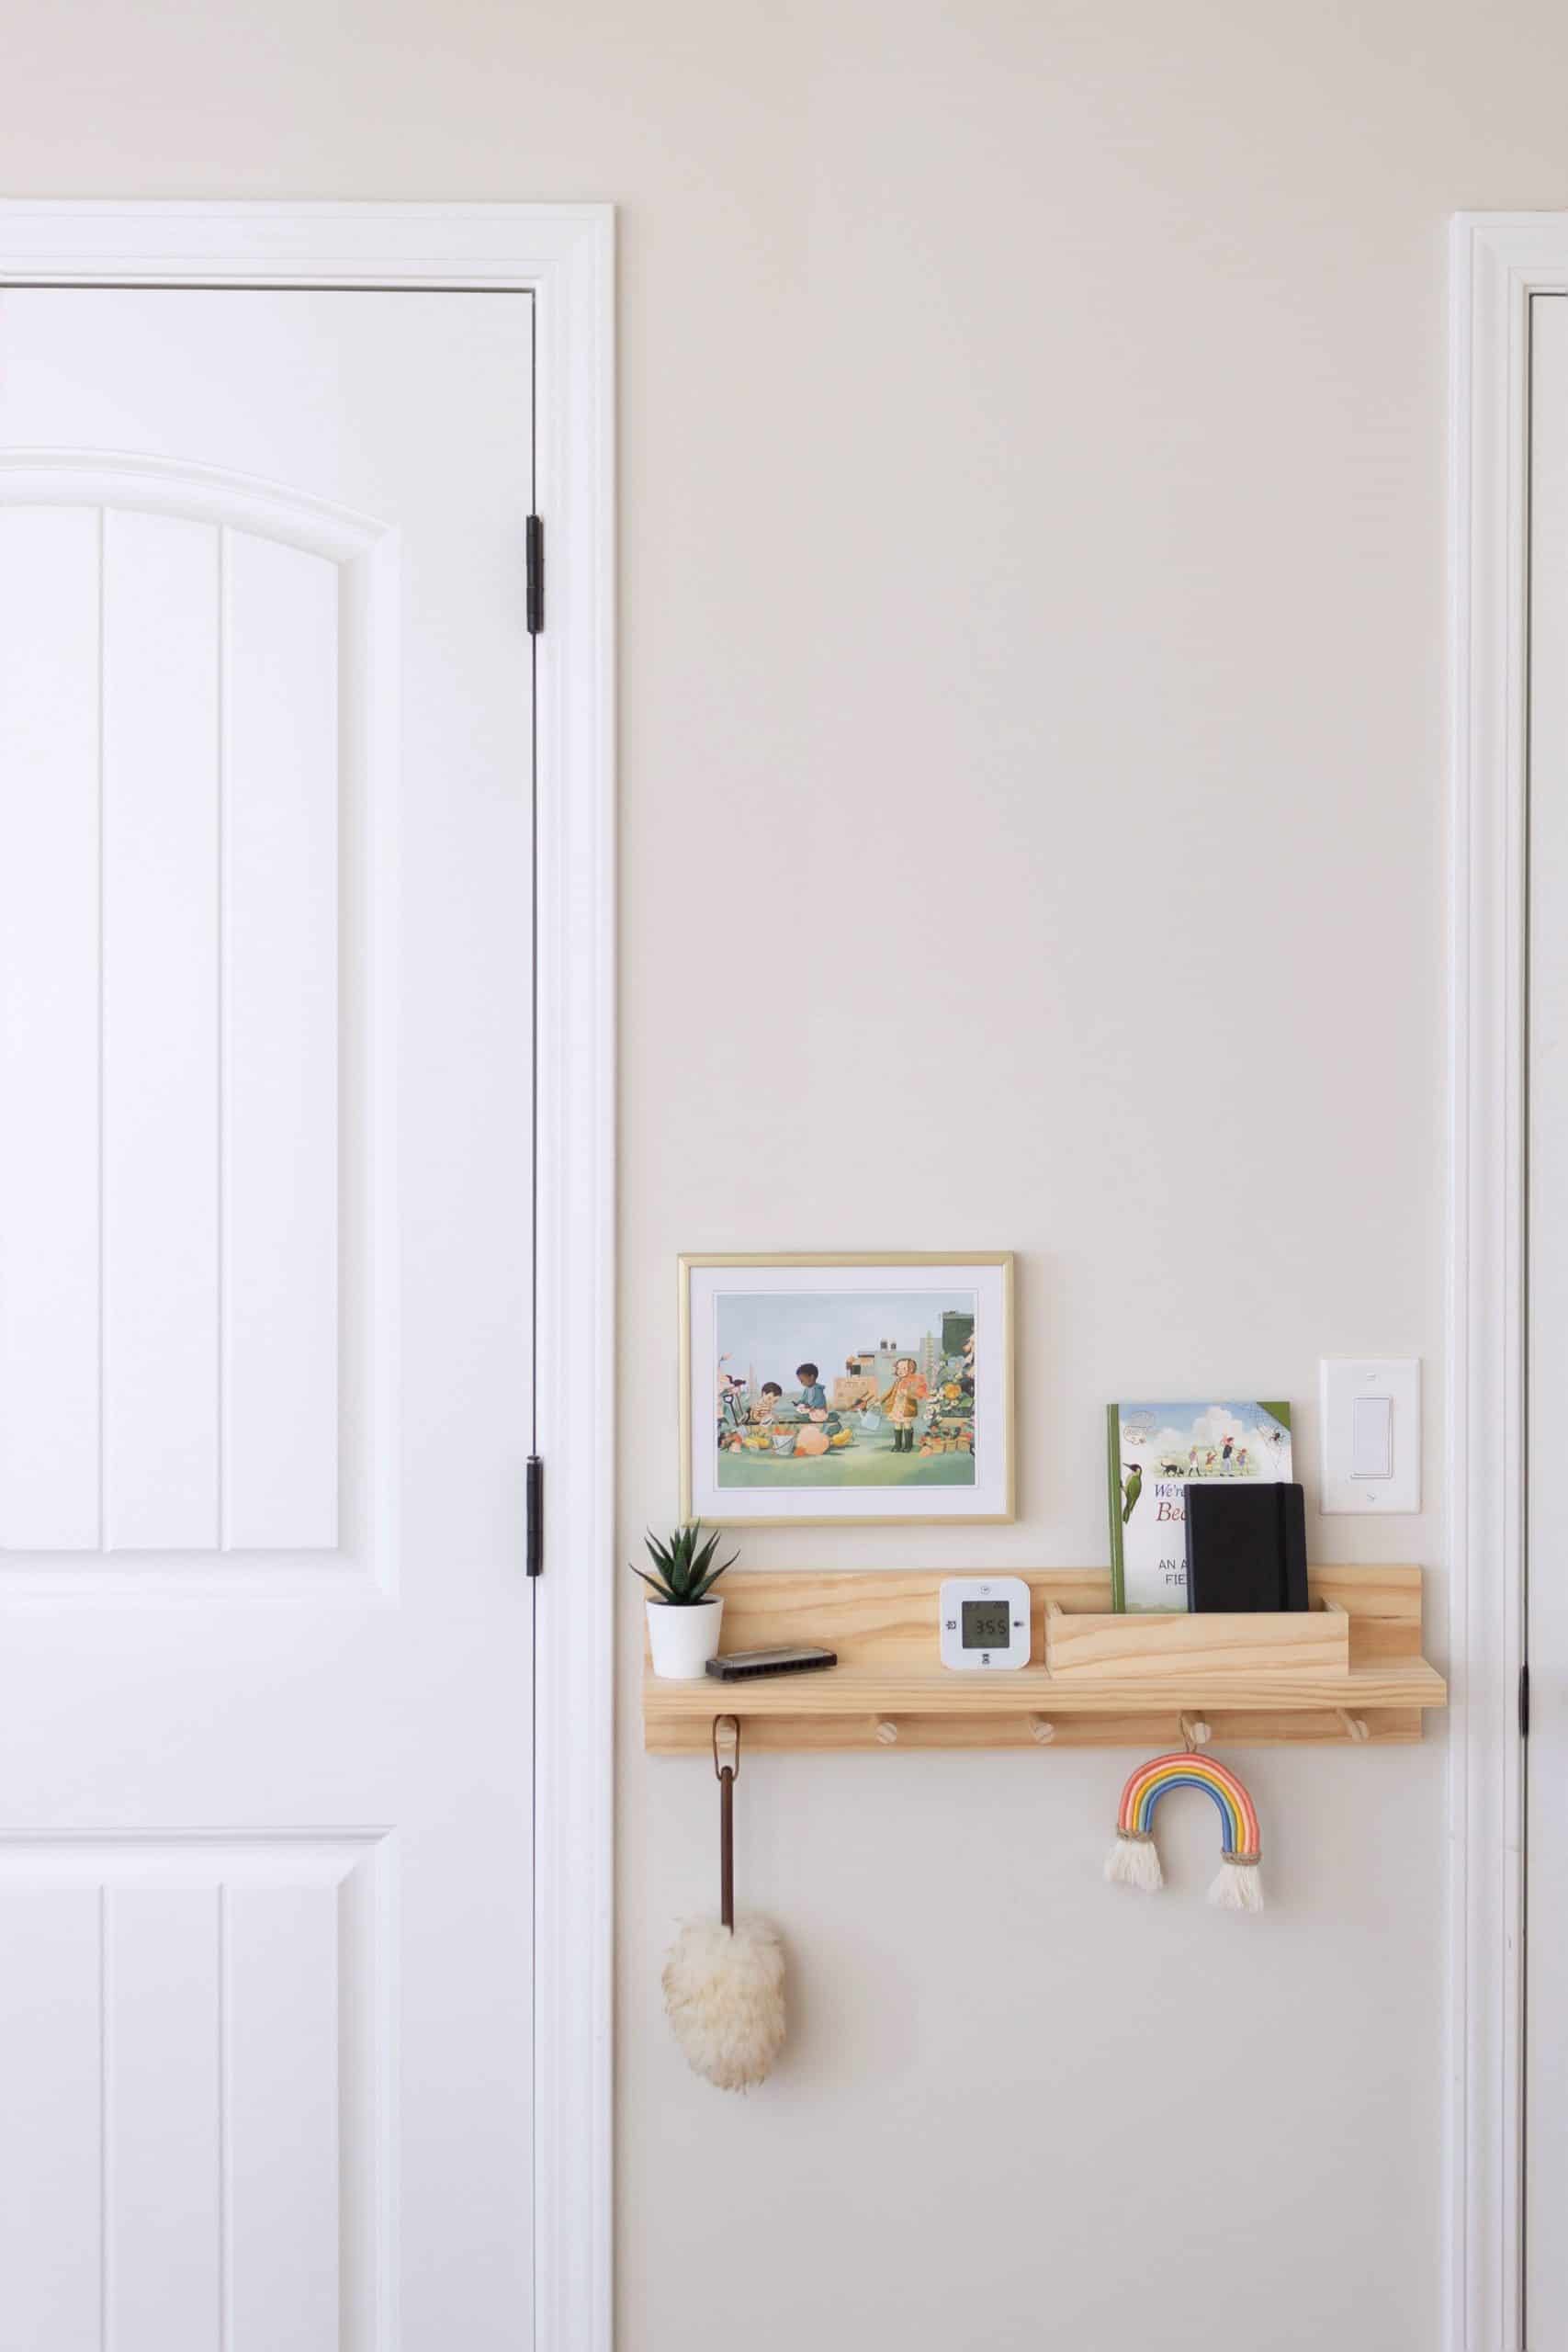
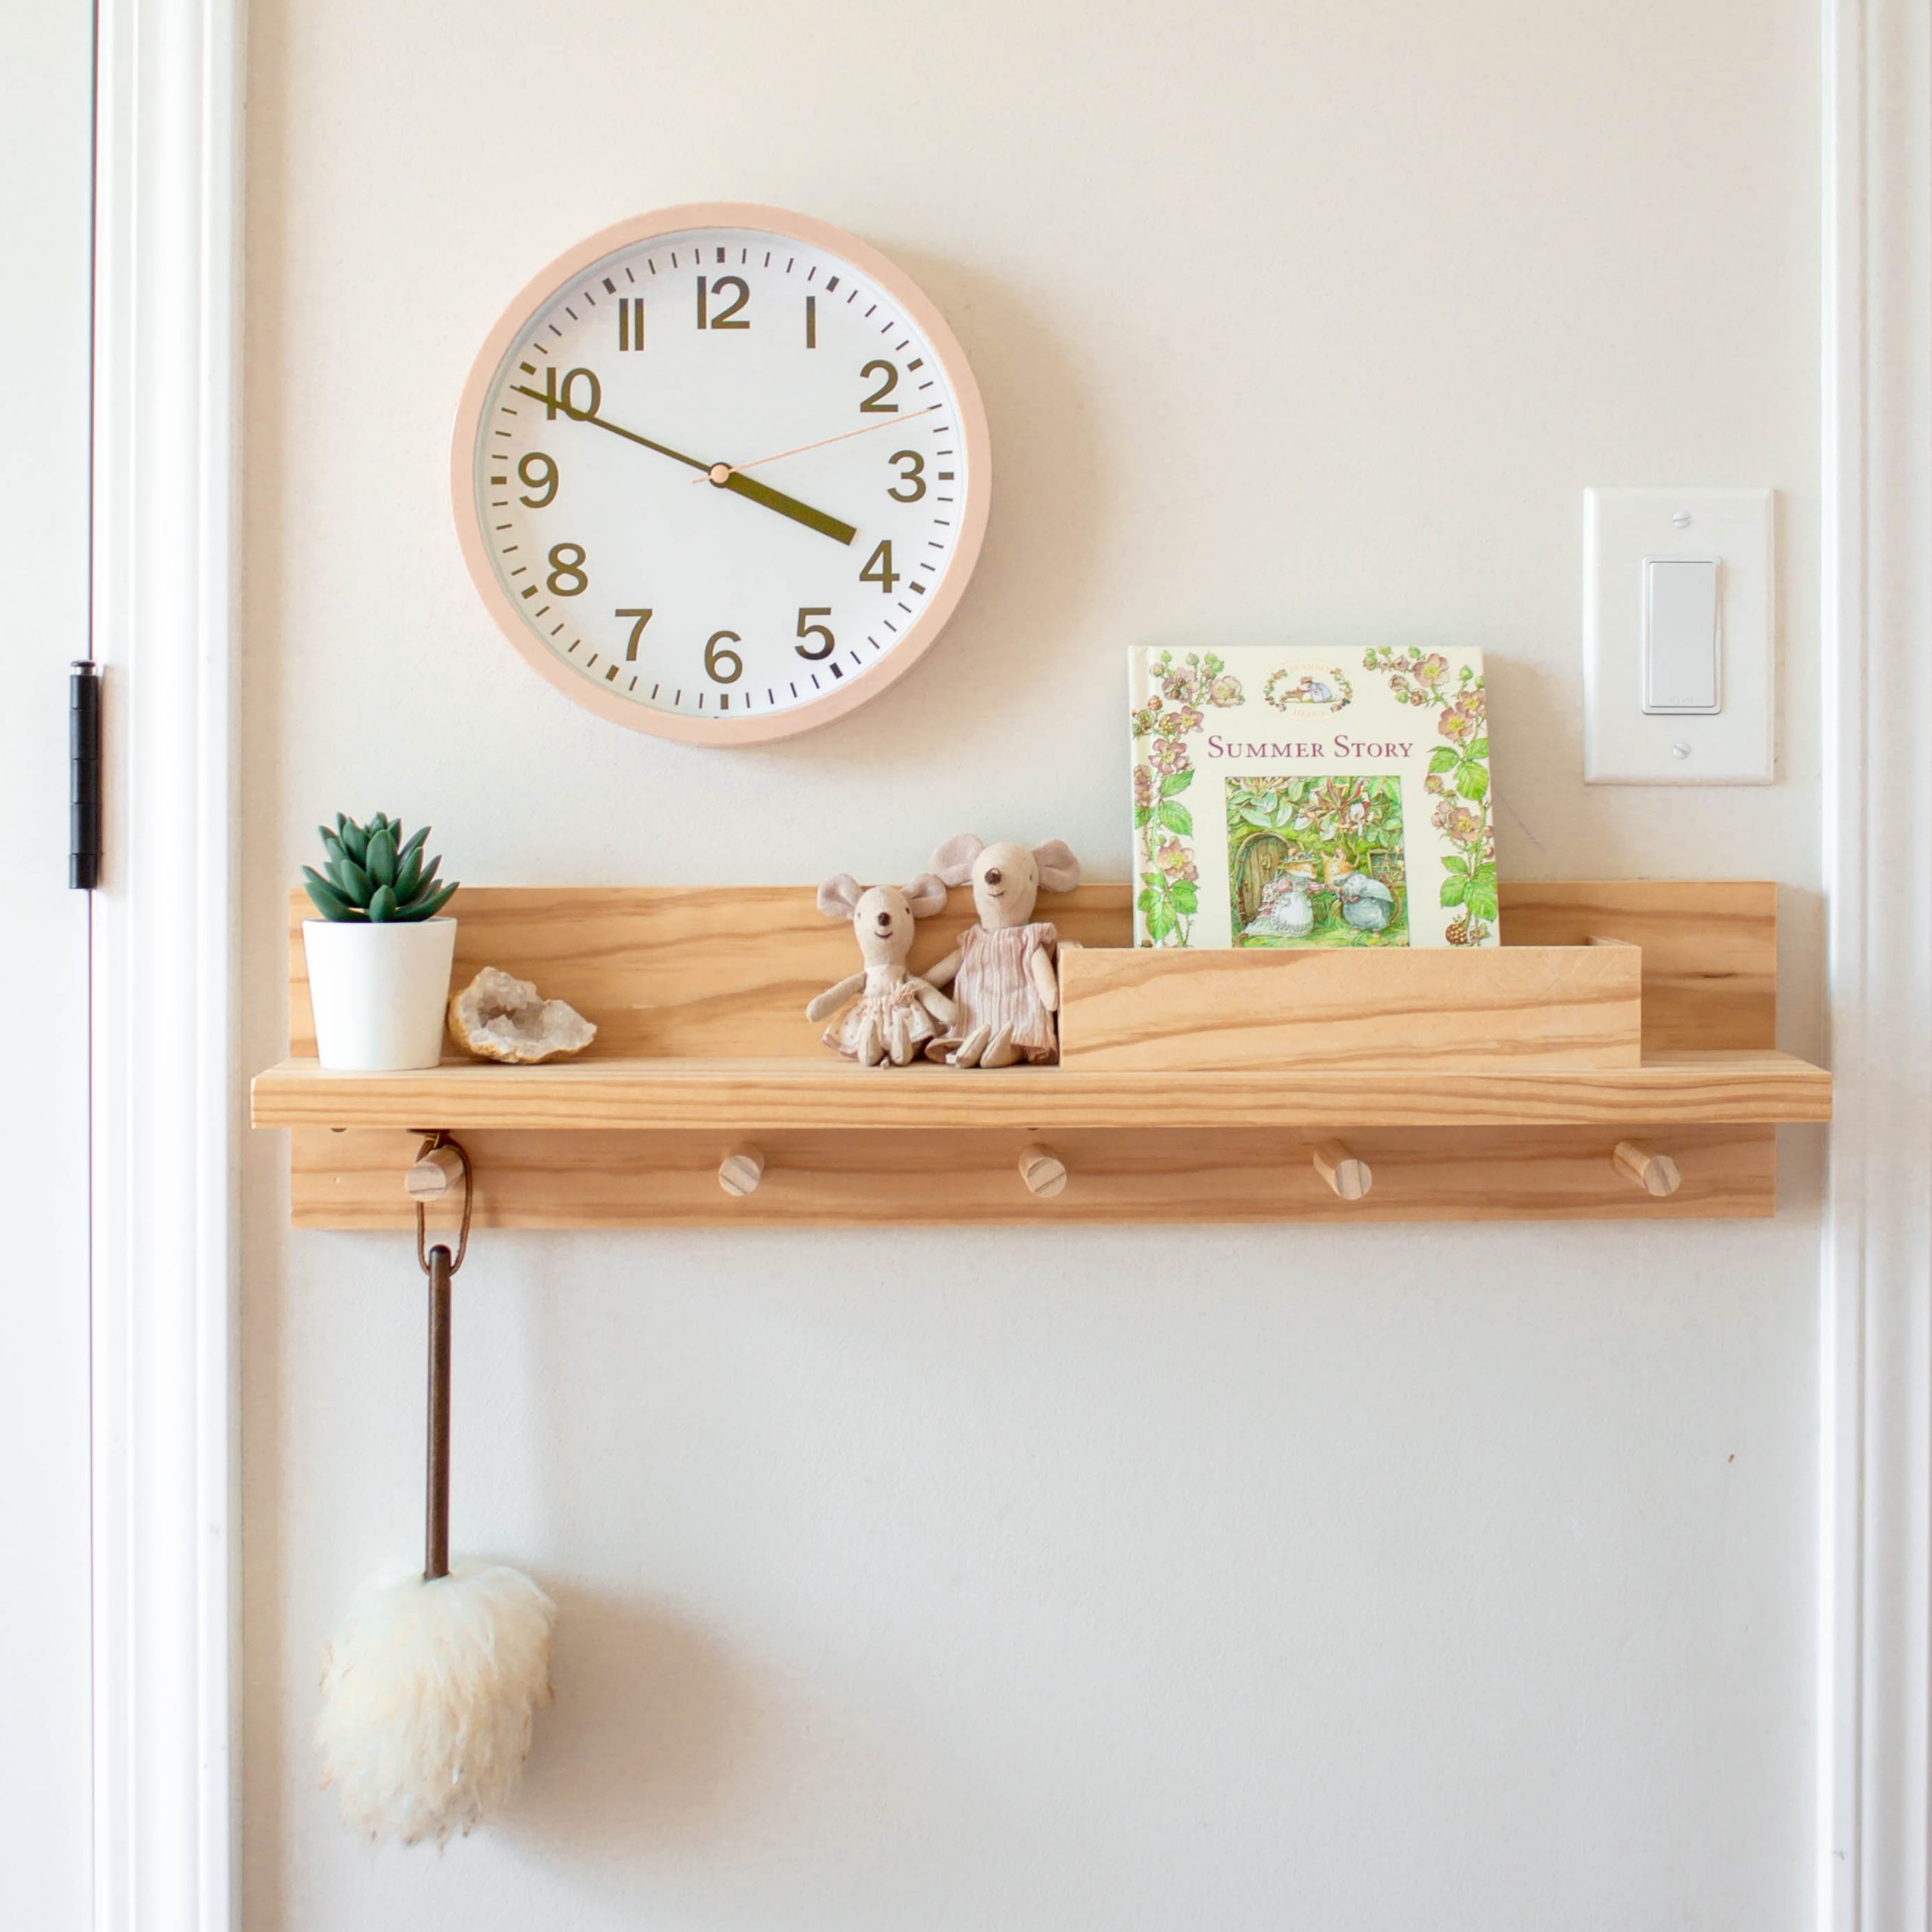
Last year we made over our daughter’s shared bedroom as part of the bi-annual One Room Challenge. Their bedroom is a pretty small space, measuring only 10′ by 12′ feet. As a result, one of our top priorities during their room makeover was maximizing storage and organization, and this DIY peg shelf with letter bin has been a huge hit!
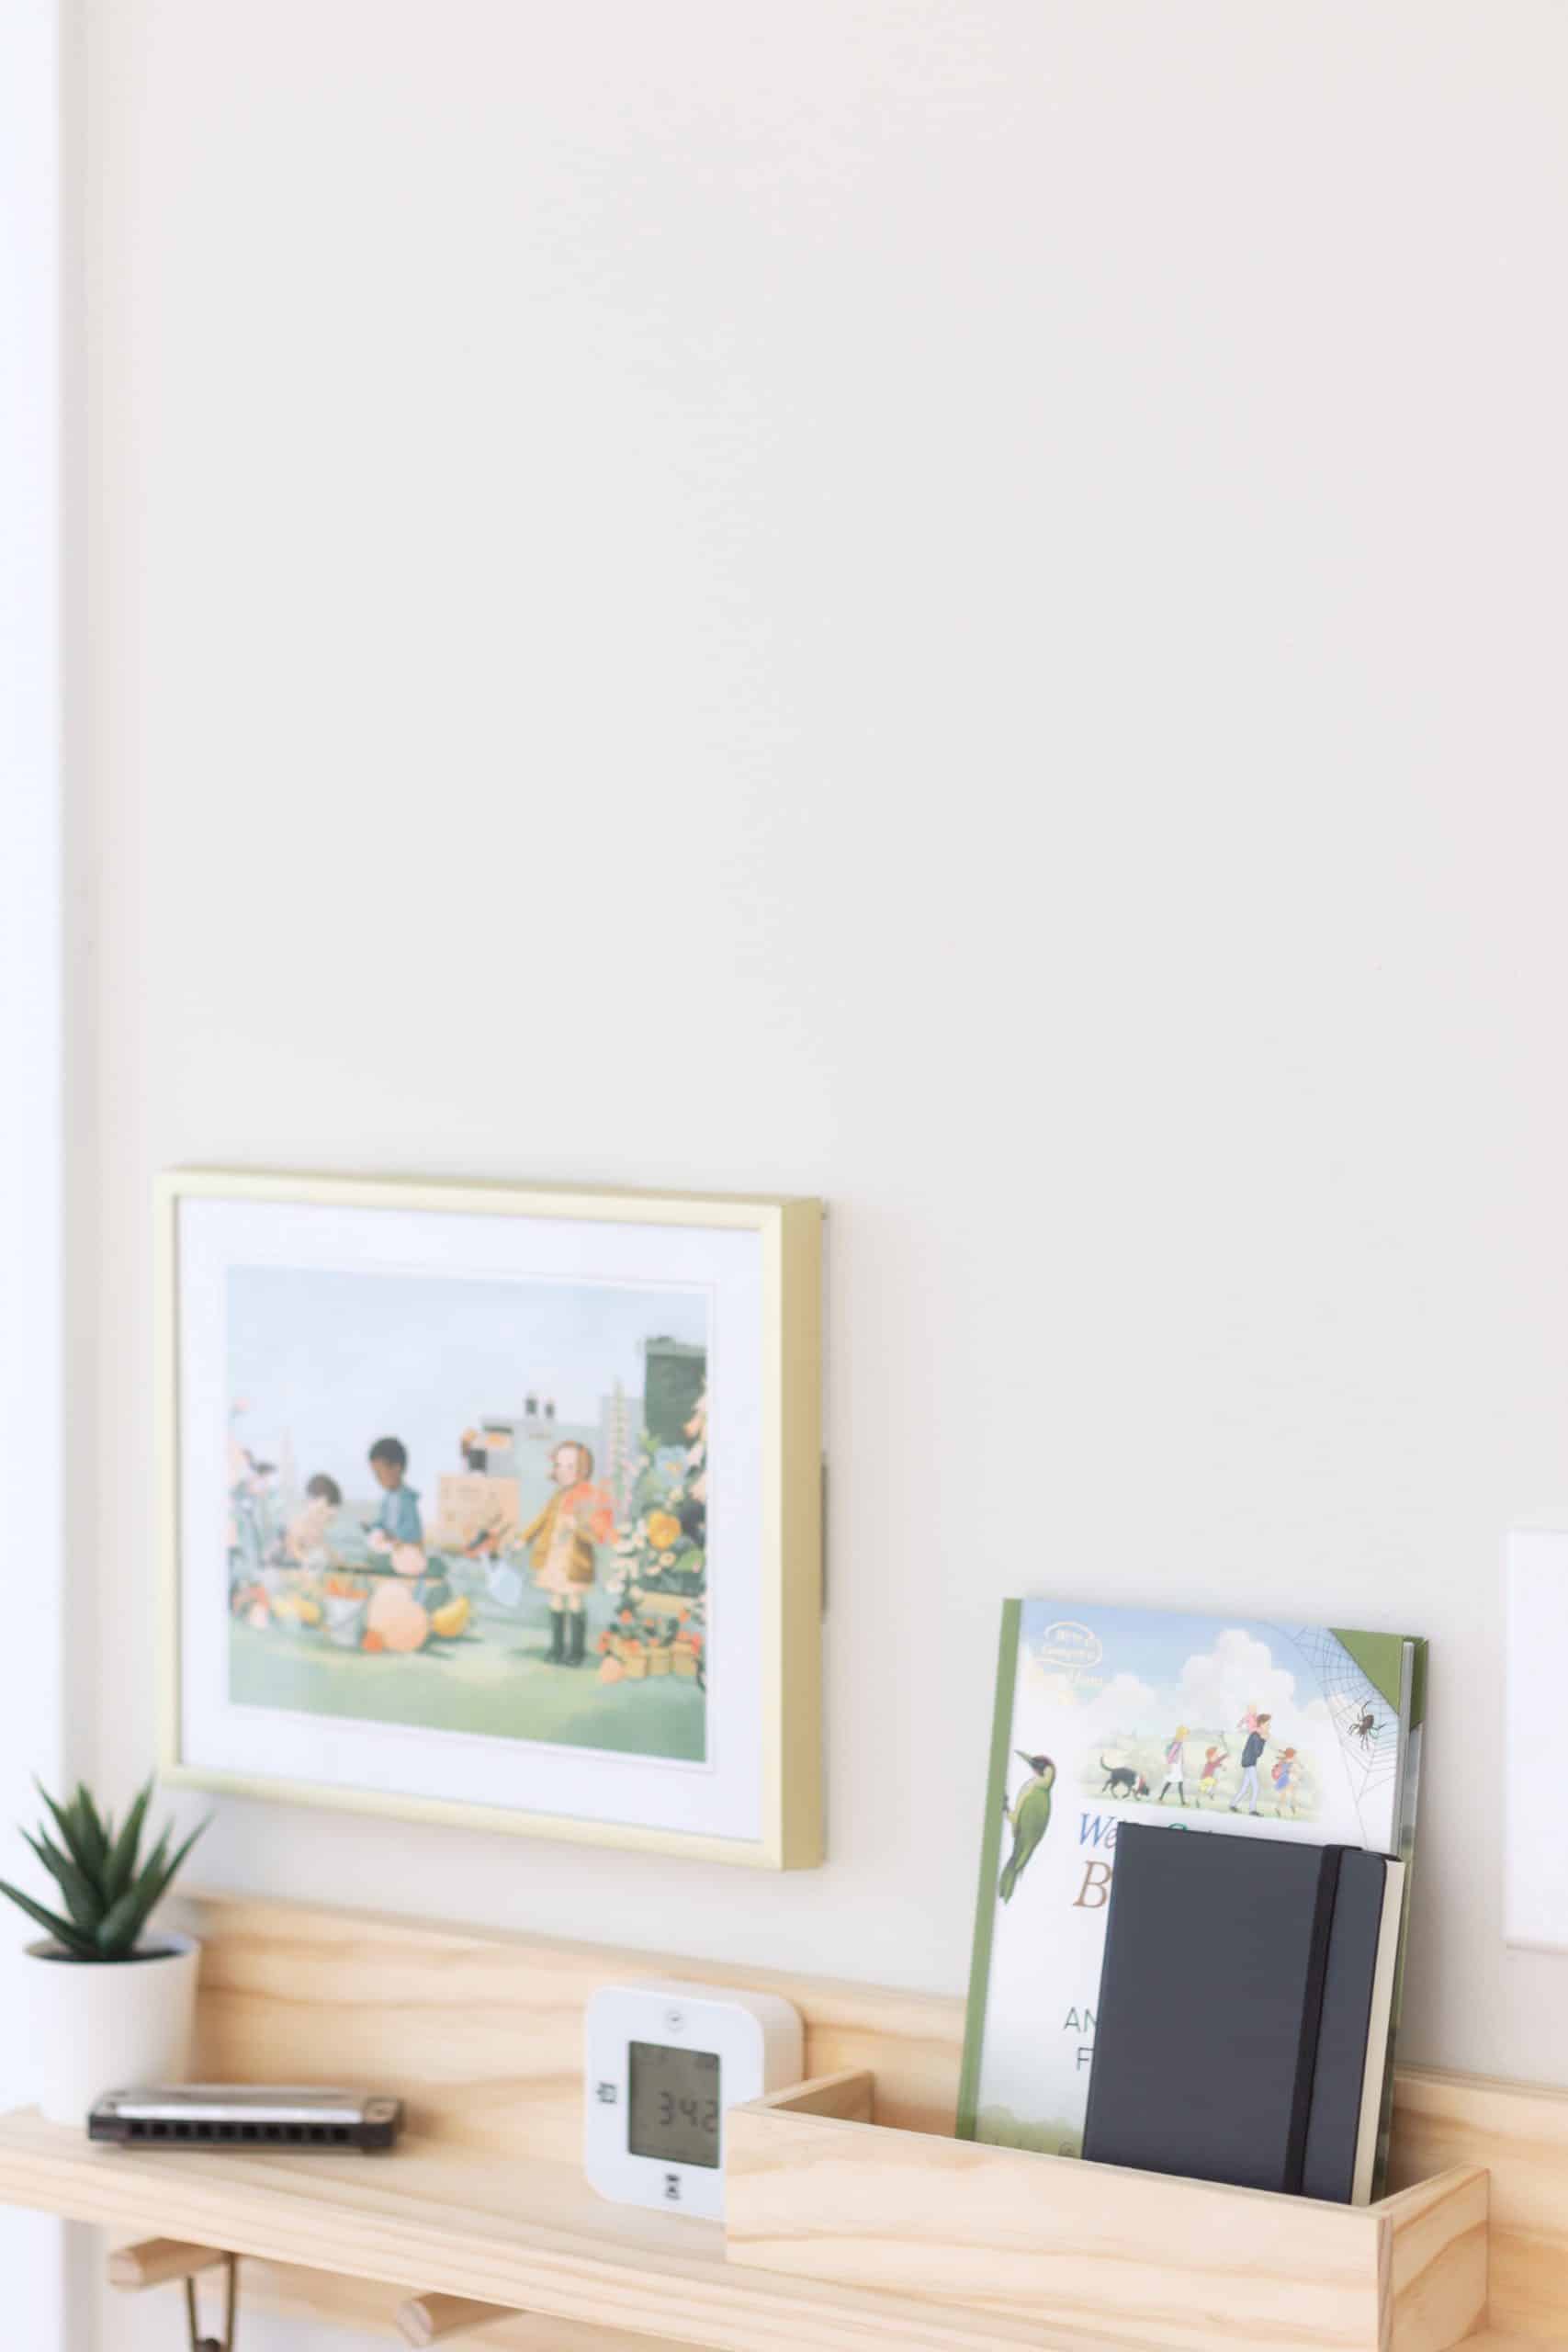
They regularly use the hooks to hang their ball caps, doctor bag, hanging baskets filled with hair accessories, dust brush, purses, and so much more. The best part? It helps keep all this stuff from being scattered all over the floor! They also love to decorate the top shelf, and the letter bin is a perfect place to store a book, a journal, or mail they’ve received from family members.
If you’re looking for a quick way to help control the clutter in an entryway or bedroom, here’s a quick tutorial on how to build your own wooden peg rail shelf with a mail holder.
How to Build a Wooden Peg Rail Shelf with Mail Holder
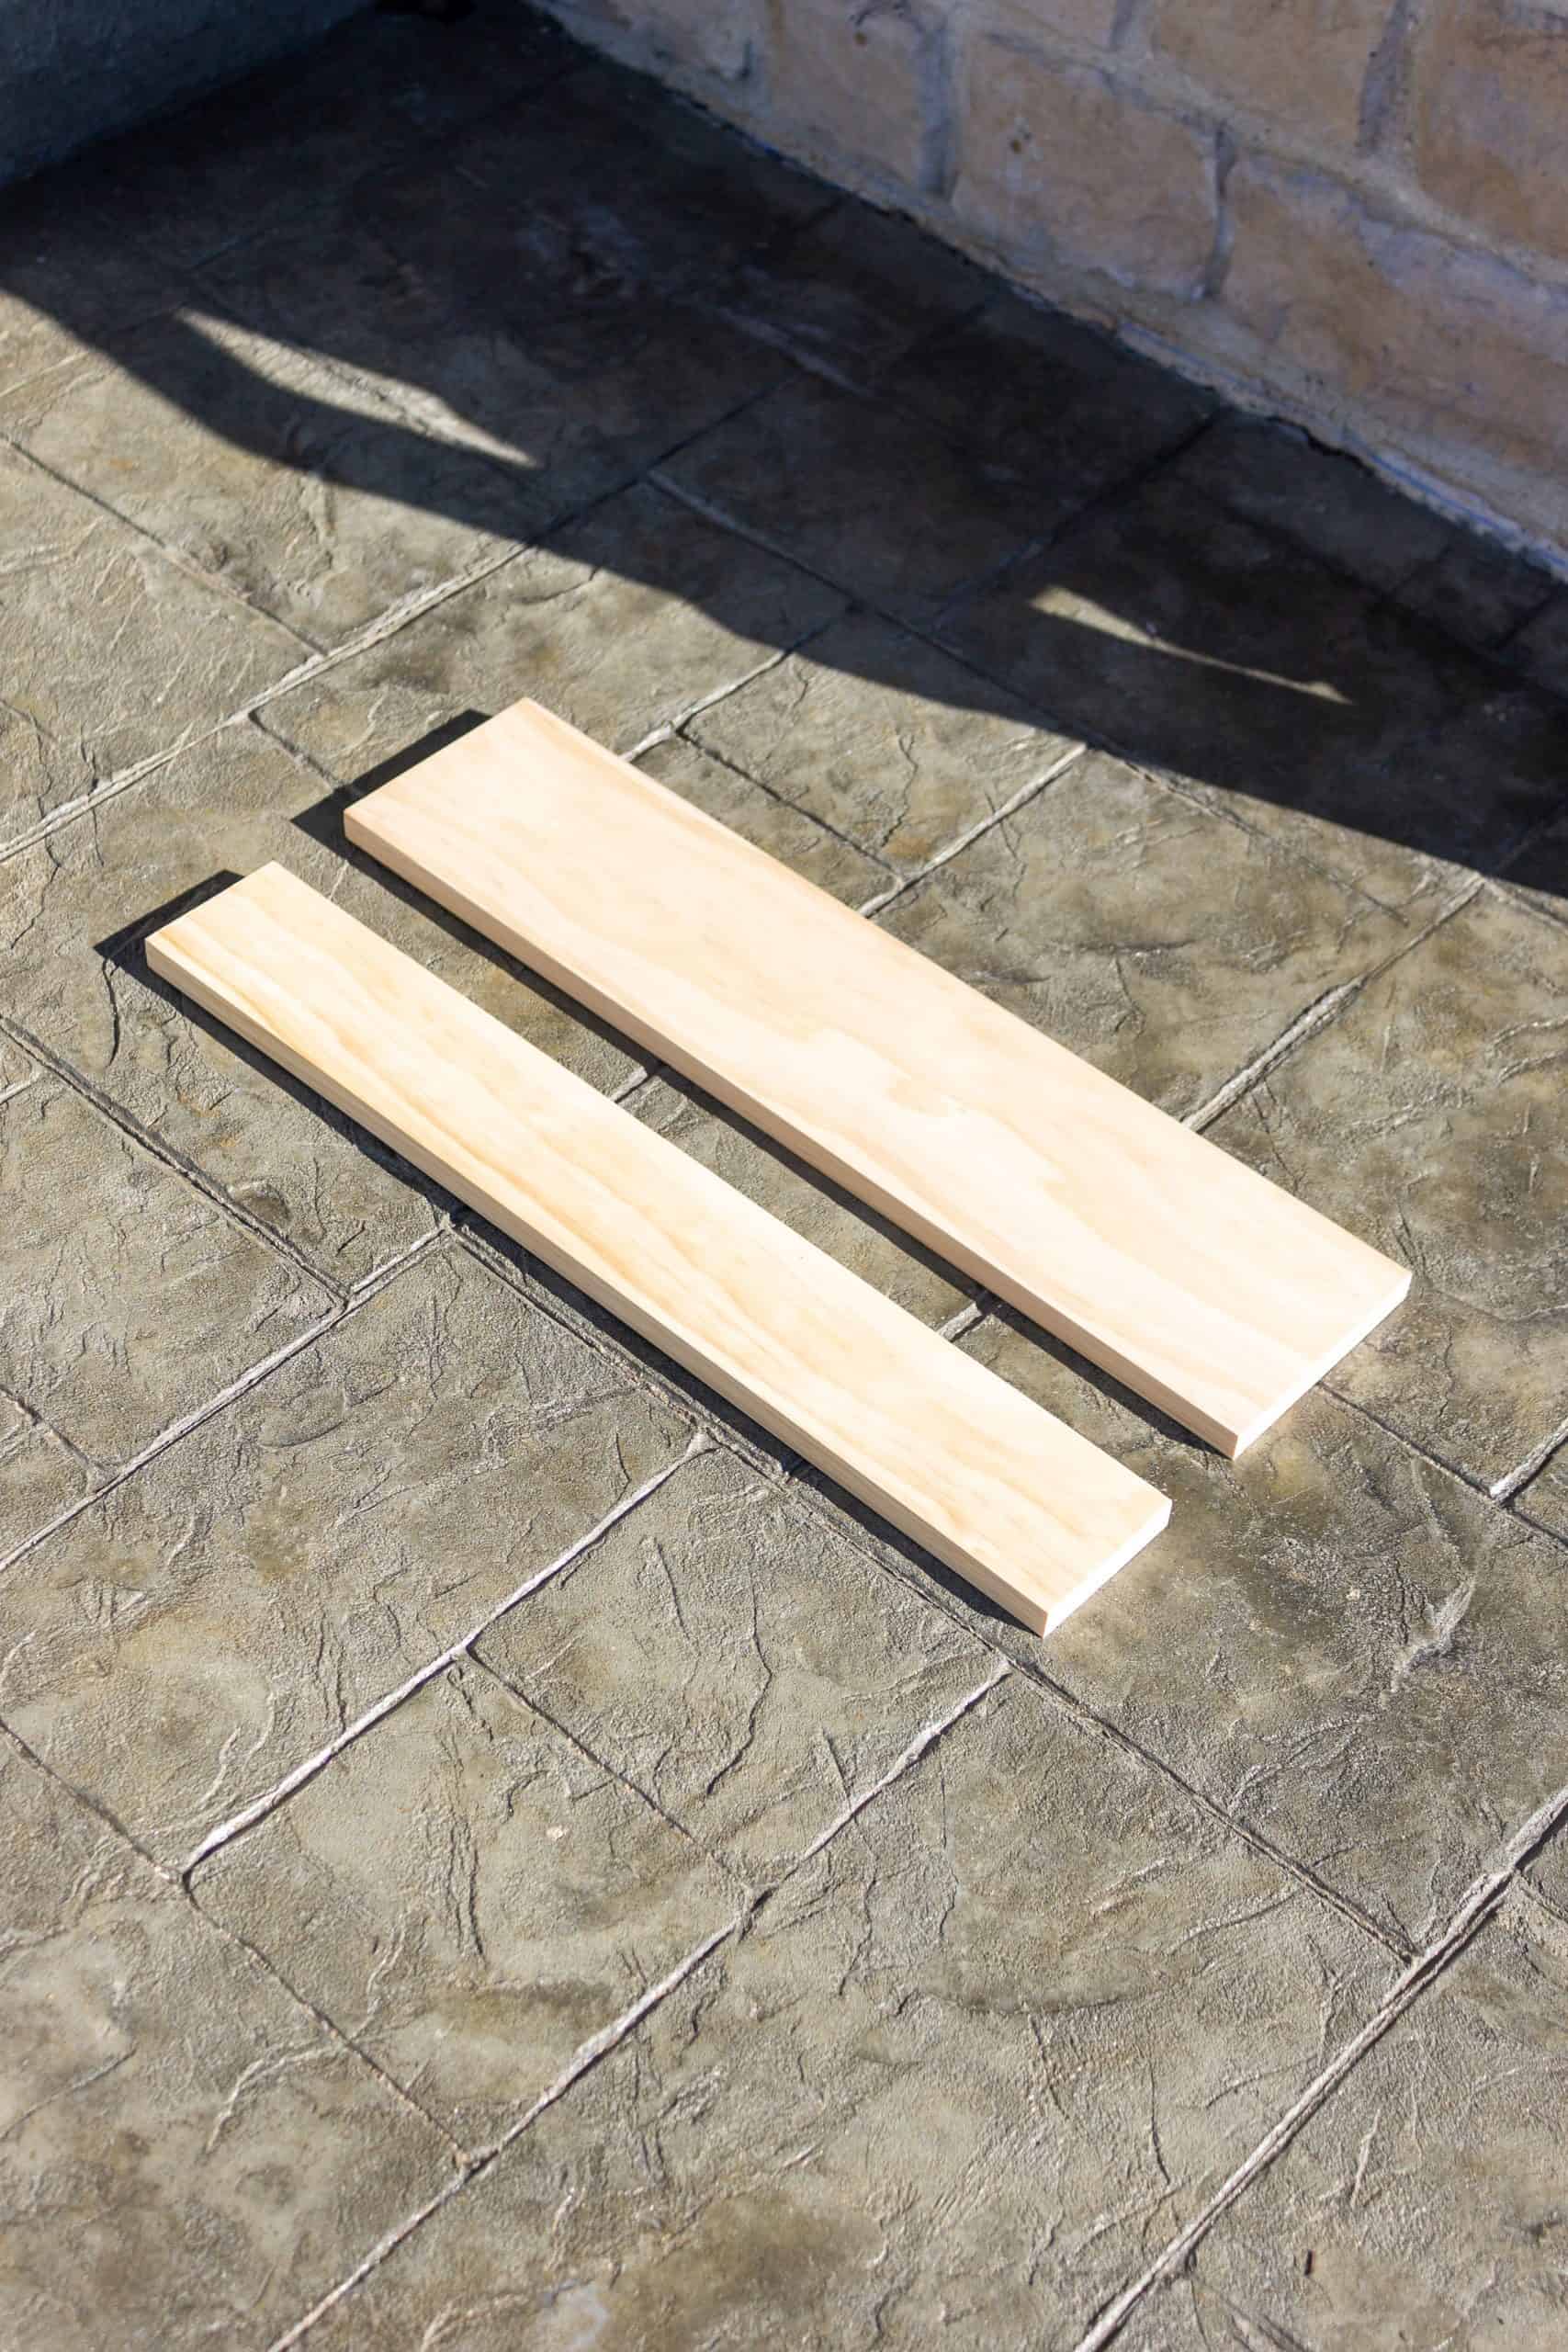
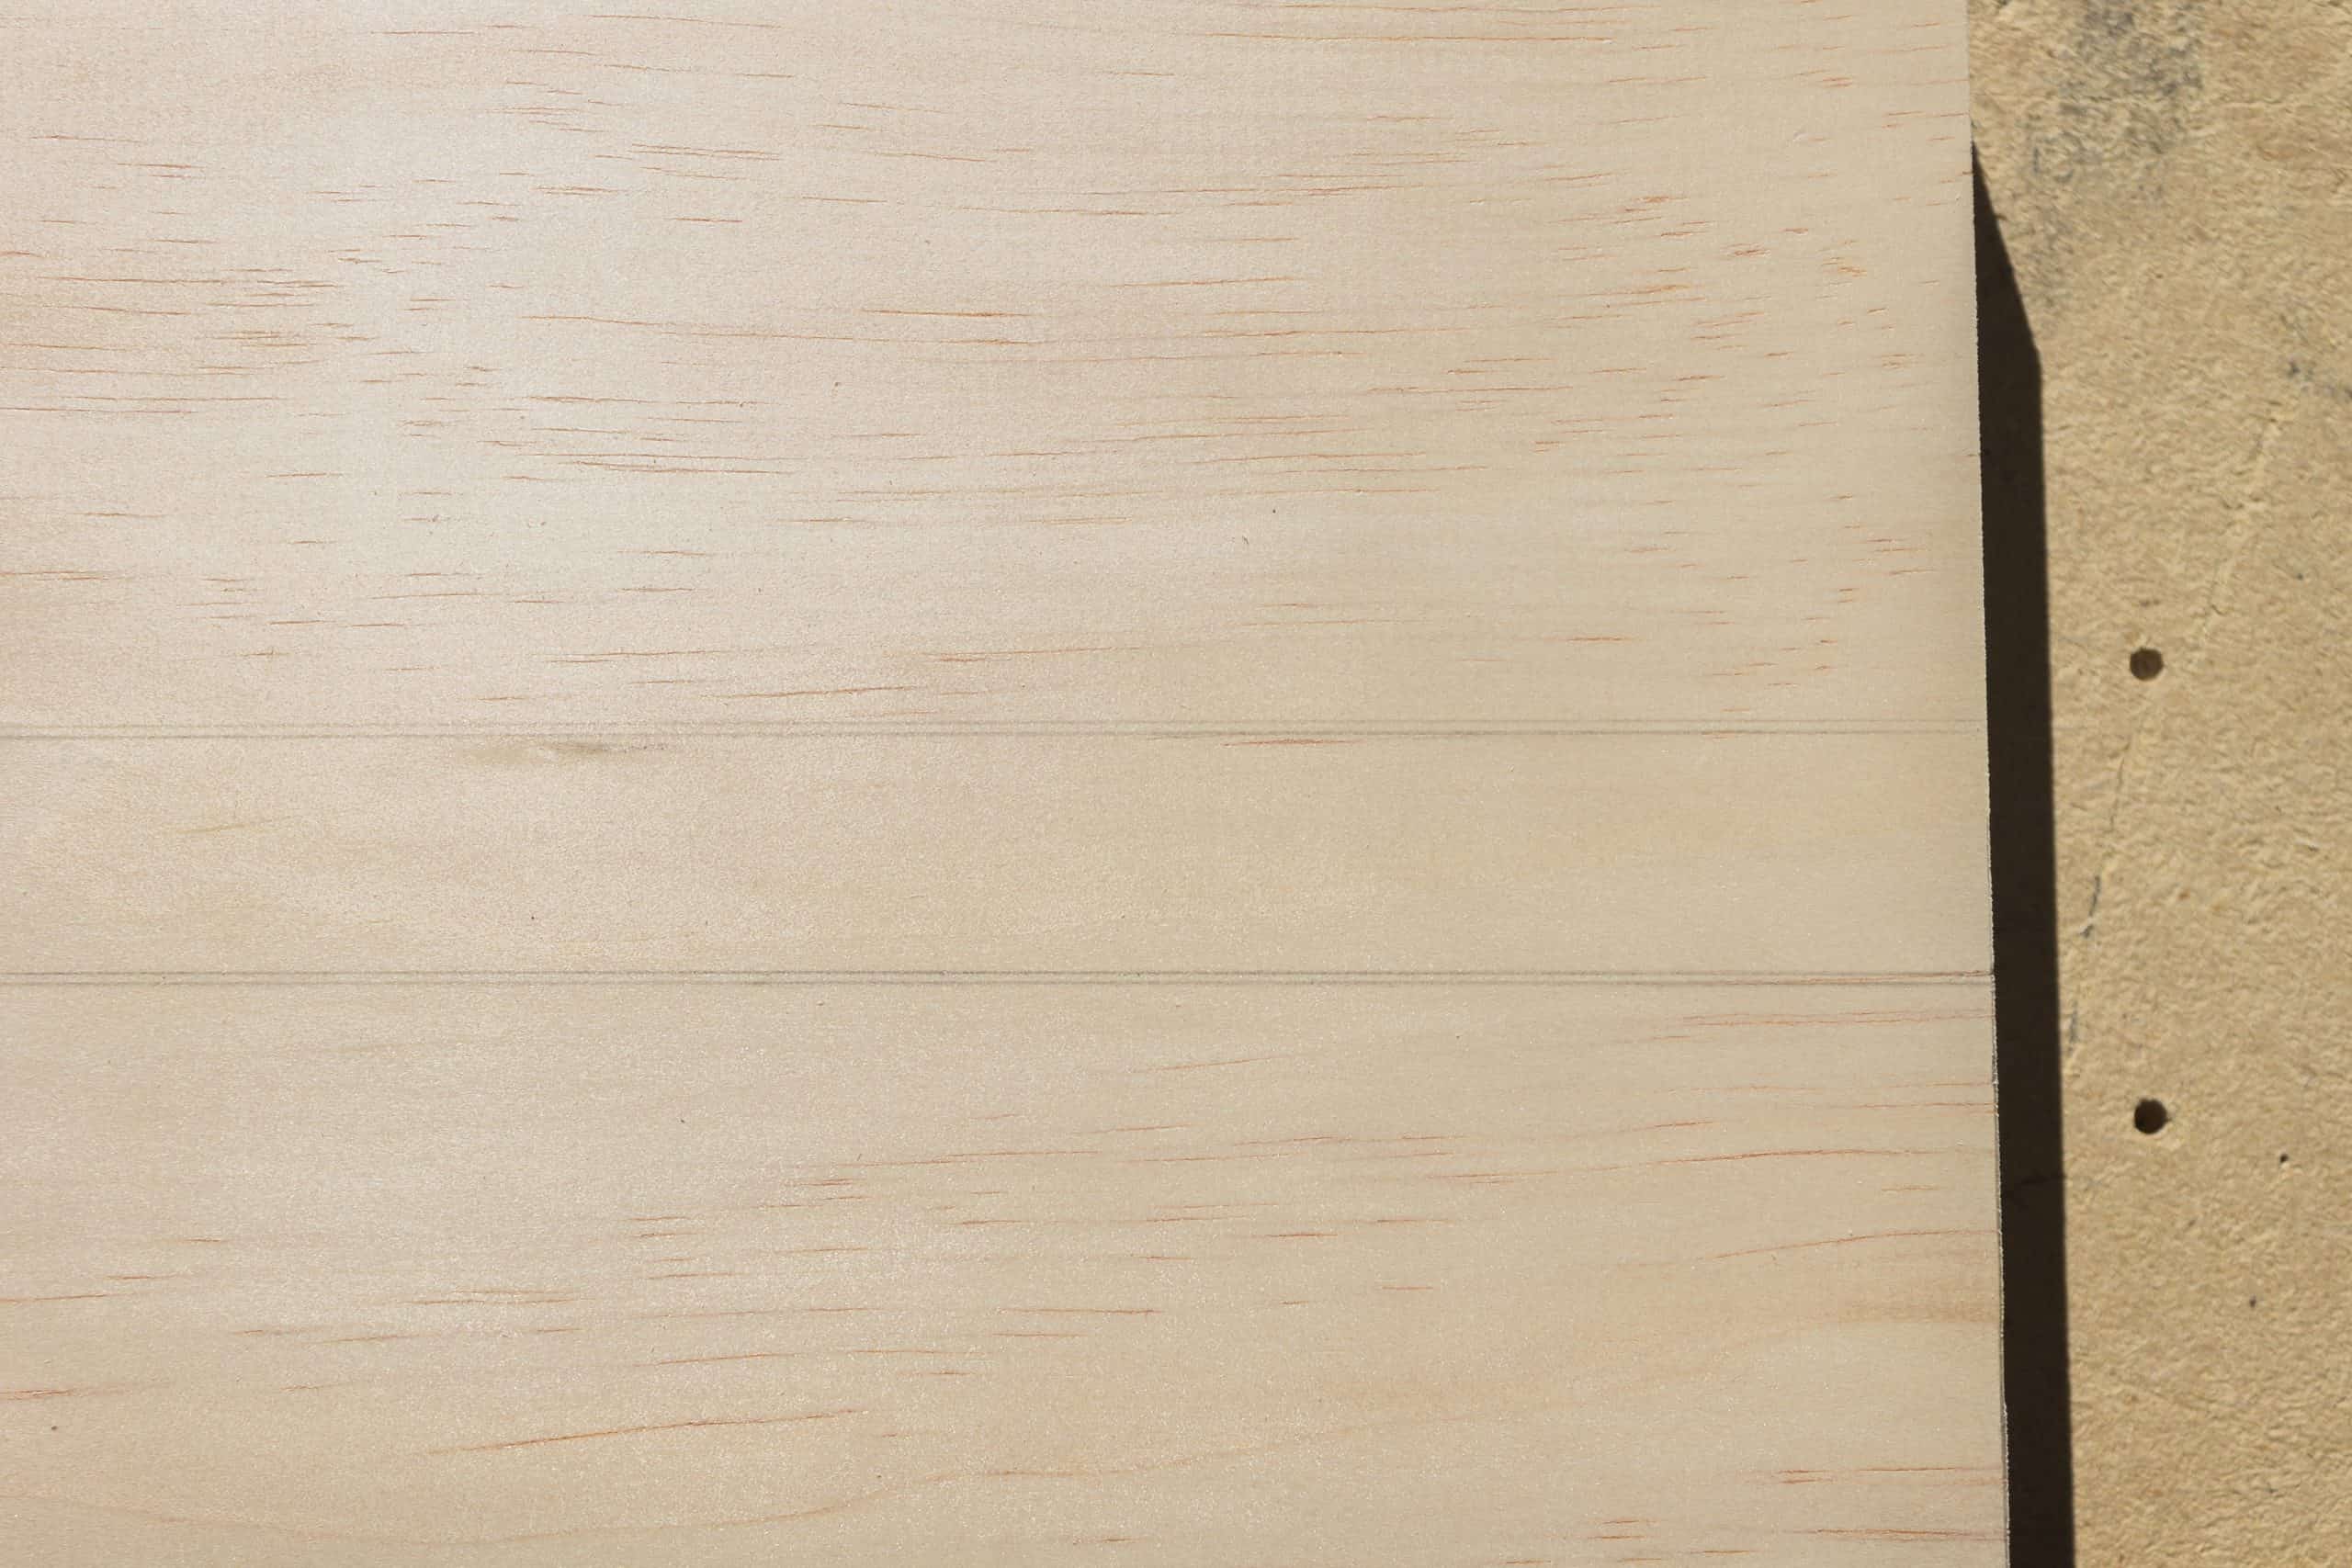
First, cut the 1×6″ board into (2) 24 1/4″ lengths. Set aside one piece.
Then, using a table saw, rip one of the 24 1/4″ boards down to 3.5″ inches.
Since I know not everyone has access to a table saw, you could also purchase a 1×4″ select pine board from the lumber store and use this instead of ripping the 1×6″ board.
Assemble the Shelf
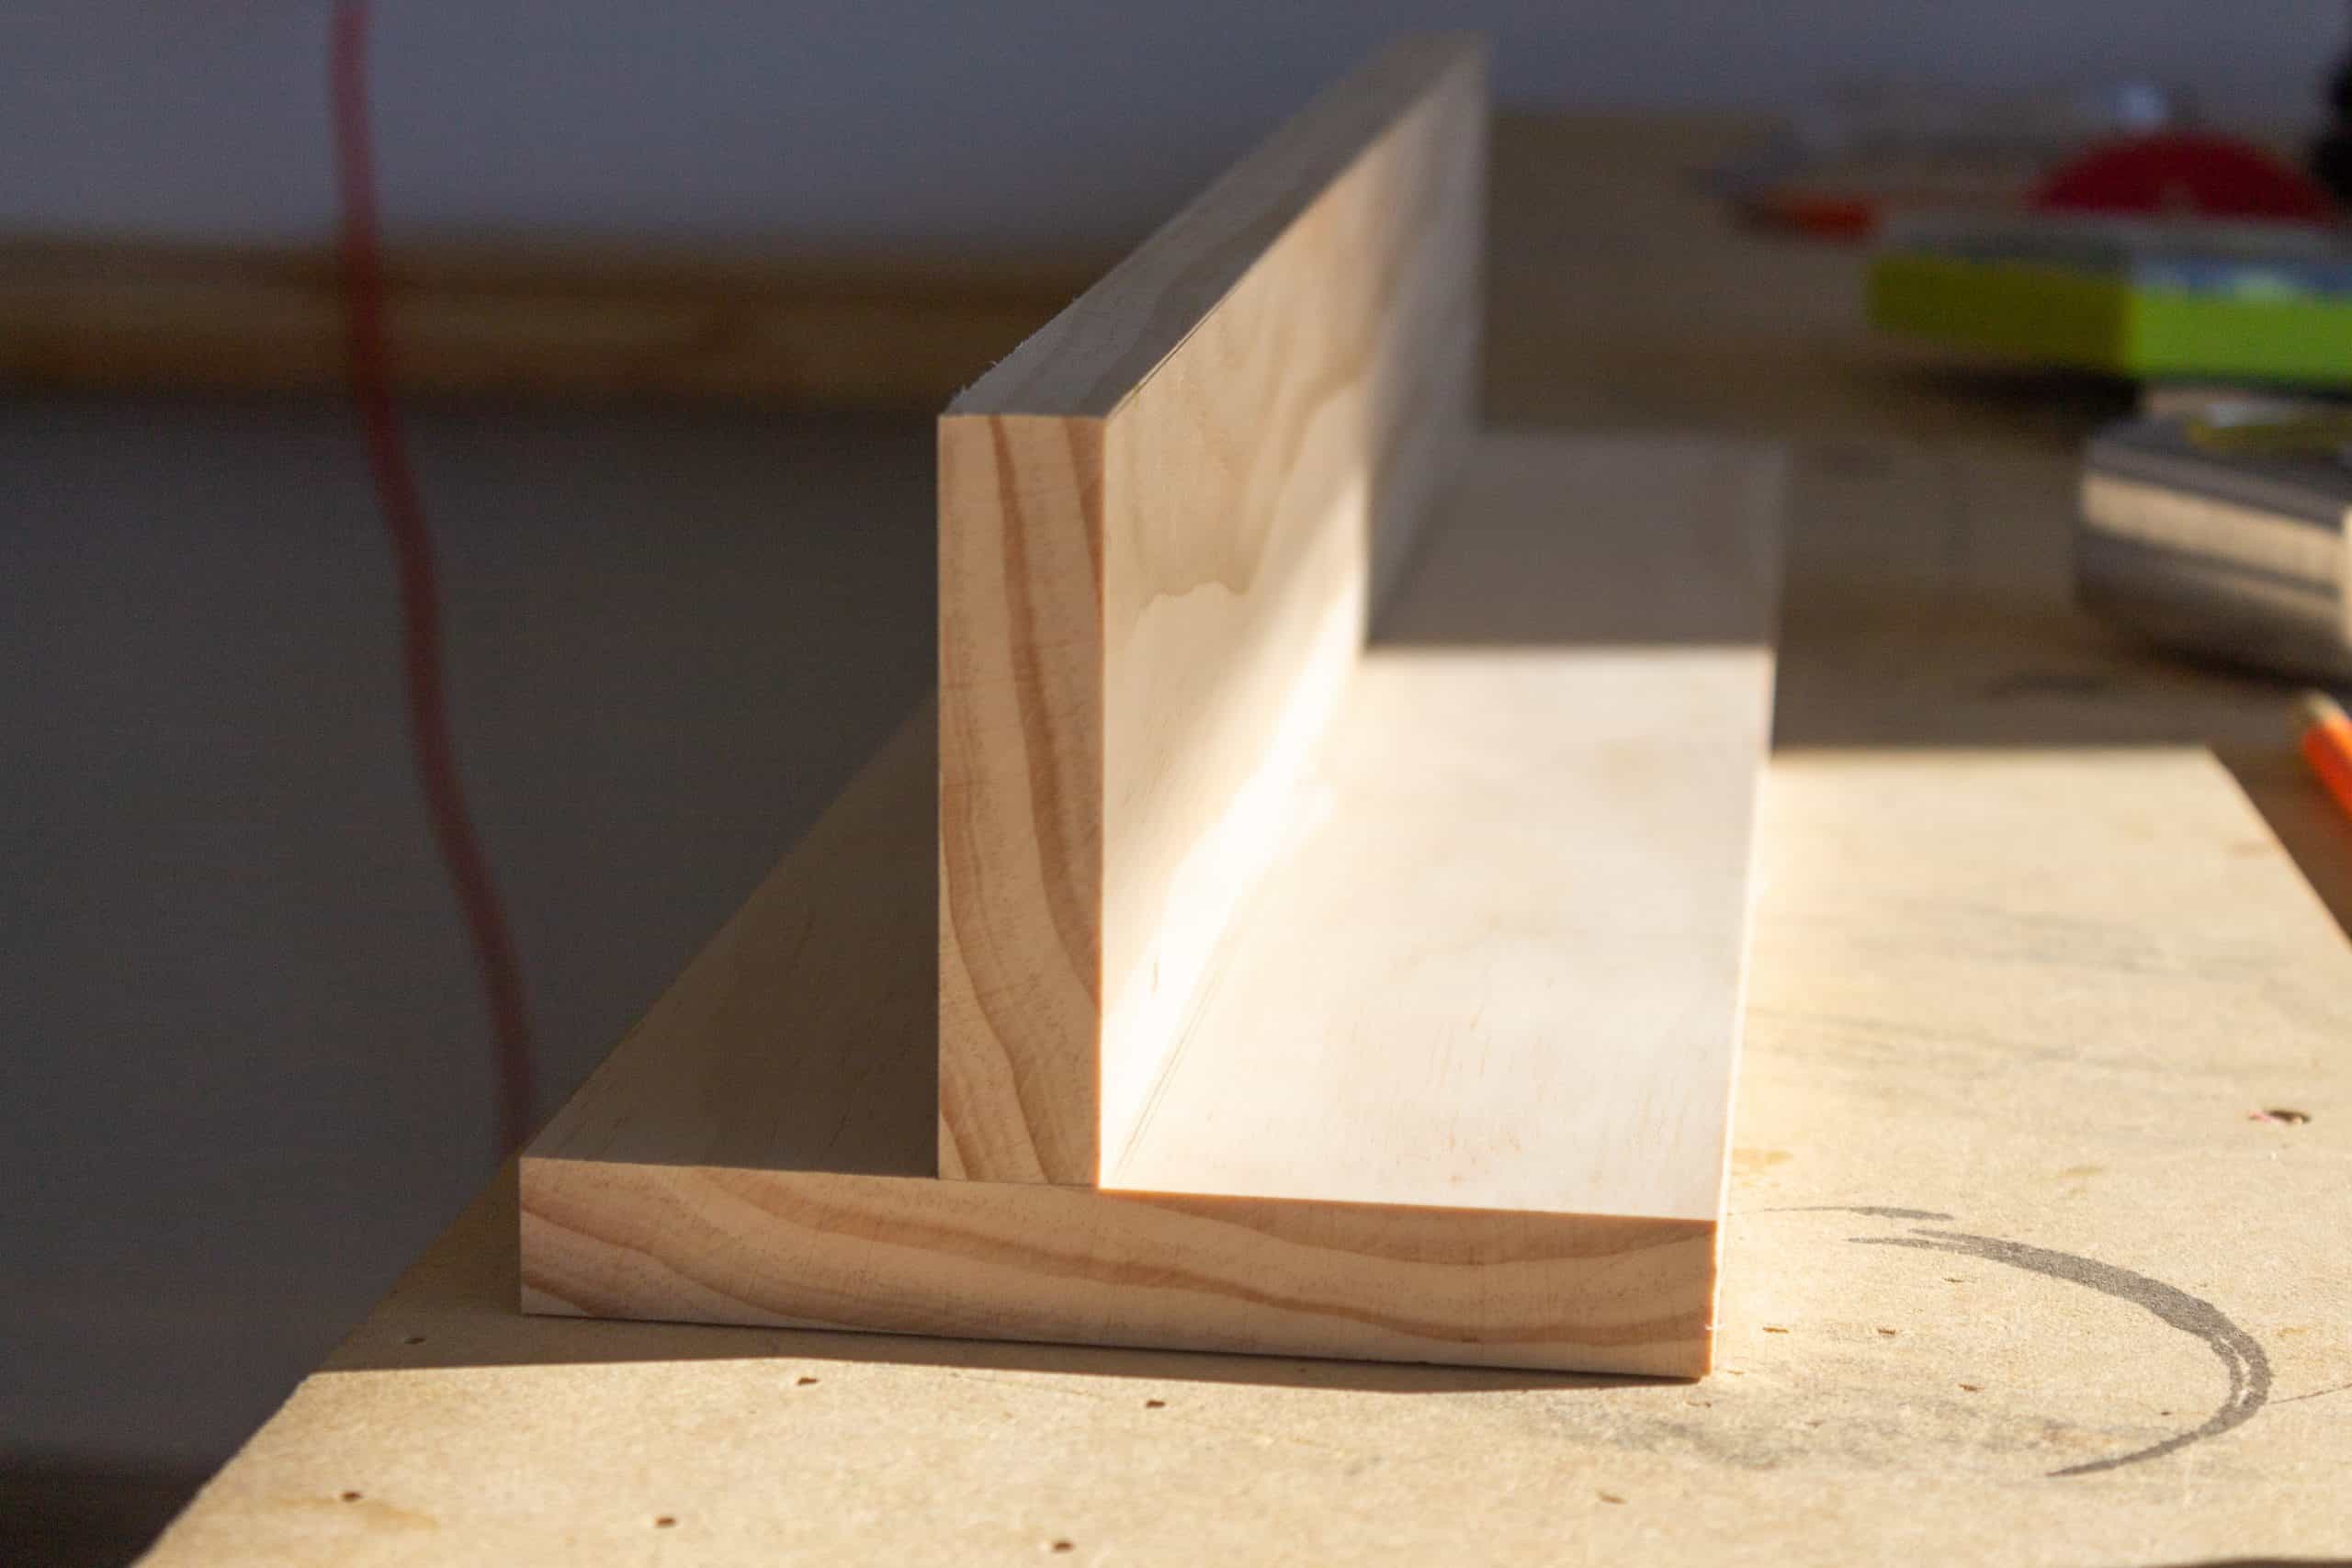
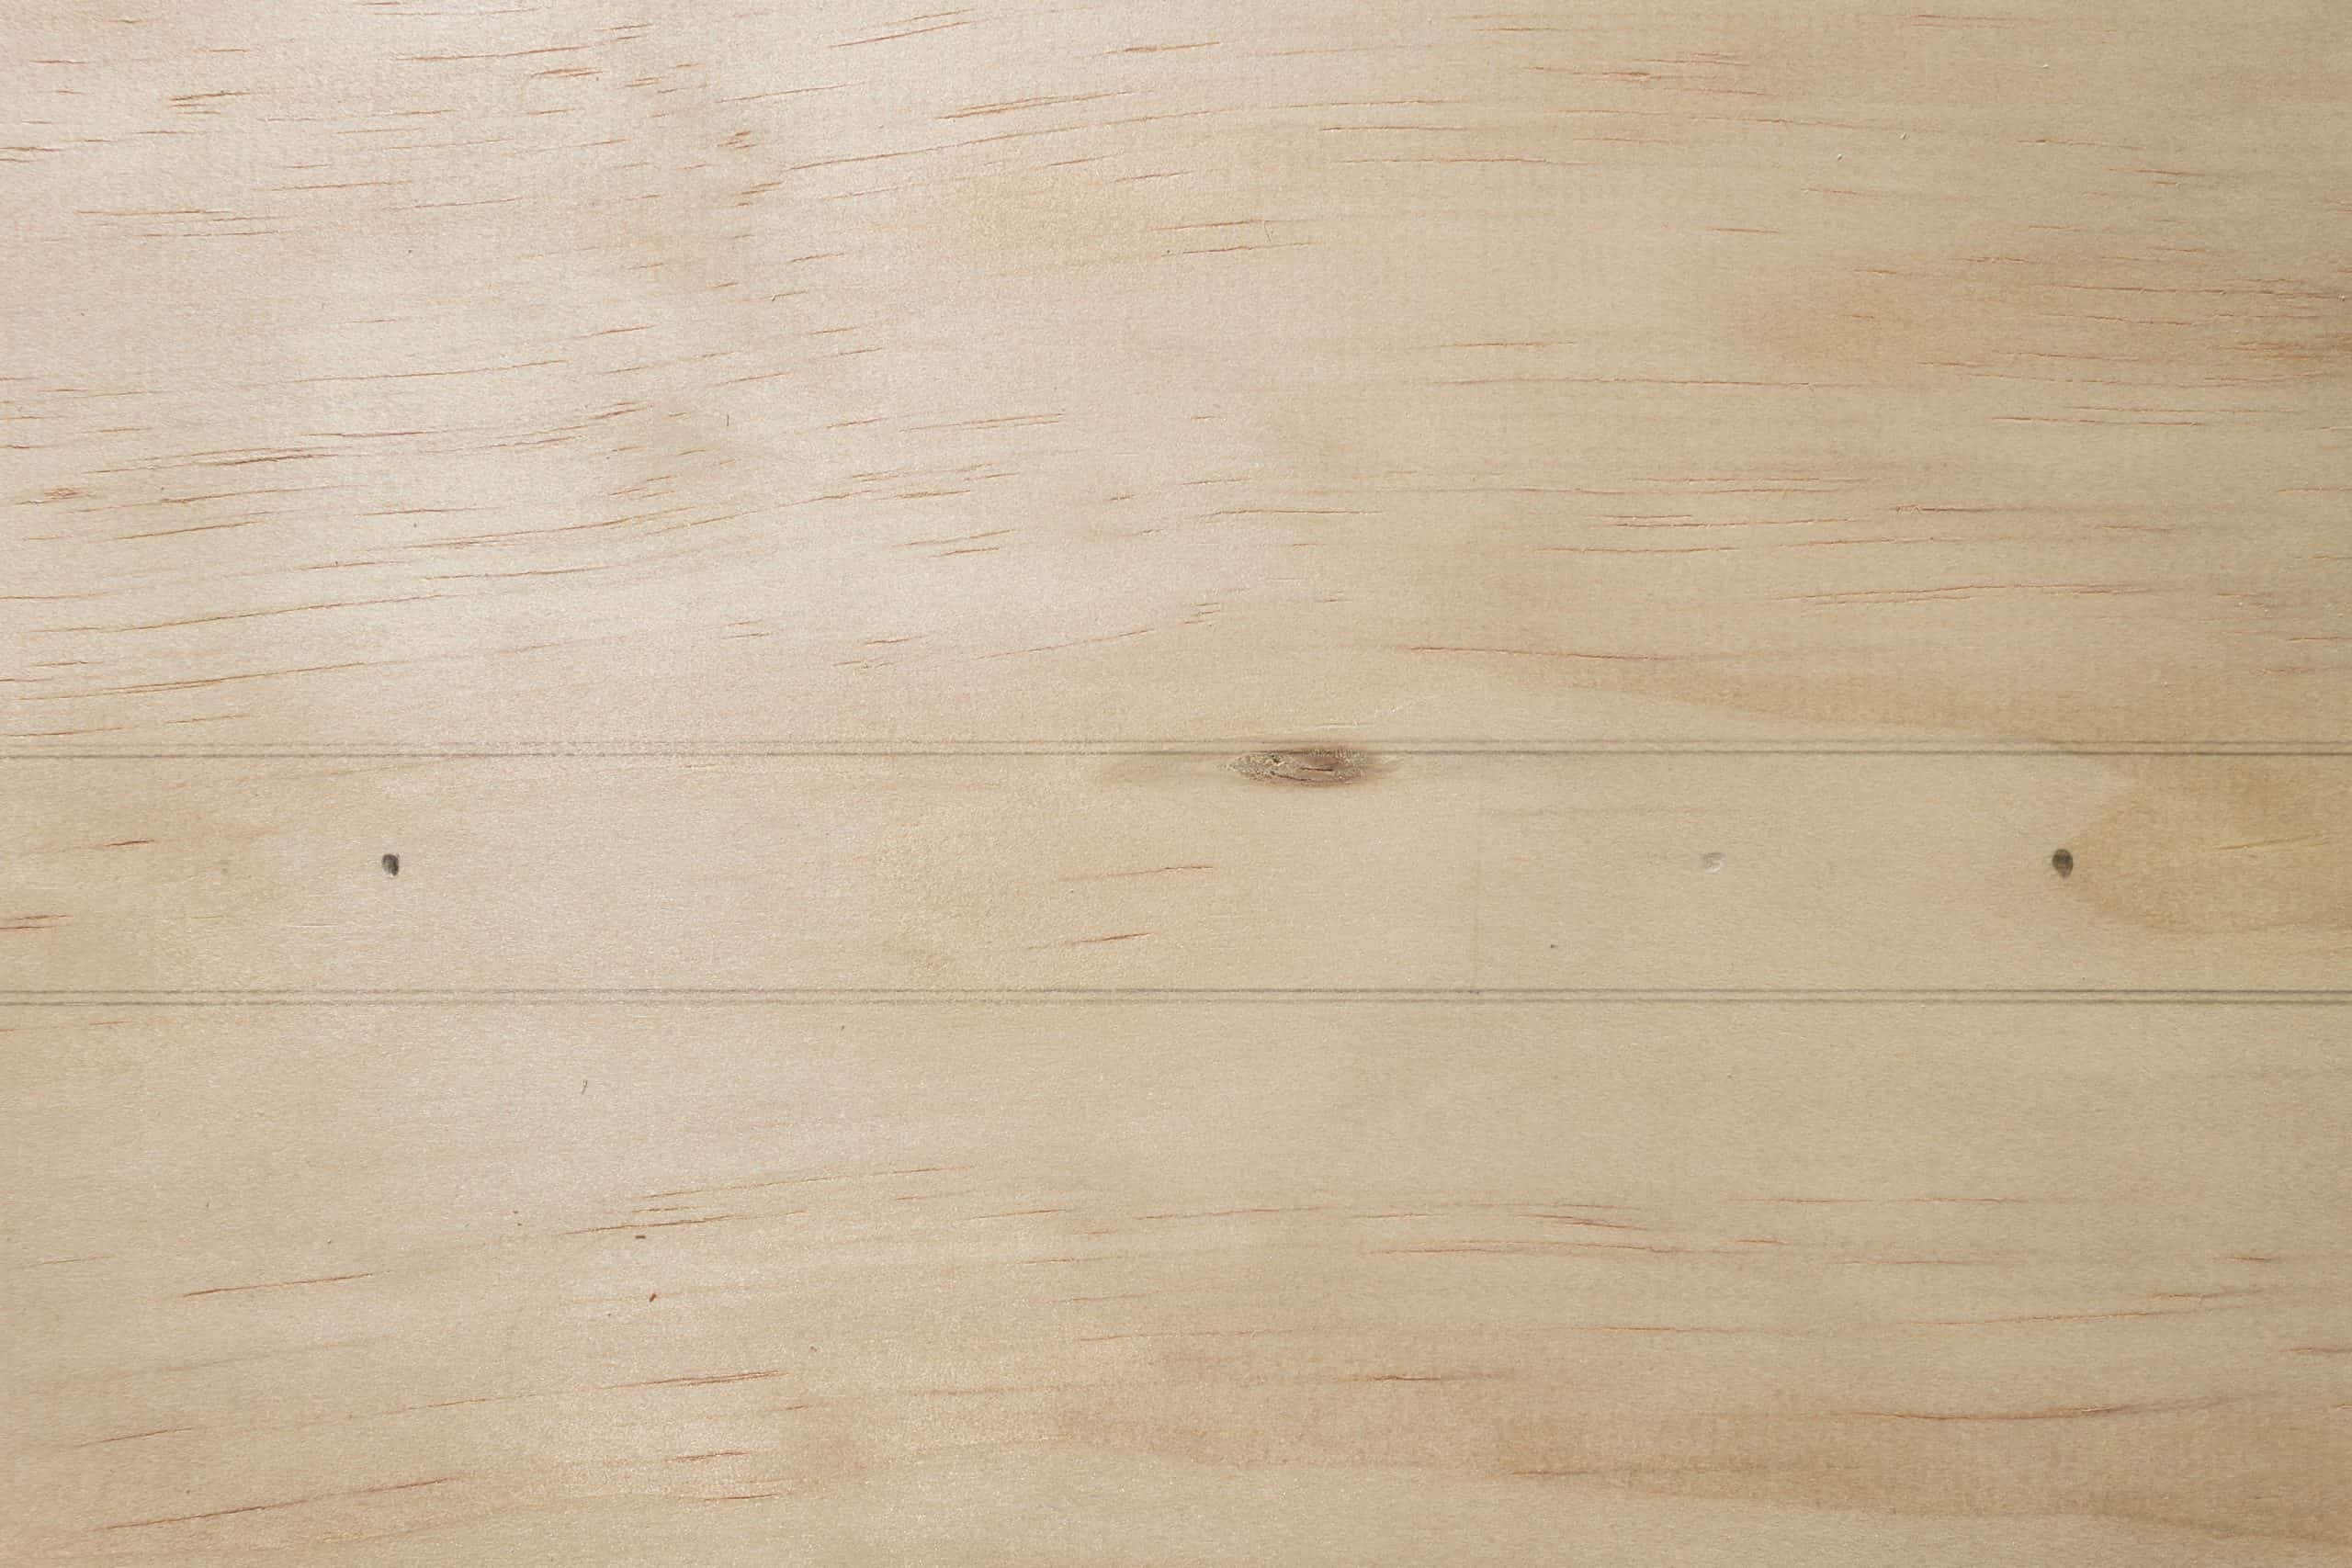
Align the 1″ x24 1/4″ x 3 1/2″ board two inches from the bottom of the 1″ x 24 1/4″ x 5.5″ board. Trace both the bottom and top of the 1″ x 24 1/4″ x 3.5″ board onto the 1″ x 24 1/4″ x 6″ board. The pencil lines will serve as the guide on the back of the shelf.
Next, we marked the center of our board in between our guide lines using a pencil and then spaced the other marks 5 1/2″ apart to the left and right.
Next, take your 1″ x 24 1/4″ x 3.5″ board and put glue on one side of it and clamp it 2 inches up on the front of the shelf. Note: Make sure this is directly in front of the pencil guide you drew on the back.
Check to ensure that every thing is square and clamp tightly. Then, using 1.5″ inch brad nails, nail on all of the marks you made on the back side of the board.
At this point, your basic shelf has been constructed. Next, we’ll assemble the letter bin. Use a table saw to rip remaining 1×6″ section into a 2″ wide board. Then rip this board at 3/8″ inches. Next, cut two pieces at 2 1/4″ inches and one piece at 9″ inches.
If you don’t have a table saw, you could use an off-the-shelf 1″x3″ select board to configure the mail holder. It will be thicker than ours and cut down on the space available inside, though.
How to Build the Mail Holder
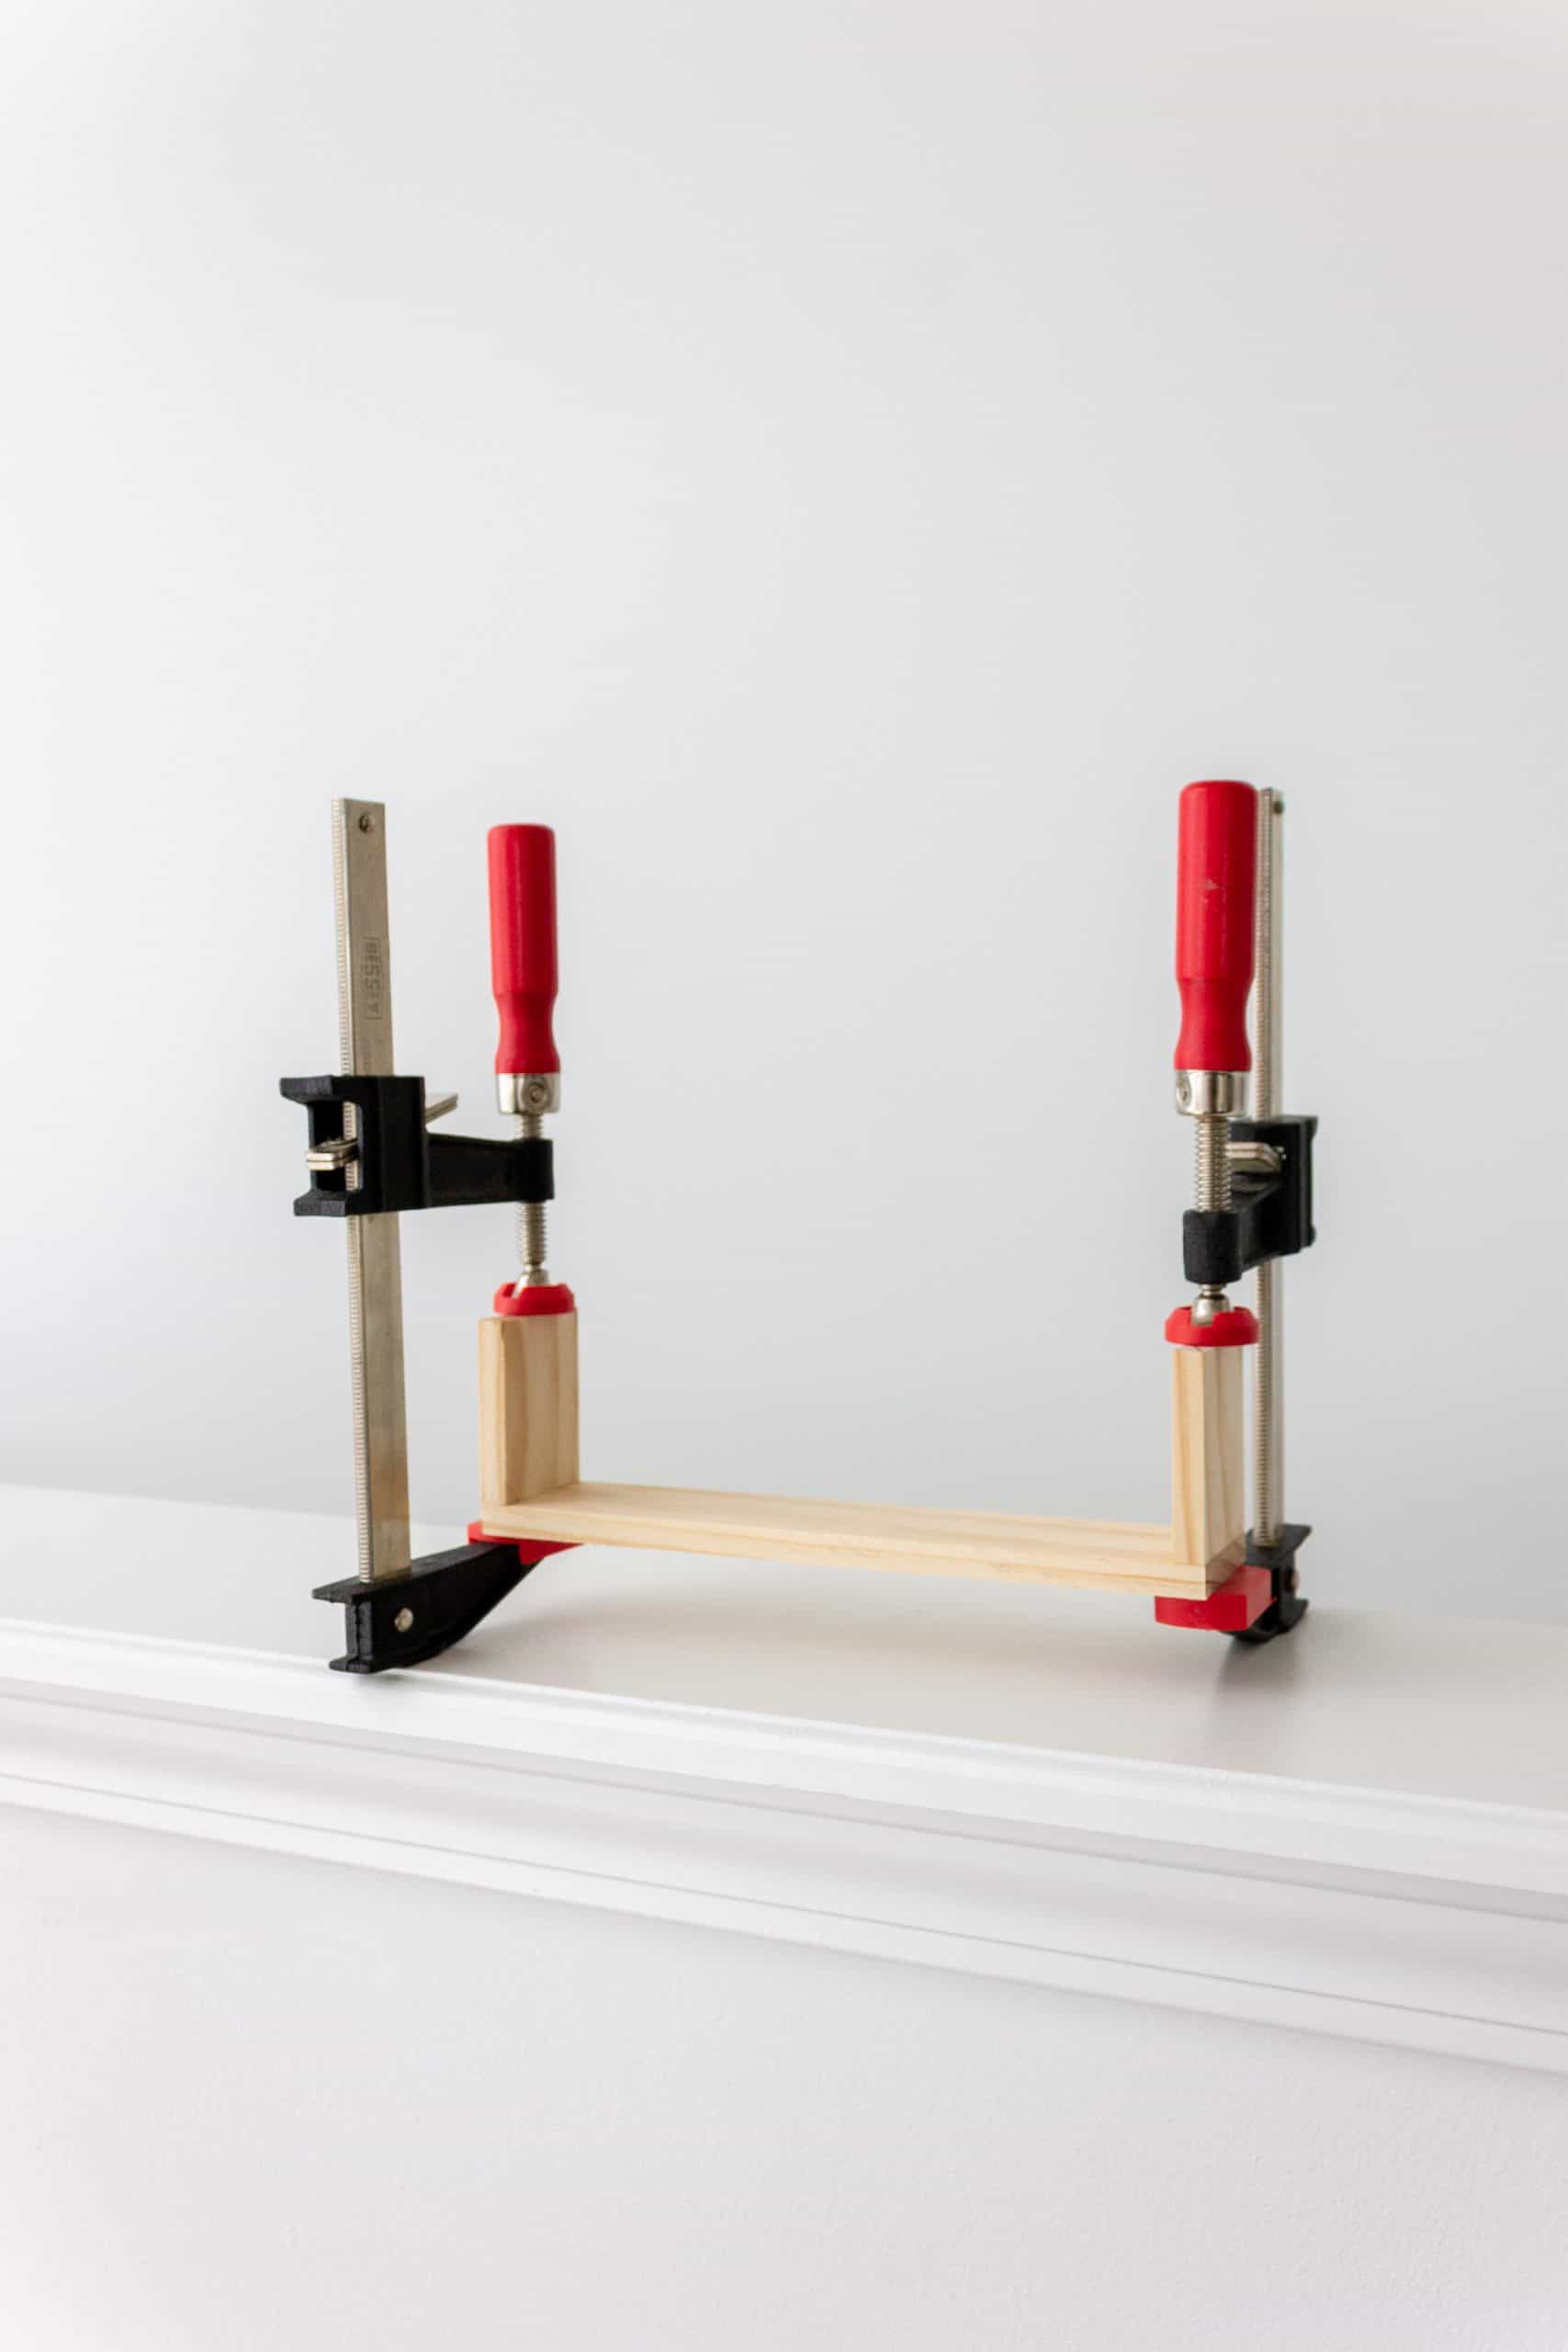
To assemble the letter bin, take one of the 2 1/4″ pieces of wood and glue it to the back side of the 9″ board. Ensure everything is square and clamp it tight. Then repeat for the other side.
NOTE: If you do not want a thinner letter bin, feel free to leave the board in the previous steps as is. The only reason to rip the board is if you prefer the letter bin to be thinner. It’s purely a personal preference.
How to Install the Pegs
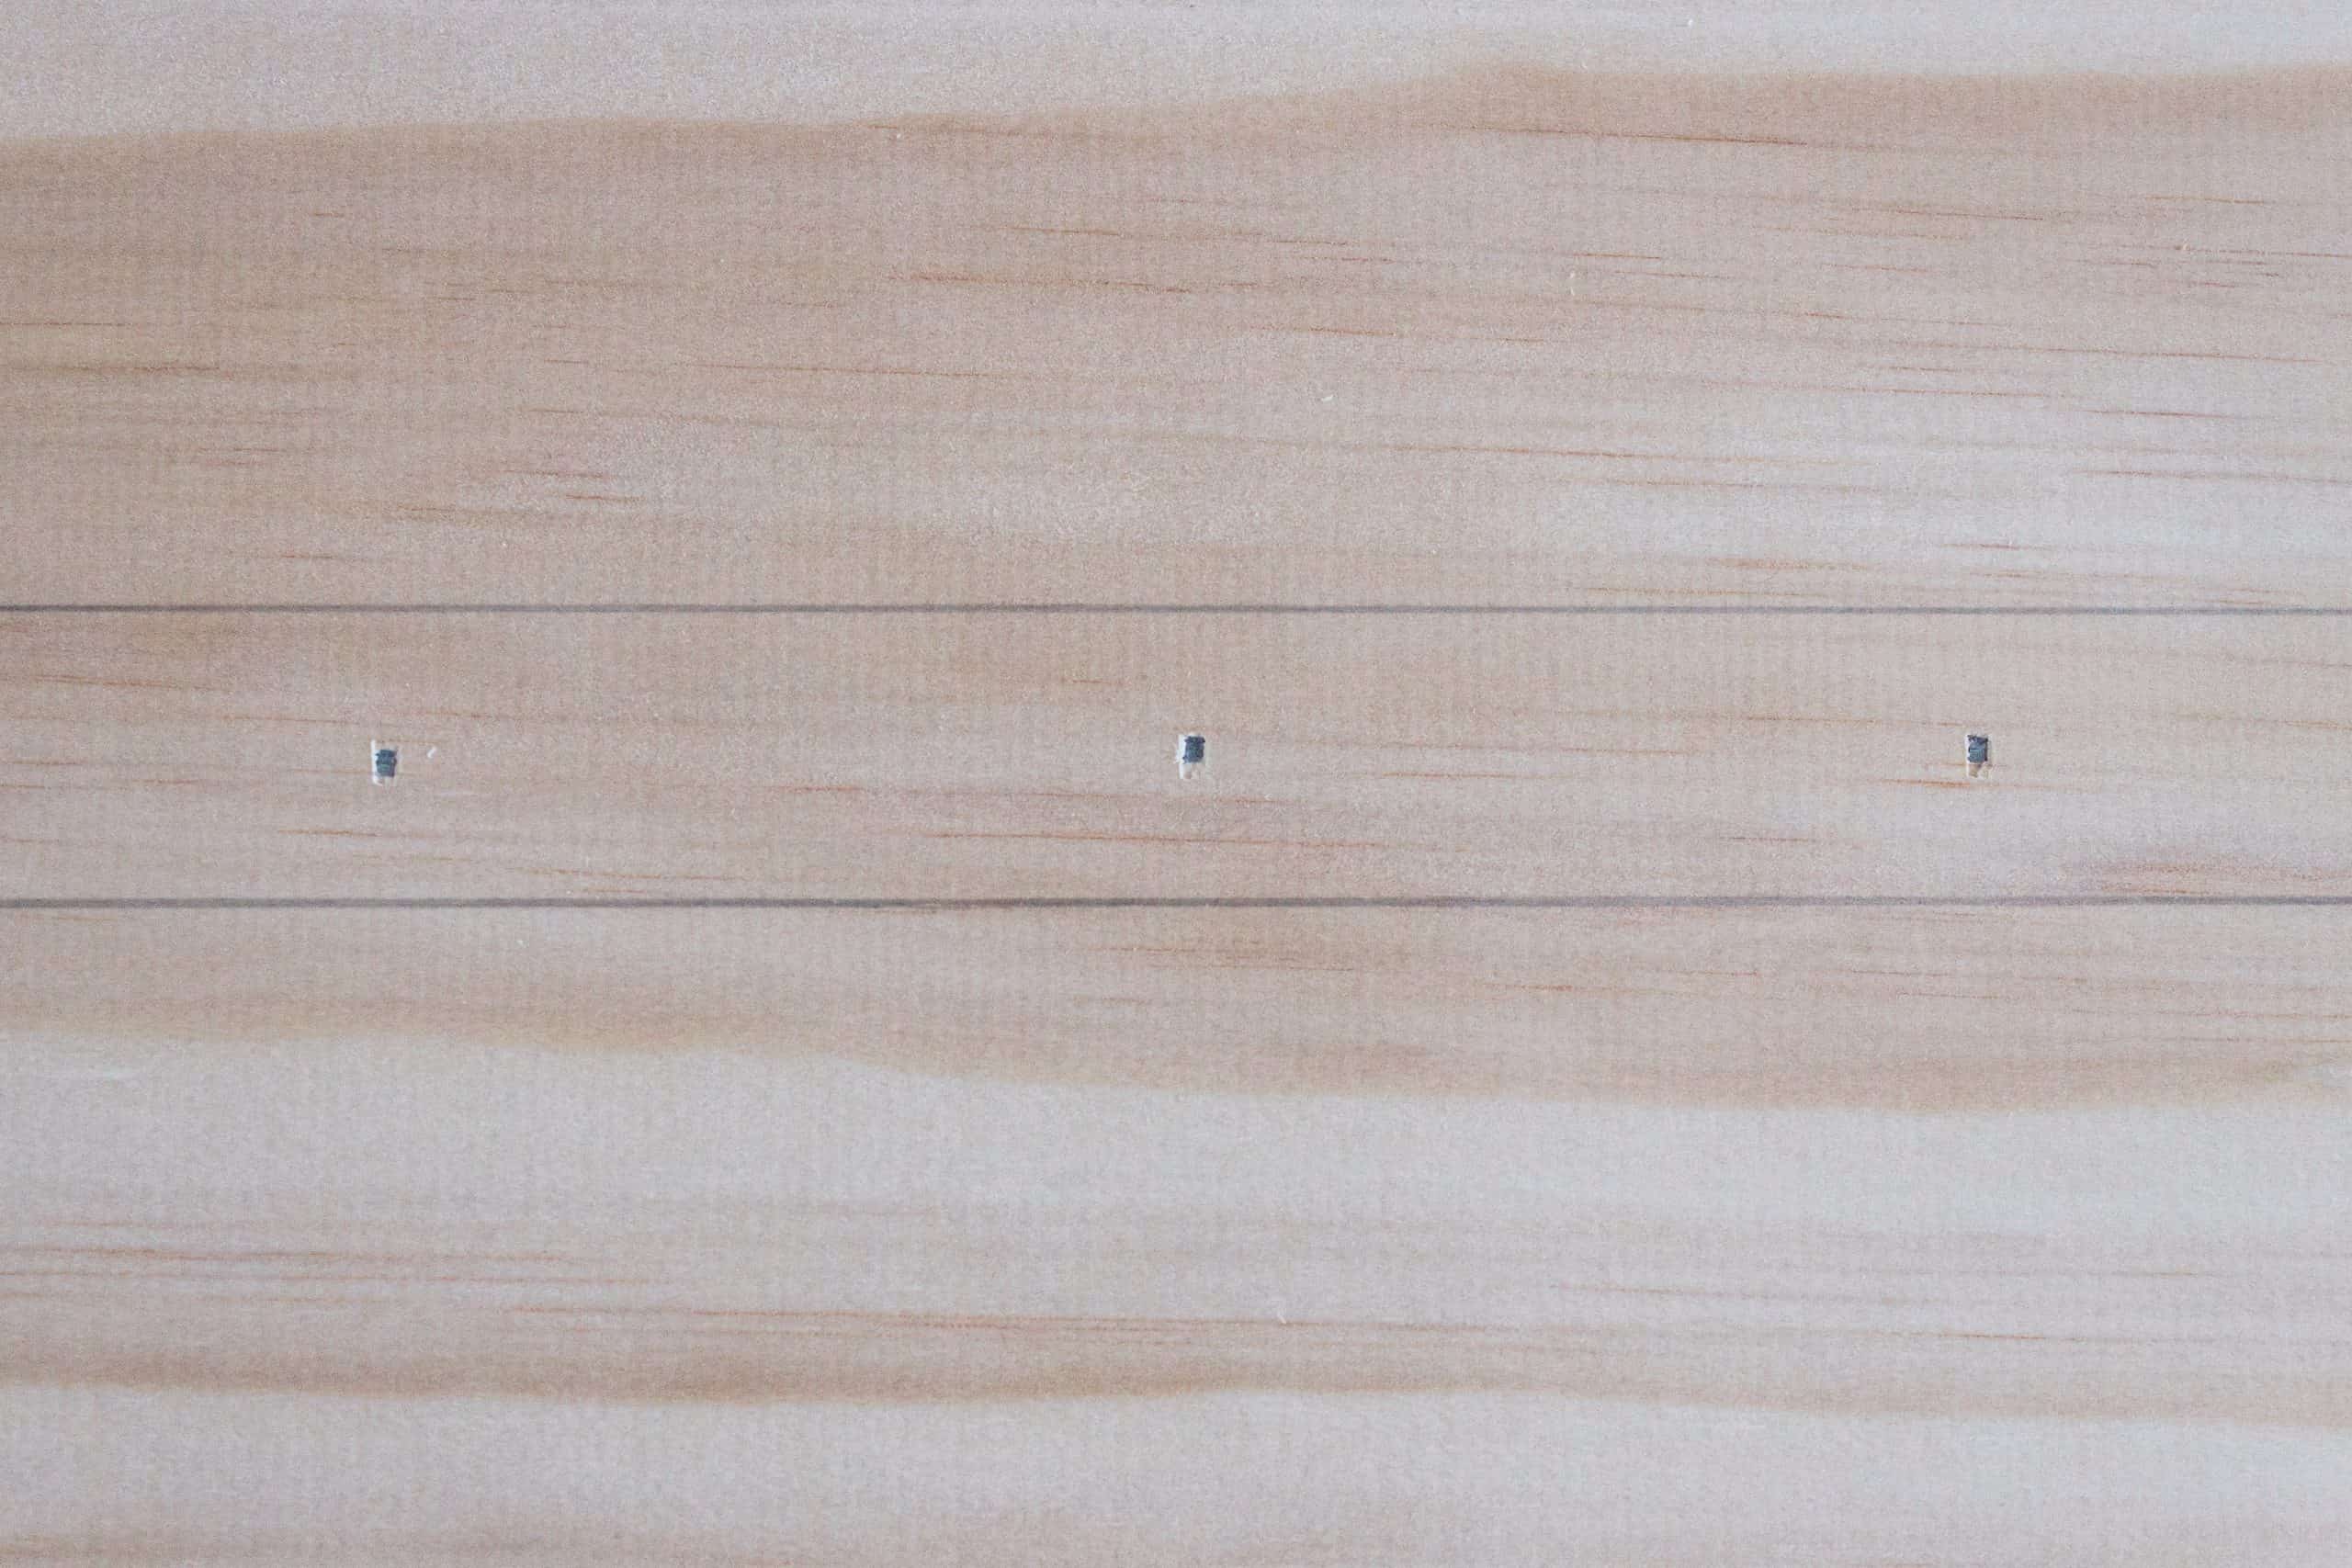
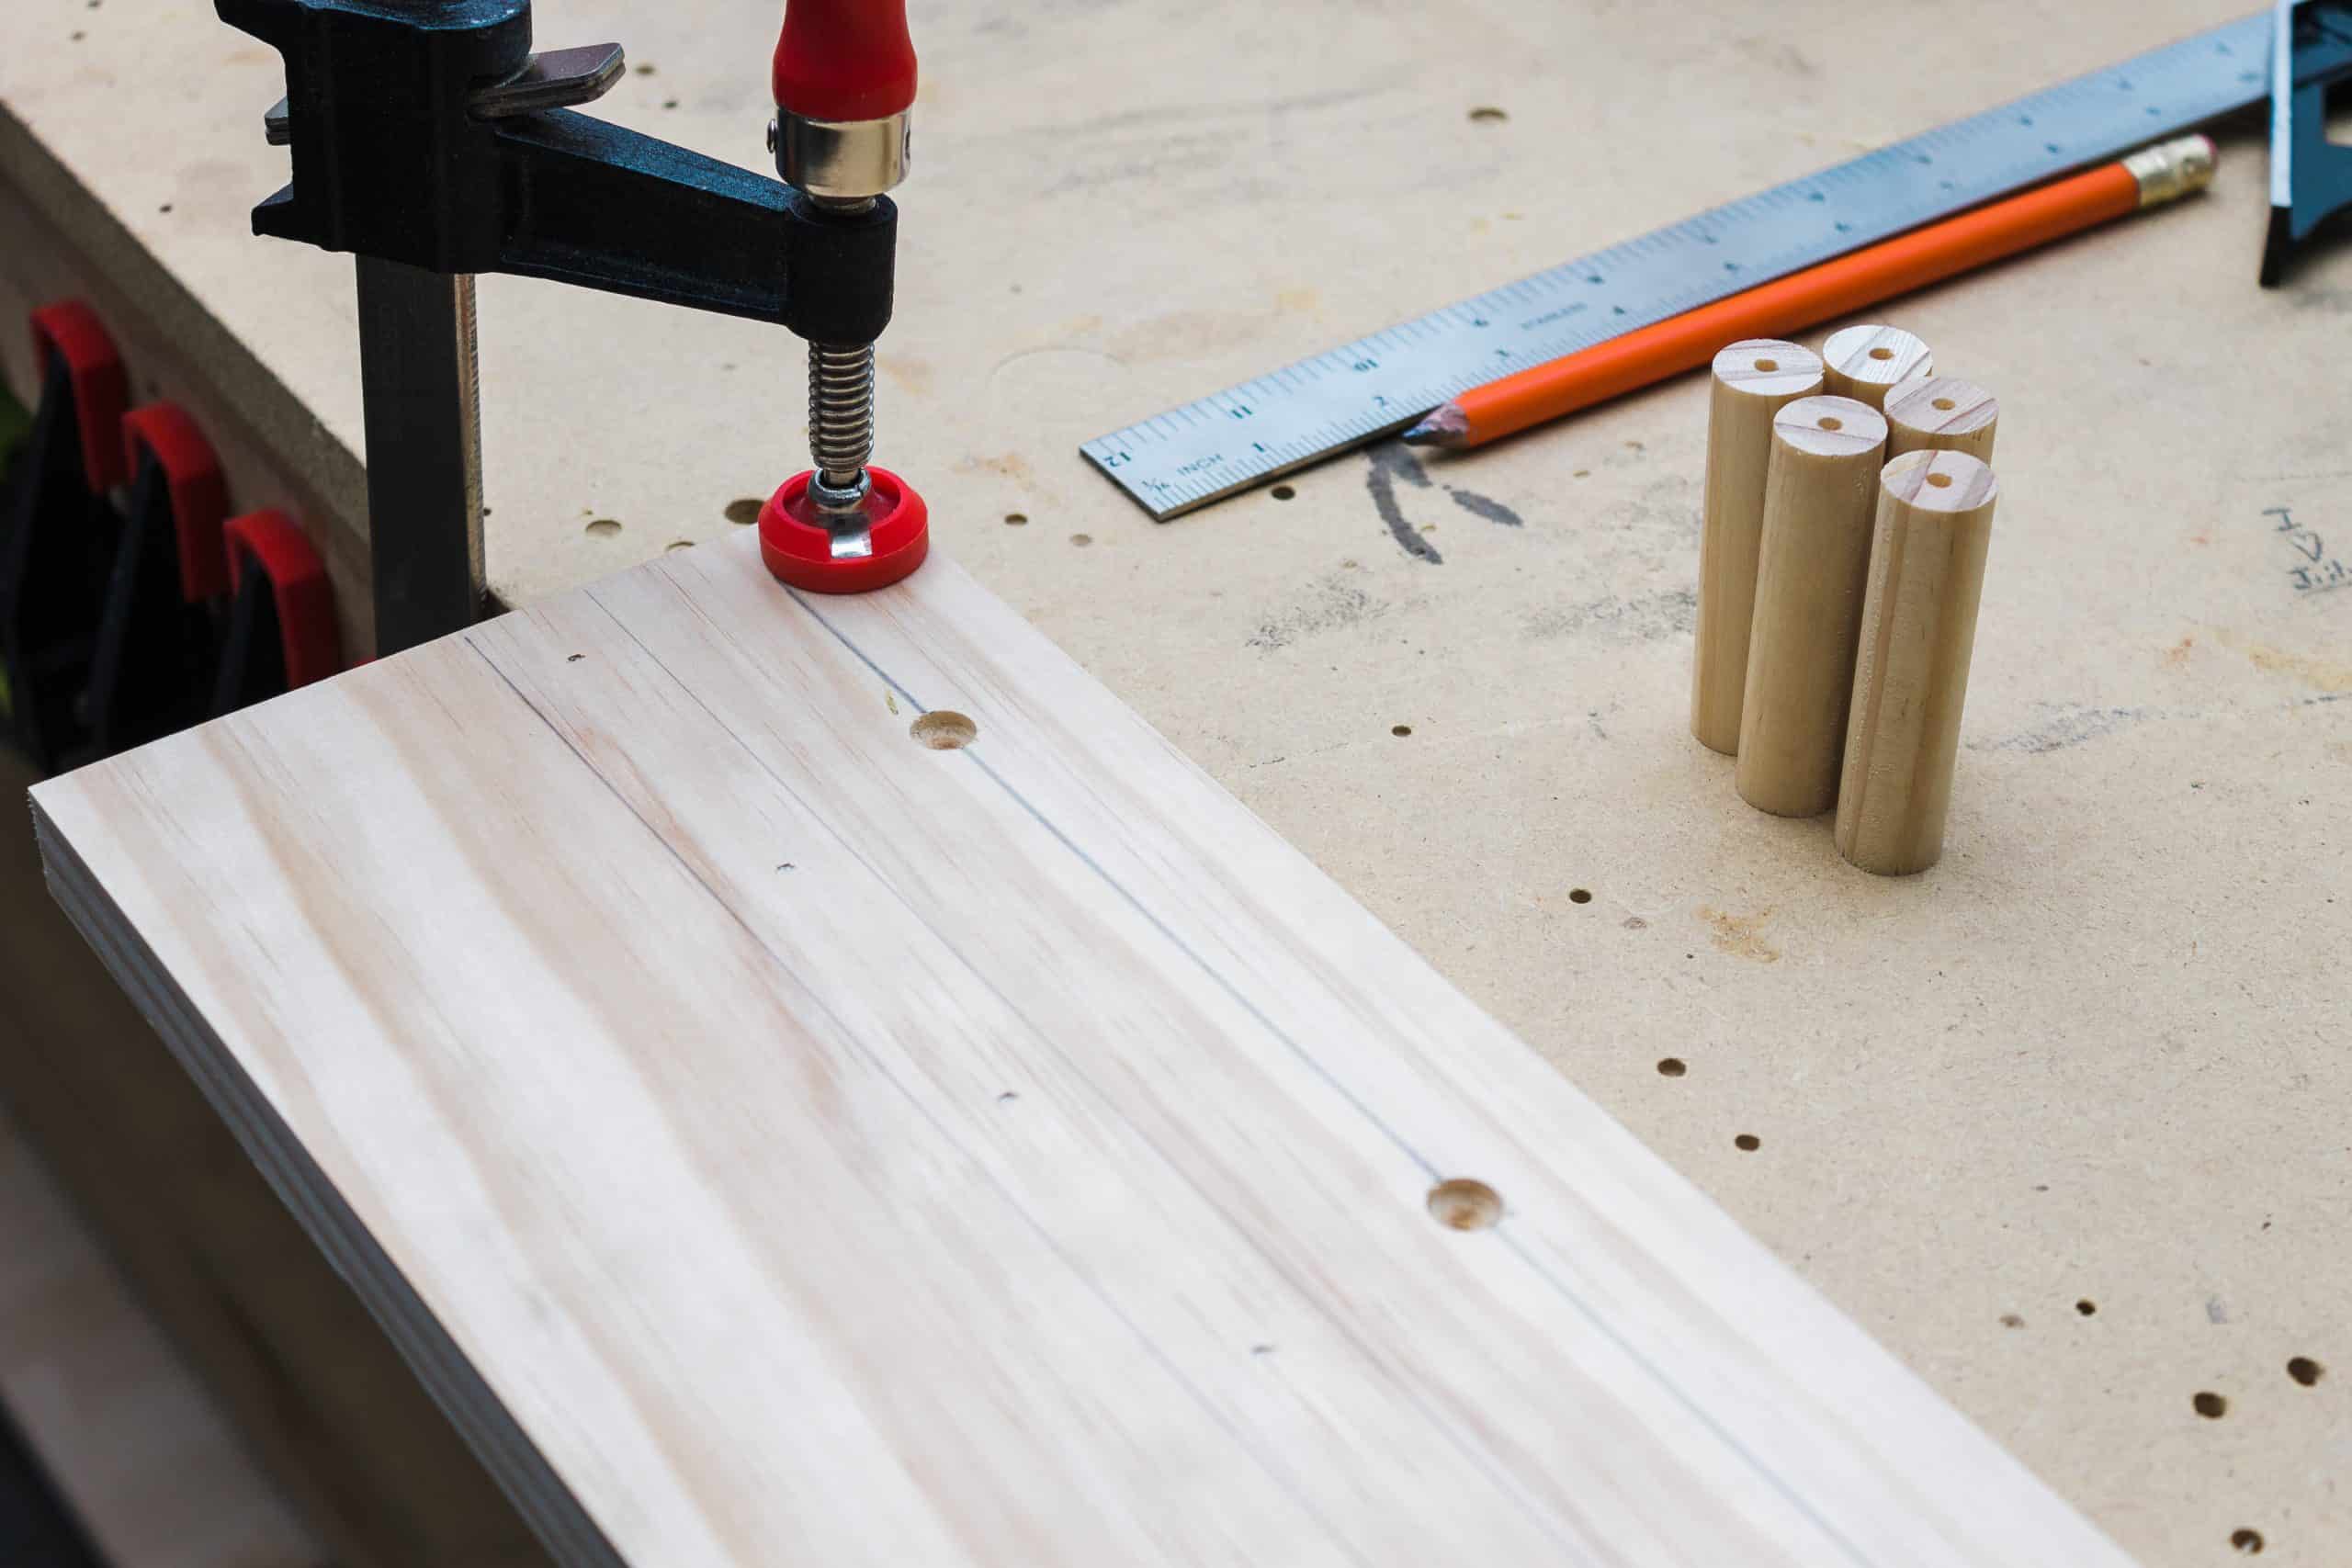
Now we’ll start on the pegs! We chose to use 5 pegs spaced 4 inches apart. Feel free to use your own measurements here if desired. Here’s how we did ours. First, you’ll want to flip the back of the shelf over and measure up one inch from the bottom and draw a line all the way across the back. Place a mark at 12″ inches center on the line to denote where your center dowel will be placed.
Then measure out 4 inches in each direction and put another mark. Then measure another four inches in each direction. You should now have five marks. We used a countersink bit to drill the holes.
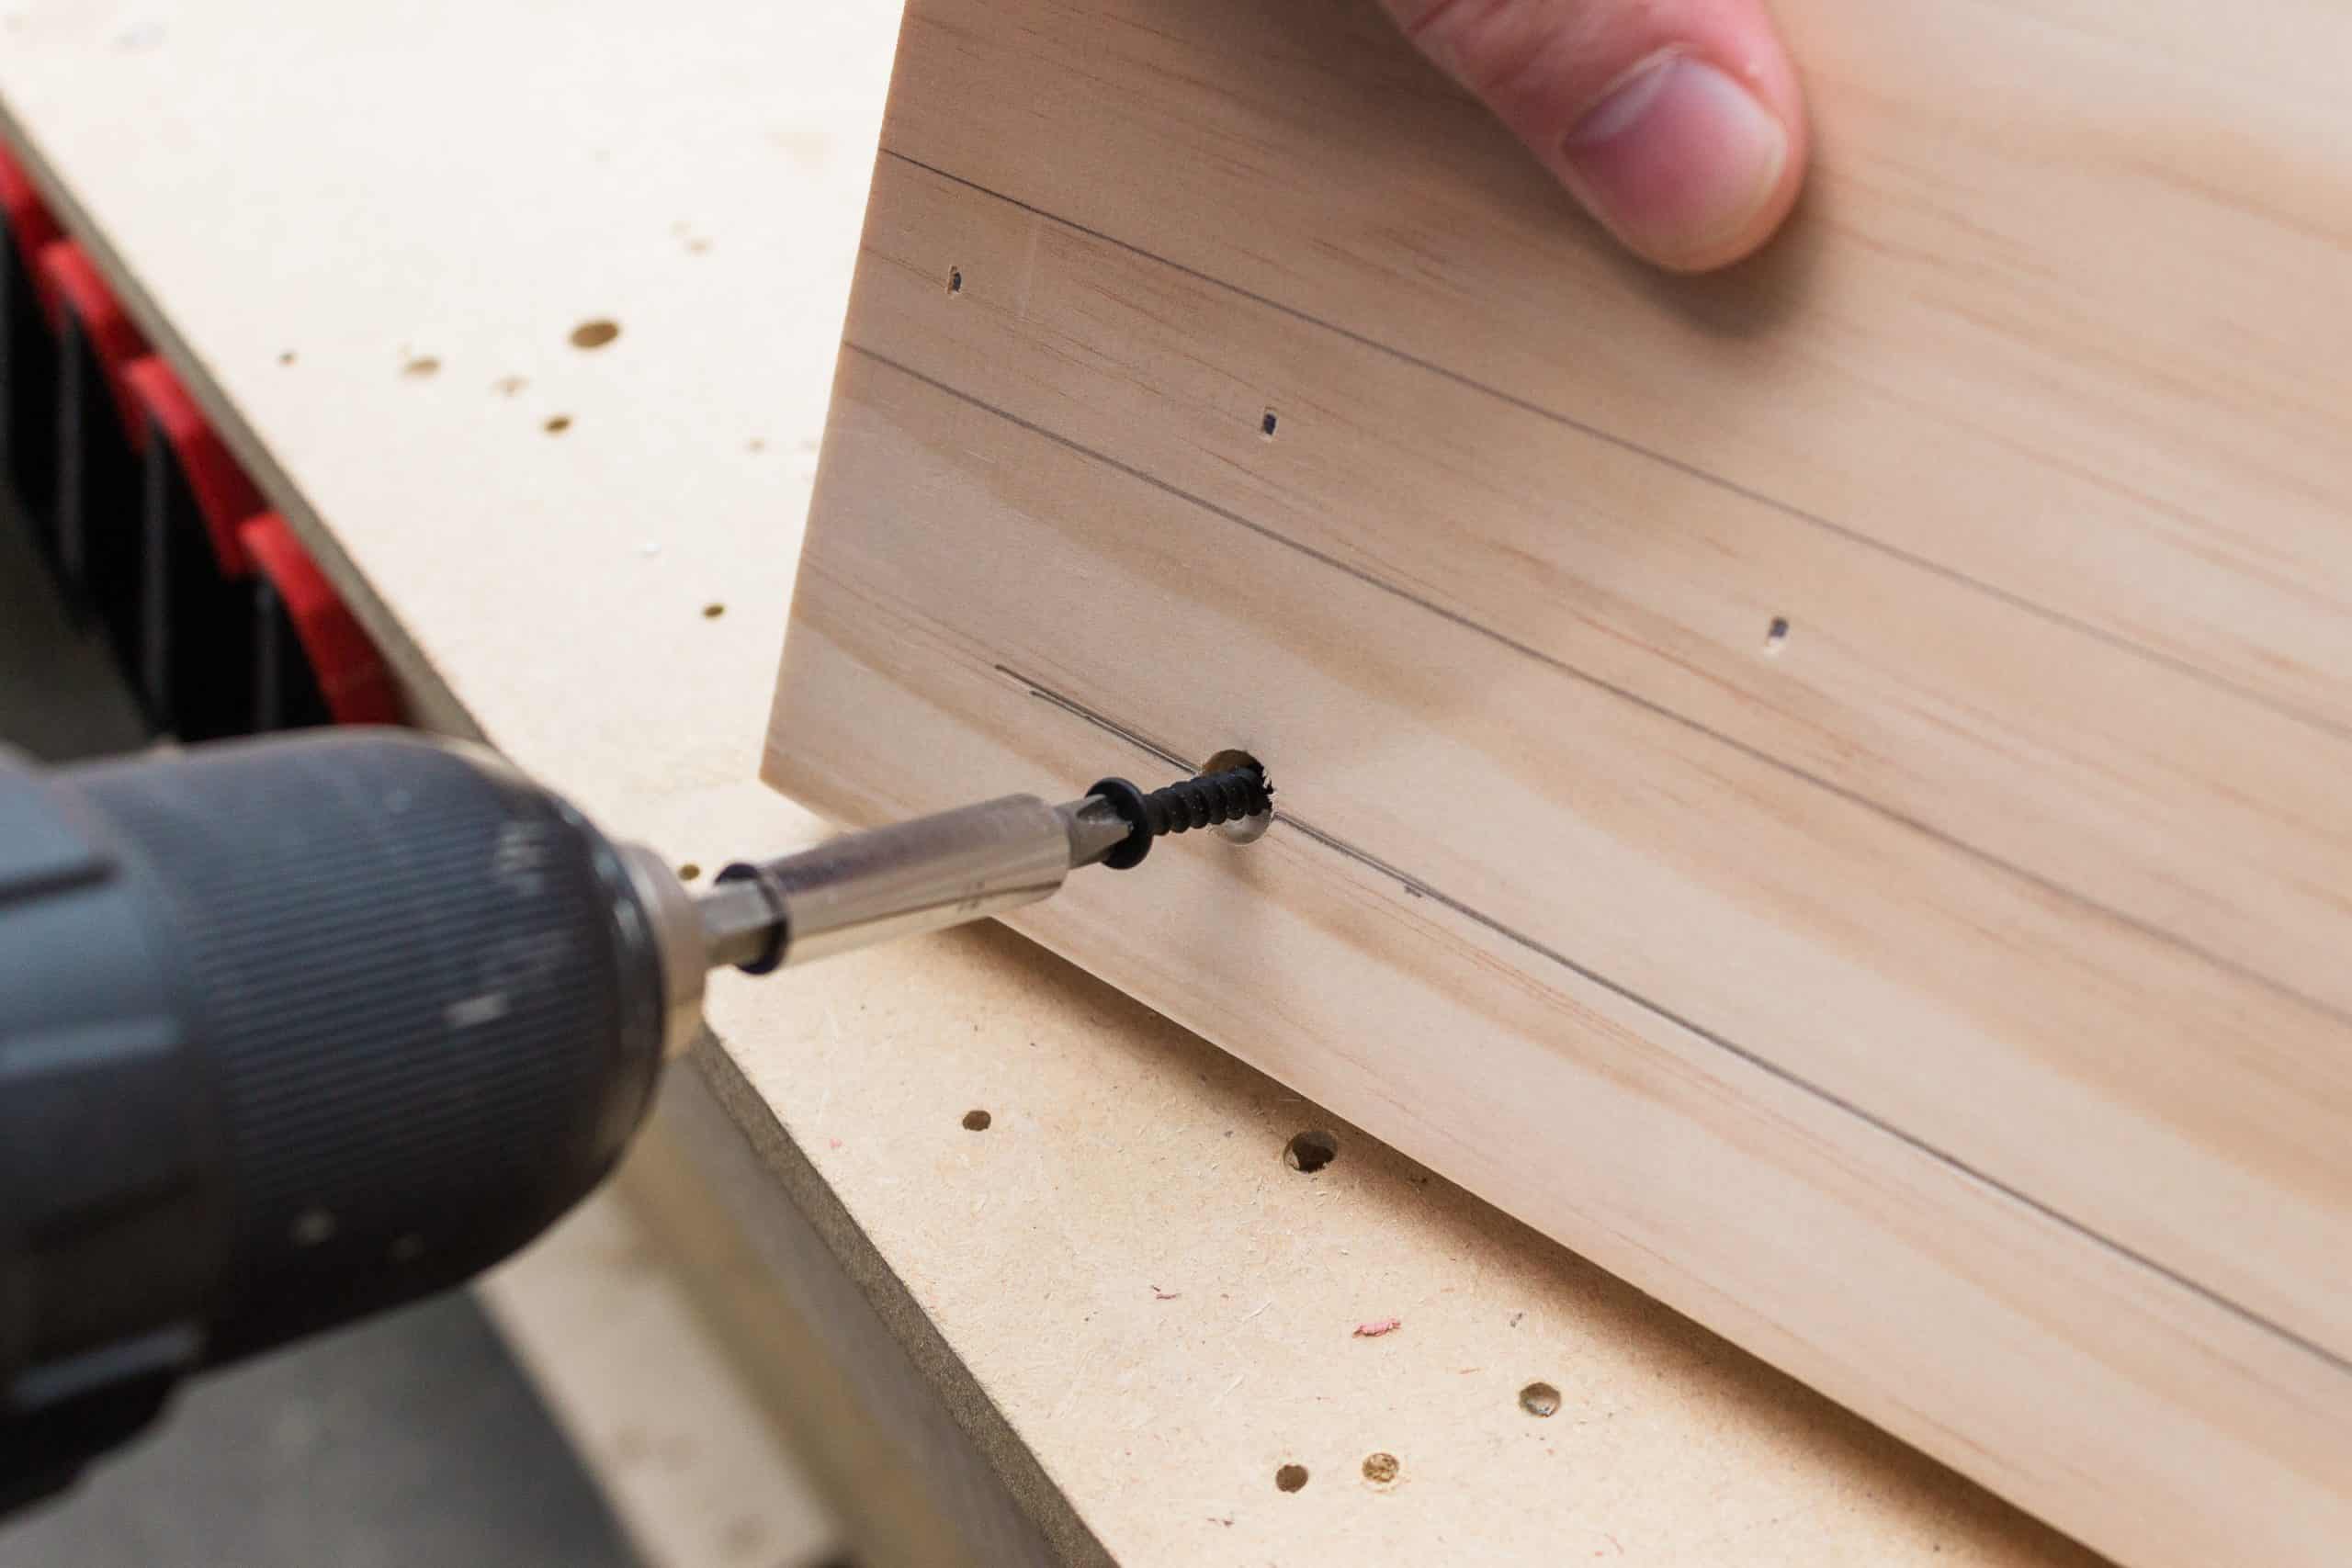
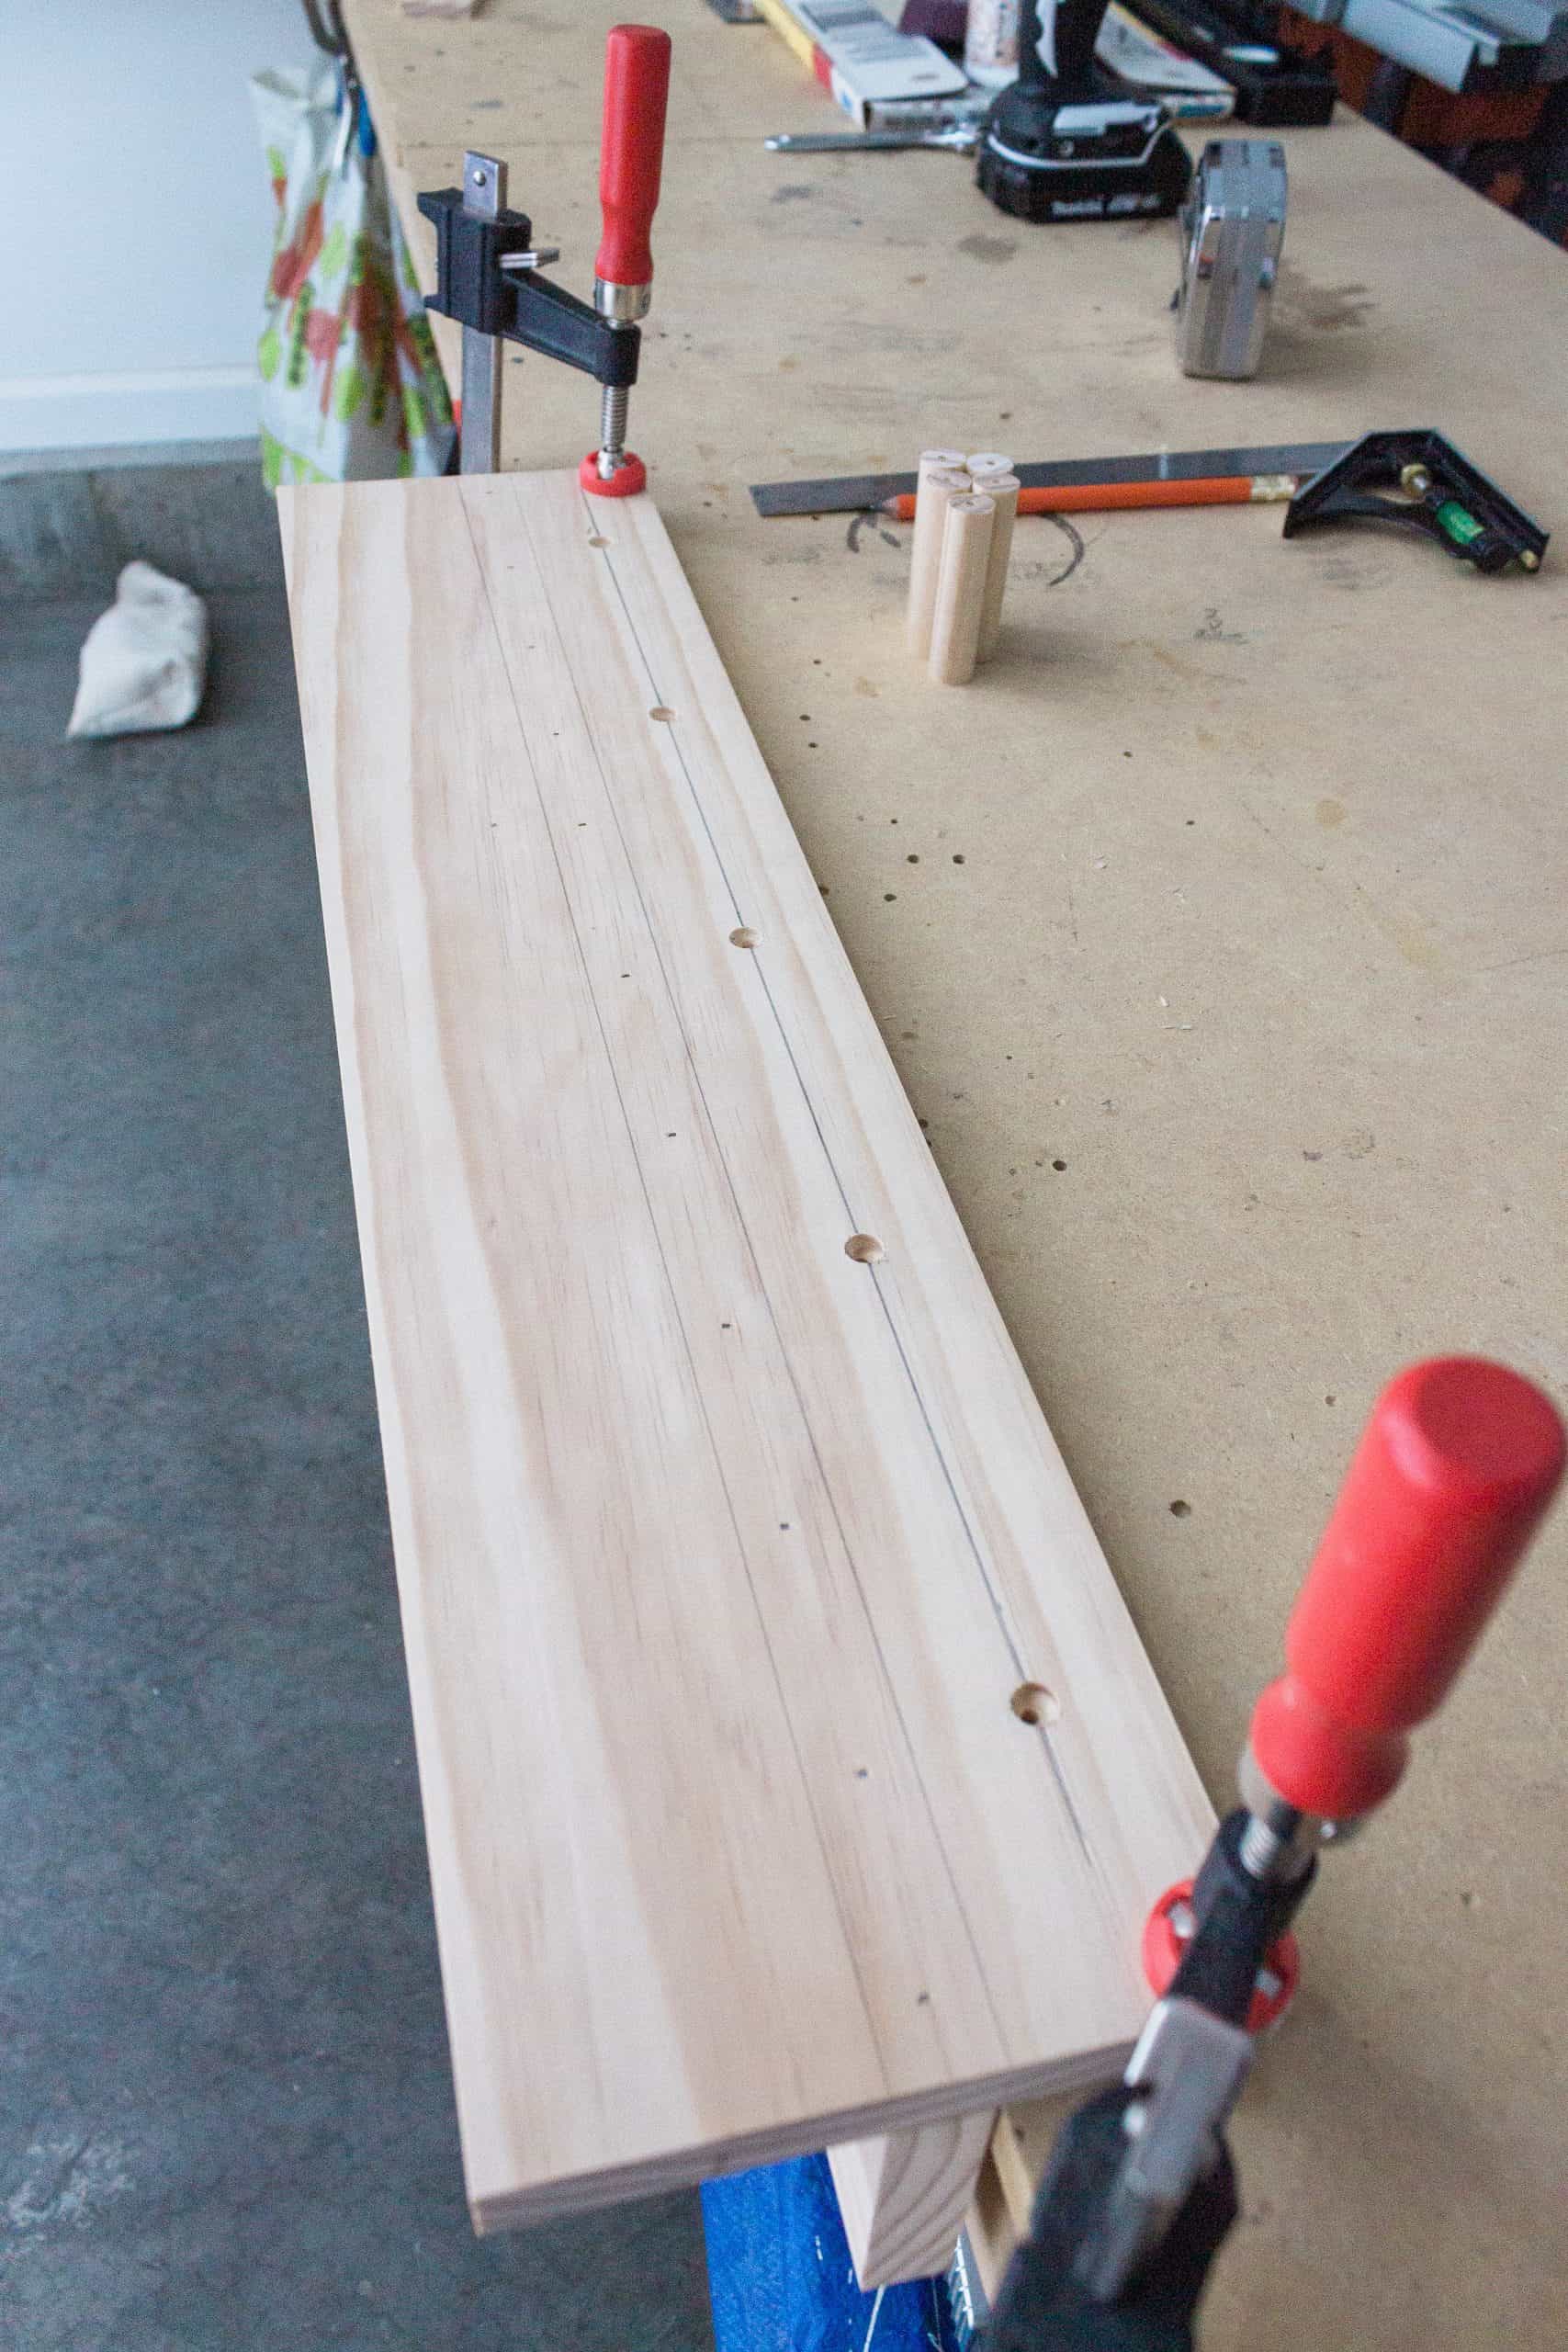
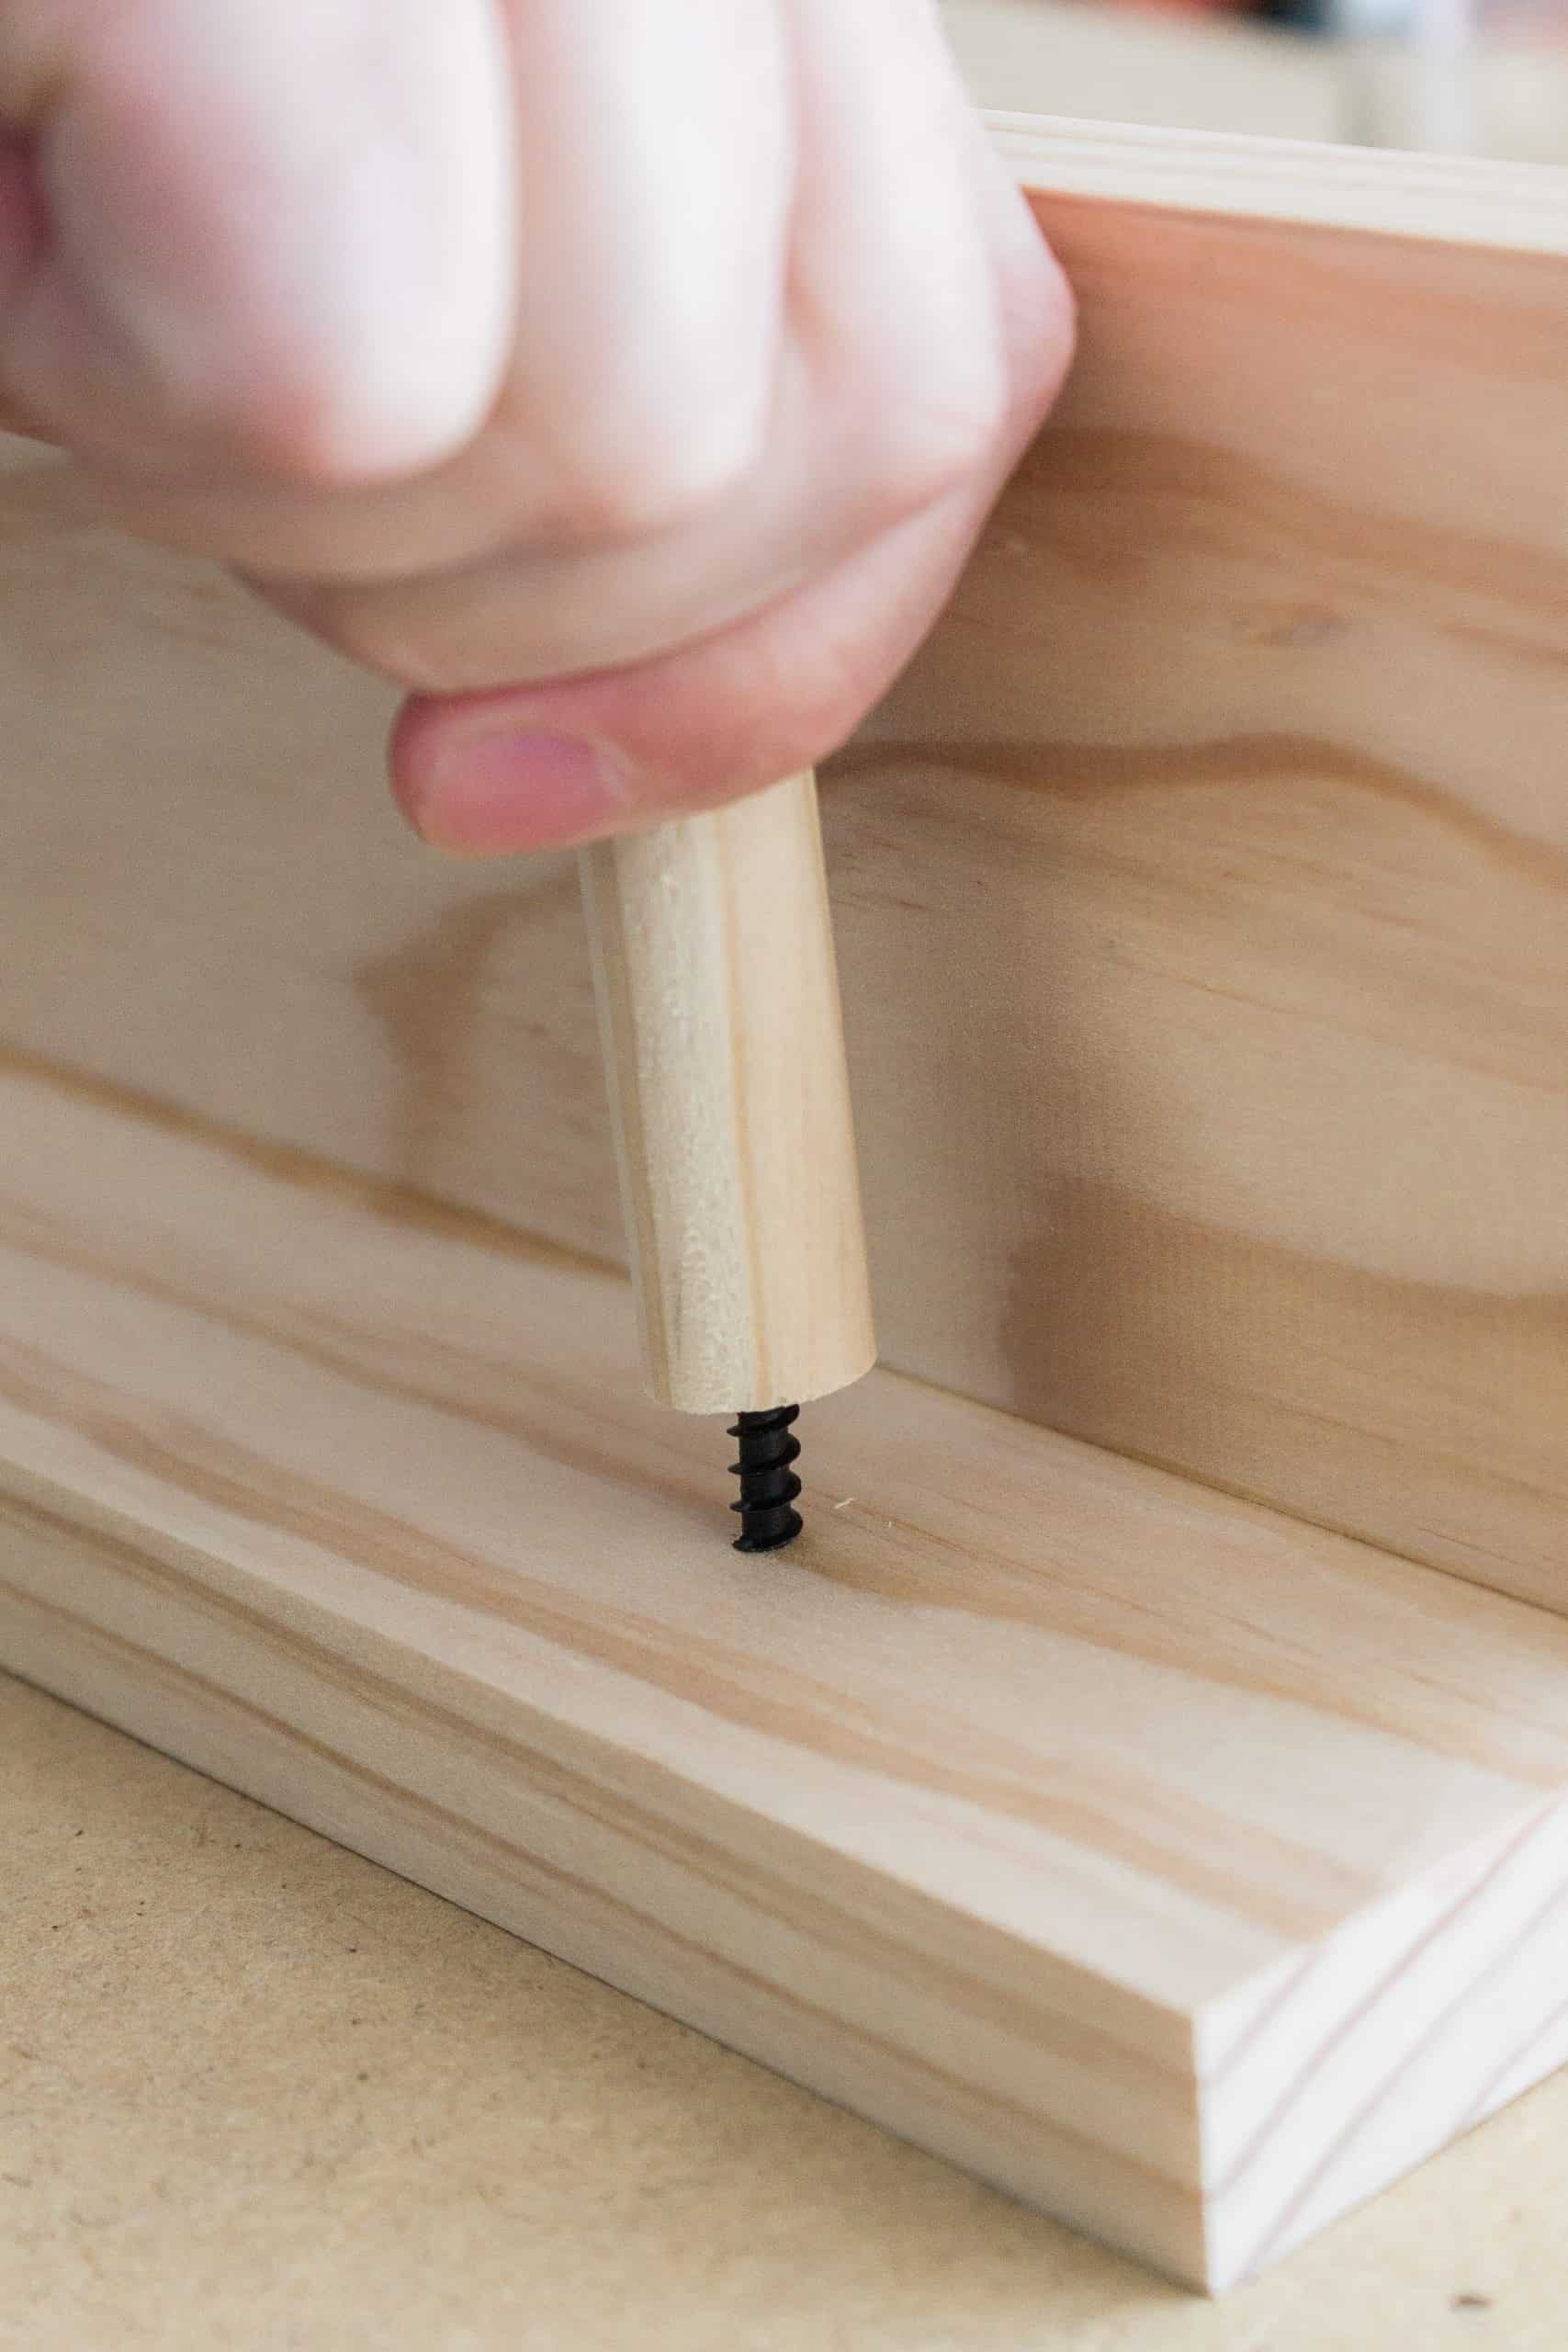
Next, cut 5 dowels at 2.5″ inches and mark the center of one of the ends. Then take a small drill bit and pre-drill the holes on the dowels so they screw on easier.
Then pre-screw all the dowel screws in the back side of the board. Apply some wood glue to the drilled end of the dowel and hand screw them on tight.
Finally take your glued mail holder, put some glue on the bottom of it, place it wherever you want it on the top of the shelf, and then clamp it down for a good solid hold. Once dried, you’re ready to hang your shelf! Congratulations!
Such a great idea! I love how cute this is.
Thanks Lydie!